


Desk organisation ·
Guide a wired mouse cable with a custom rigid desk support
Give your mouse cable a raised guide point. Choose arm height, reach and eye diameter, then leave a loose cable loop for your full mouse movement.
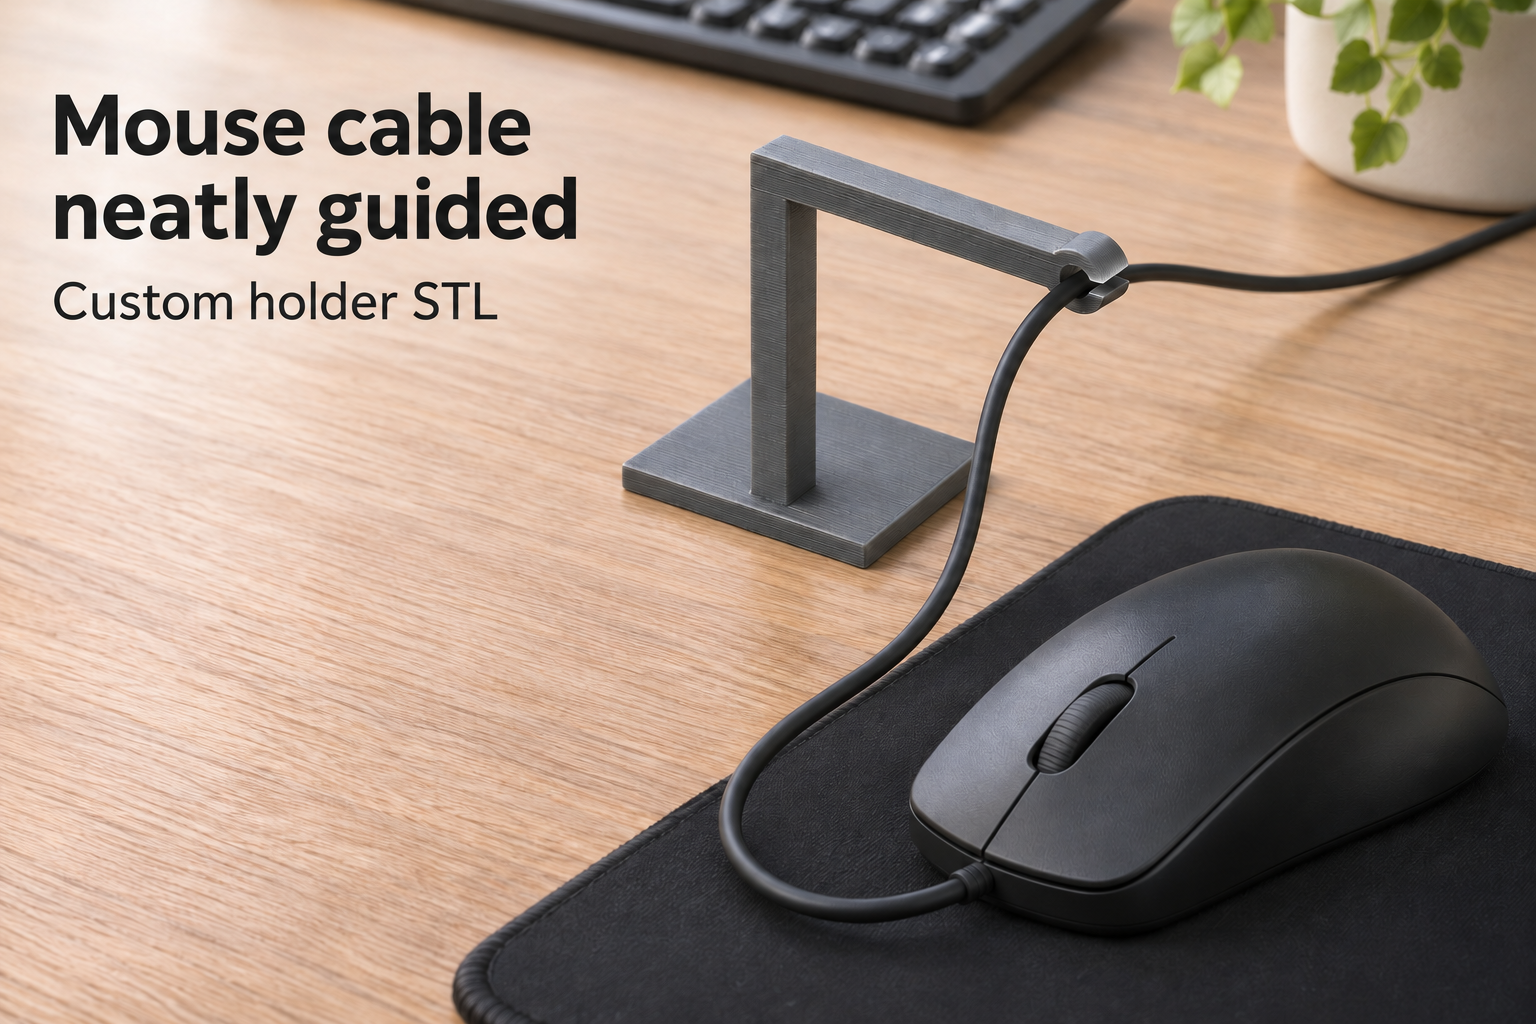
Add a raised guide point to your mouse cable
A wired mouse cable can wander across the desk or catch the edge of a mouse mat as you work. This small support gives one section of the cable a fixed guide point above the desktop. A straight arm rises from a flat adhesive base, ending in an open circular cable eye. Its useful position depends on your mouse area, keyboard and cable route toward the computer.
This is a rigid guide. It has no spring to take up cable movement, so you need a relaxed loop between the eye and the mouse. The arm is intended only to guide a lightweight mouse cable; it is not a hook for hanging devices or other loads.
Choose the mounting position before setting the dimensions
Place the mouse in the middle of its normal working area and find a clear location for the base. The base has fixed dimensions of 40 × 30 mm and is 3 mm thick. Allow room for the whole footprint. Mount it on a suitable flat surface using separate double-sided tape compatible with your desktop.
Reach to the eye centre is adjustable from 30 to 80 mm, with a 50 mm default. The eye centre can sit 35 to 90 mm above the desk; its default height is 60 mm. Choose these measurements to establish the cable route without putting the arm in the way of the keyboard or monitor stand.
Check both the circular eye and the side-entry slot
Measure the cable where it will pass through the guide, including any braided sleeve. The clear circular opening can be set from 2.5 to 6 mm, starting at 4 mm. Leave enough clearance to avoid rubbing or clamping the cable jacket. Do not size the opening for the plug or try to drag a connector through it.
There is a separate detail to check before committing to this design: the side-entry slot is a fixed 2 mm high. Increasing the circular bore does not widen that slot. Make sure your cable can enter from the side without being crushed or forced. If it cannot, a larger bore alone will not solve the installation problem; choose another cable-guide design.
Check print orientation and the full movement range
The model recommends PETG, 0.2 mm layers and at least four perimeters as a starting point. The supplied STL lays the arm flat. Inspect the sideways base in your slicer to decide where supports are needed, and check the finished eye for rough edges before routing a cable.
Try the location and the loose cable loop across your normal mouse movement range before permanently attaching the base. The cable must not pull the mouse back or lever the support away from the desk. Tape, mouse and cable are not included. The image is an AI application visualization, not evidence of a physically tested print. Configure the holder to your measurements and purchase the STL file for home printing.
Next step