


Miniatures and painting ·
Build a wet palette around your sponge for acrylic painting
Print a rectangular tray and loose-fitting lid, then add your own sponge and suitable palette paper. Adjust the inside dimensions to your painting setup.
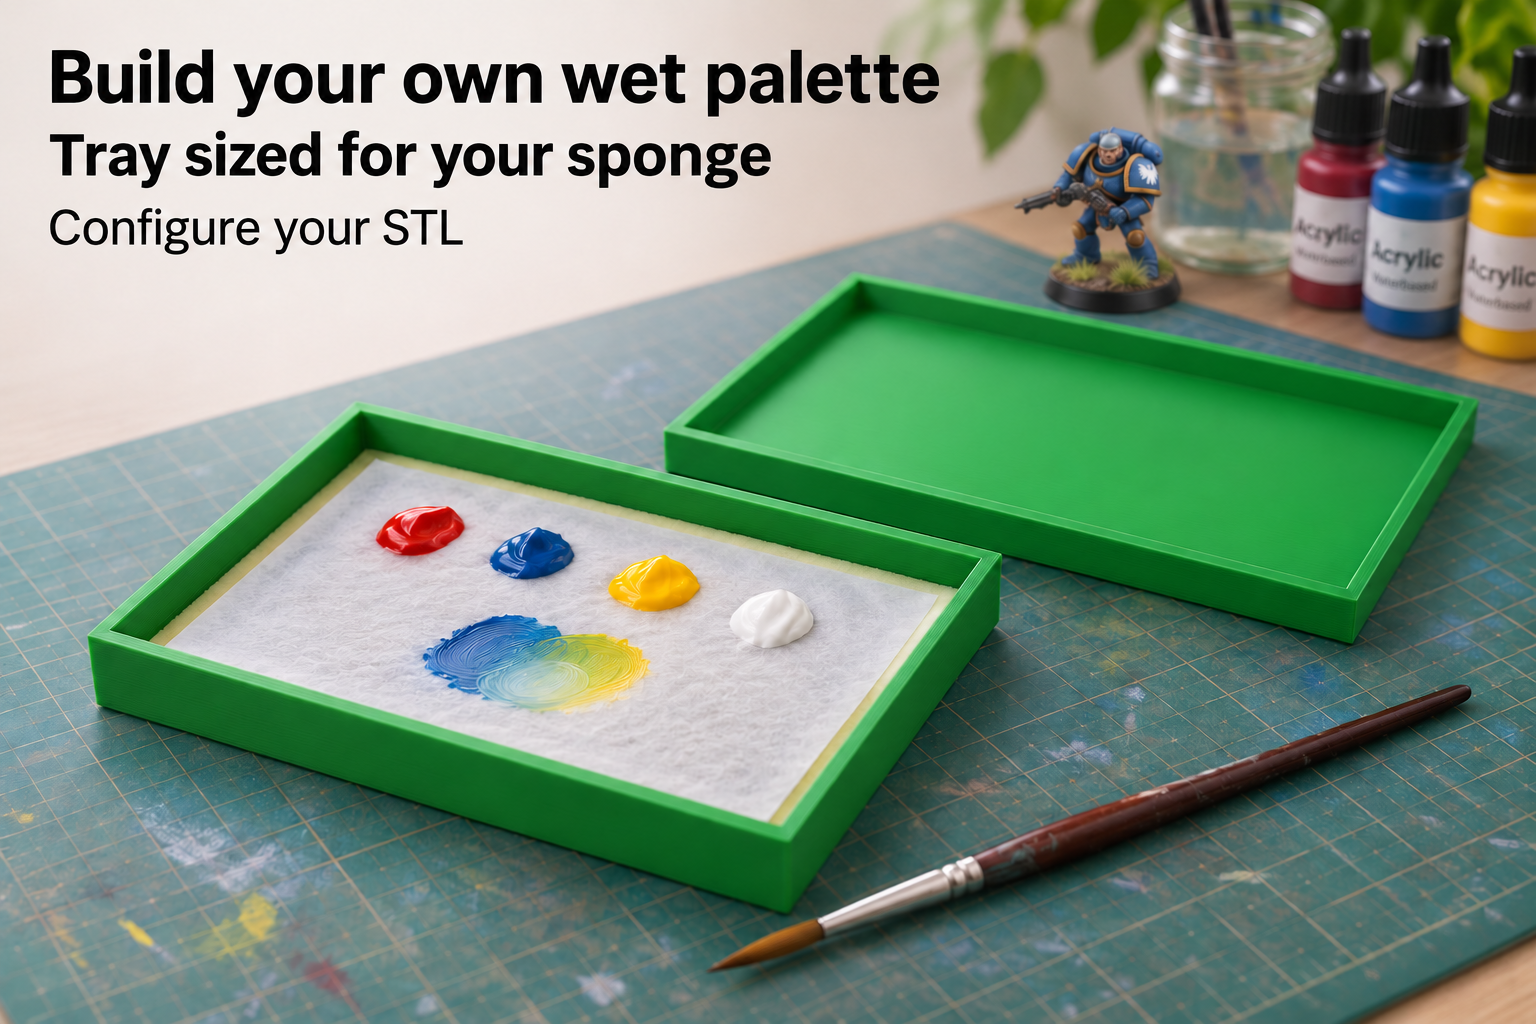
Size the painting surface around your supplies
When painting miniatures or small models, a defined area for mixing water-based acrylic paint helps organize the work. This wet palette consists of a rectangular tray and a separate lid. Put a damp sponge in the tray and suitable wet-palette paper above it. Paint belongs on the paper rather than directly on the printed plastic.
You supply the sponge, paper and paints separately. The model provides the two shell parts. The lid fits over the tray; it has no hinge, snap latch or sealing gasket.
Measure the damp sponge and allow for paper
Internal length ranges from 100 to 180 mm, width from 60 to 120 mm and usable depth from 8 to 18 mm. Initial dimensions are 140 × 90 × 12 mm. Measure the damp sponge and include the paper above it. Both should sit flat without being forced over the rim.
The tray has 3 mm walls and a 3 mm floor, so outside length and width each equal the corresponding inside dimension plus 6 mm. Lid outside dimensions are the inside tray dimensions plus 12.8 mm, and lid height is 8 mm. Nominal clearance between tray exterior and lid interior is 0.4 mm per side; actual fit depends on printing tolerances.
Check the print before adding paint
PETG with four perimeters and a dense closed floor provides a useful starting point. Print the tray and lid with their closed faces on the build plate. Inspect the floor for gaps, then test the tray with a little water inside a separate catch tray. An FDM print is not automatically watertight.
Use the palette on a water-resistant work surface. Moisten the sponge, lay suitable paper over it and start with small amounts of paint. Performance depends on paper, water and paint, so no fixed paint-preservation time is established. The loose lid also does not make the palette spill-proof for transport. Clean the parts regularly, let them dry open and avoid solvents that could attack the printed material.
The image is an AI application visualization, not a photograph of a physically tested print. Accessories shown are not included in the STL.
Next step