


Jewellery making ·
Print a five-ring sizing strip before designing your custom ring
Choose a middle diameter, size increment and band width to print five connected trial rings. Measure the finished openings before using the result in your ring design.
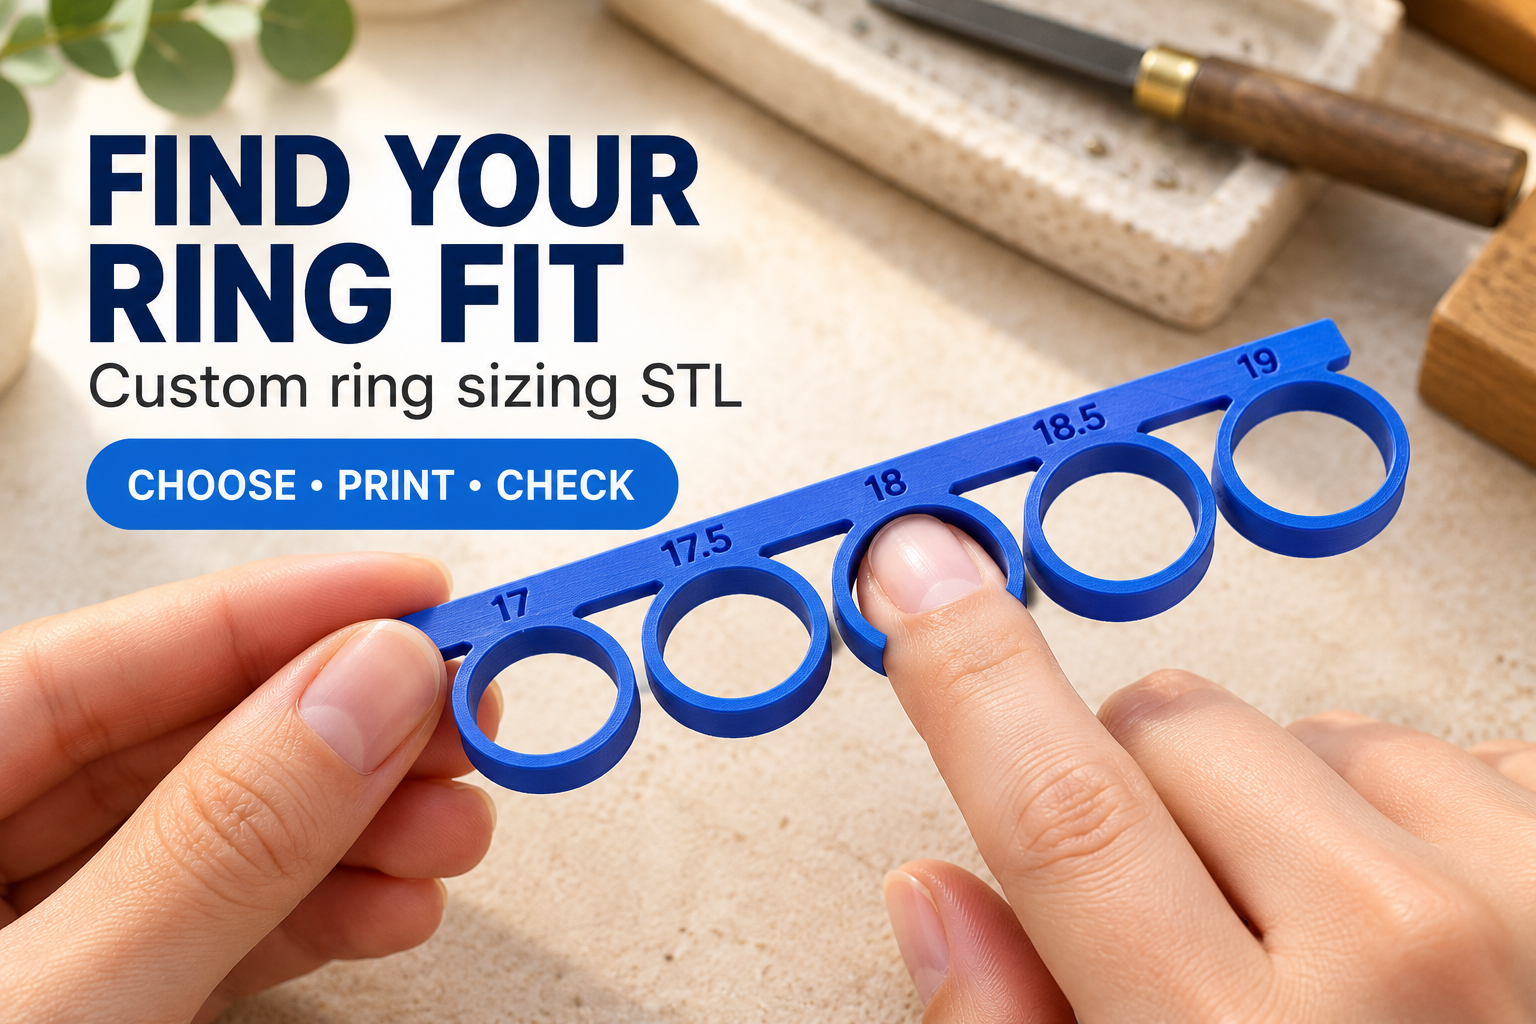
Before you model a ring, it helps to compare several nearby inside diameters rather than rely on one guessed number. This custom ring-sizing STL prints five trial bands connected by tabs to a labelled rail. You select the middle diameter and the difference between neighbouring openings, creating a compact comparison set around the size relevant to your project.
Choose a useful range of five openings
The middle inside diameter can be set from 14 to 24 mm. The diameter increment ranges from 0.25 to 1 mm. The five openings run from two increments below the middle value to two above it. With the default 18 mm centre and 0.5 mm increment, the intended inside diameters are 17, 17.5, 18, 18.5 and 19 mm.
A smaller increment gives a closer comparison when you already have a likely diameter. A larger one covers a wider range. These labels describe millimetres of inside diameter; they are not guaranteed US, UK or other international ring-size numbers. Record the measured opening that works for your project rather than treating the printed label as a calibrated standard.
Set the band width as well as the diameter
The sizing-ring width, measured along the finger, is adjustable from 3 to 8 mm; the default is 6 mm. Choose a trial width relevant to the ring you plan to make. A narrow trial band is not the same shape as a wide finished ring, so keep that difference in mind when assessing the fit. The entry edges have small chamfers to ease fitting, but the final surface still needs inspection.
Print the connected strip and check the openings
The five bands, tabs and labelled rail form one printed piece. Preview the model in your slicer, check that the labels and ring walls are represented properly, and use your usual settings for a dimensionally consistent print. Remove burrs and rough edges before trying it on skin.
Measure the actual openings with calipers before transferring a result into jewellery dimensions. Printing tolerances can change the holes, even when the digital model has the intended values. Keep the strip and your measurements together so the diameter you use in the next design corresponds to the tested print.
Try the rings gently
Start with a comfortably loose opening and compare nearby ones without forcing a band onto a finger. Stop if a trial feels tight or is difficult to remove. The image illustrates an initial loose trial, not a certification of fit. A printed sizing aid helps you explore dimensions; the finished ring still needs its own fit check.
Create a five-ring sizing STL around your chosen diameter. Adjust the range and band width, print the strip and use measured comparisons to guide your next custom ring model.
Next step