


Sewing and pattern preparation ·
Mark an evenly spaced button row with a fitted hole template
Set the number and centre spacing of your button marks. Align the straight template parallel to the fabric edge and transfer the positions with a fabric marker.
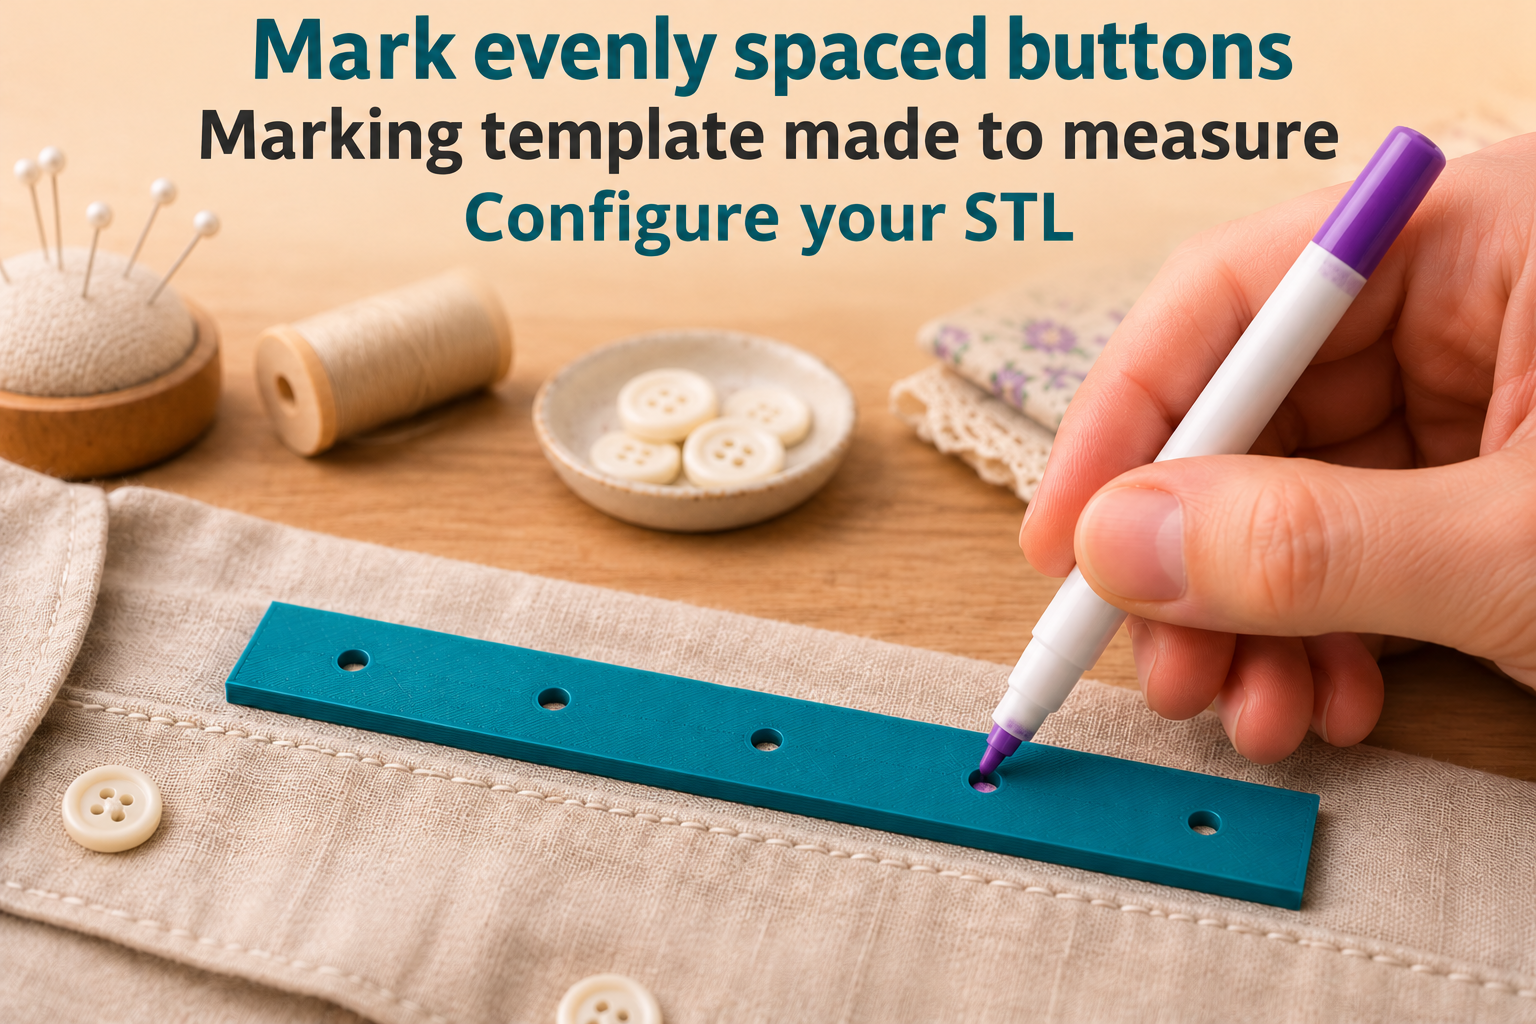
Transfer repeated positions together
When several buttons need equal spacing, a template helps transfer their positions together. This flat strip has one central row of round openings. Place it on the fabric, align its long edge parallel to the intended button placket and mark through the holes with a suitable fabric marker.
The template transfers point locations. It does not punch holes or define buttonhole length and direction. Set the row’s distance from the fabric edge separately. Test the marker on a hidden area or scrap first, and keep the fabric flat while transferring the marks.
Distinguish centre spacing from overall length
Choose two to ten holes with centre spacing from 5 to 35 mm. Defaults are five holes at 30 mm. Overall strip length equals hole count multiplied by spacing, giving 150 mm. The distance from the first to last hole is only four intervals, or 120 mm. Each end margin is half the spacing, here 15 mm.
Width ranges from 10 to 100 mm, initially 20 mm. All hole centres lie halfway across the strip. If its long edge is exactly flush with the fabric edge, the row sits half the strip width inward. To obtain another edge offset, move the entire template parallel and measure that placement separately.
Check marker reach and the printed spacing
Thickness ranges from 2 to 8 mm, initially 3 mm. Hole diameter also ranges from 2 to 8 mm and starts at 3 mm. Your marker tip must reach the fabric through the opening. Centre spacing must exceed hole diameter plus 4 mm; strip width must exceed hole diameter plus 6 mm. Some combinations of the individual minimum values therefore cannot be used.
Print flat in PETG with 0.2 mm layers and four walls. Deburr the underside and hole edges so they do not catch the fabric. Compare the printed spacing with a ruler and make trial marks on scrap. Use this piece for marking only, not as a drilling or punching guide.
The image is an AI application visualization, not a photograph of a physically tested print. Accessories shown are not included in the STL.
Next step