Zum Hauptinhalt springen
Custom zipper slider threading jig

Crafts & design

Custom zipper slider threading jig

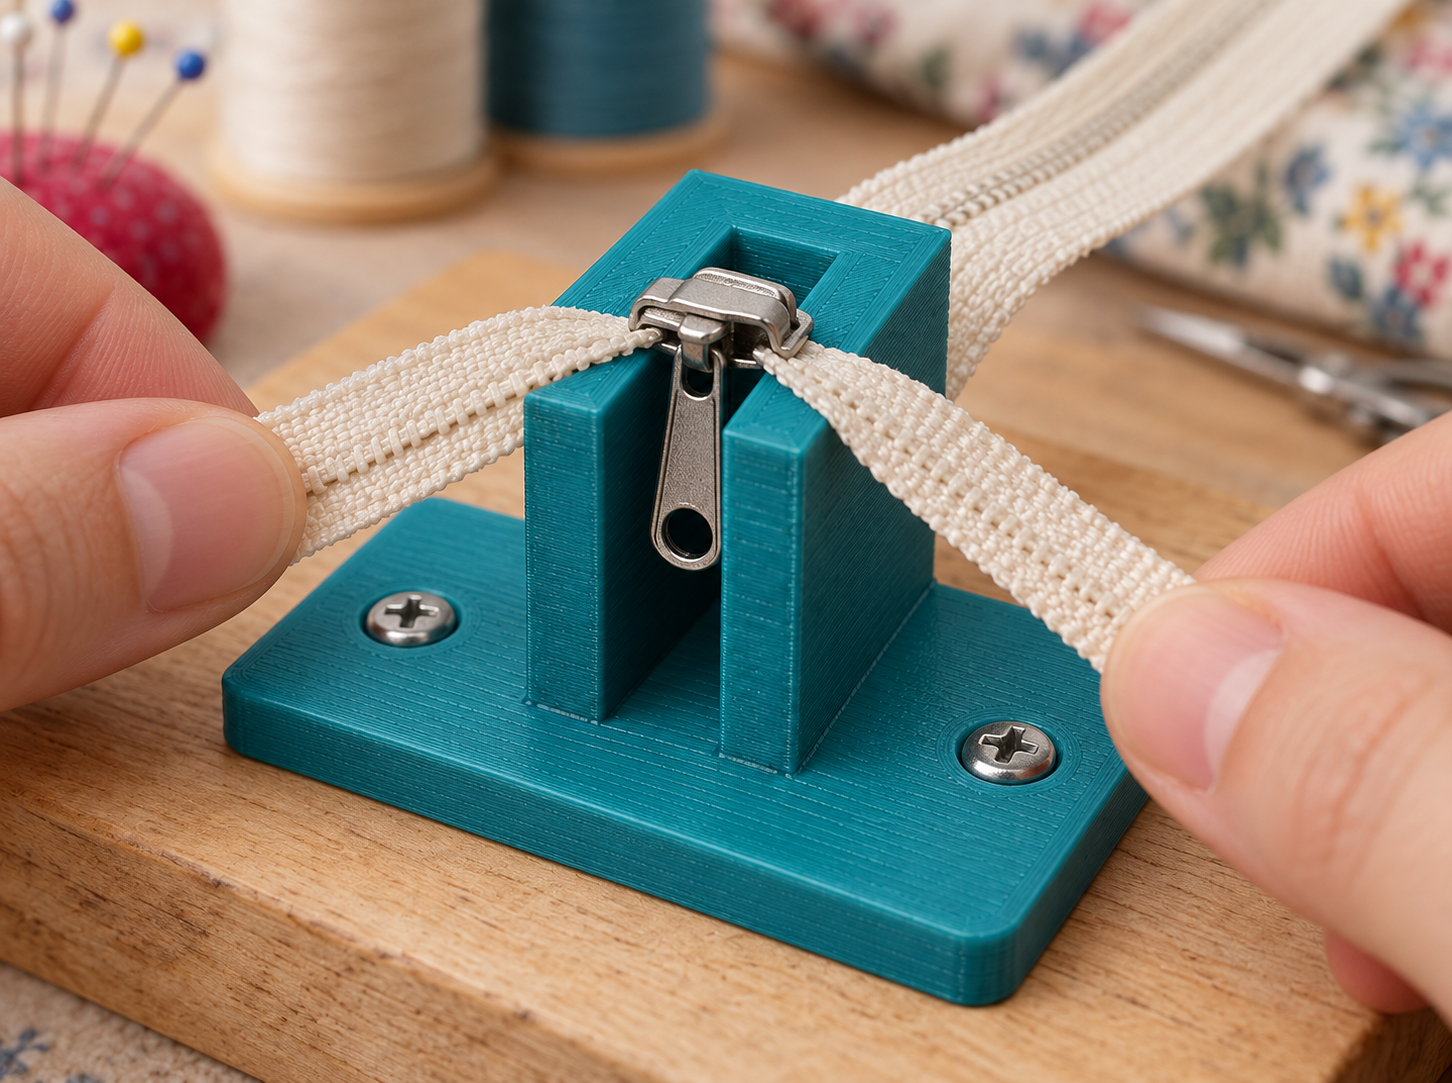
Thread a slider onto continuous zipper tape: size the support slot to the pull tab and secure the jig with two screws to a suitable work board.

0 Likes
★★★★★
0.0/5 · 0 Ratings

STL file: Price currently unavailable.

Finished 3D print: calculate the price after creating your model.

parameters
8 adjustable
Variants
0 ideas
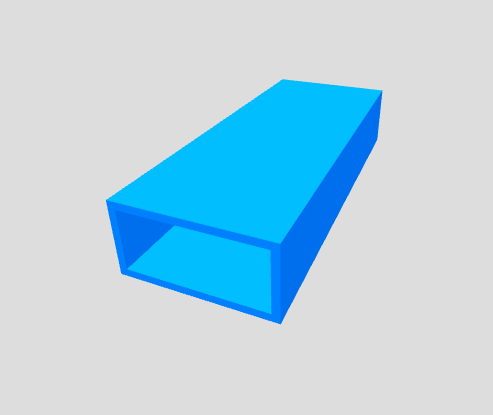
The pull tab hangs inside the open slot while the wider slider body rests across the two upper rails. This frees both hands to feed zipper tape evenly. Size the slot from the actual slider, not just the nominal zipper number. What you can customise: Match slot to the pull tab. Set working height for pull-tab length. Two mounting points included. How to measure: 1. Measure pull width and supporting slider underside. 2. Check tab length and clearance beneath slider. 3. Select work area and suitable screws. Assembly and trial fitting: 1. Print base flat and deburr edges. 2. Secure with two screws to a suitable work board. 3. Seat slider with tab hanging and feed matching tape evenly from both sides. 3D printing notes: Start with PETG, 0.2 mm layers and four walls. Print base flat, normally without supports. Two screws and board separate. Test with one slider first. Fit and included geometry: For sliders whose tabs fit the slot and bodies bridge the rails. Automatic slider locks may need separate release. This is neither a replacement slider nor a pull grip attached to clothing.

FAQ

Frequently asked questions

What is Custom mounting part intended for?

Custom mounting part is a configurable model in the Mounting profiles category. When an off-the-shelf part does not fit, configure this parametric custom mounting part for your project: adjust the dimensions, check the preview, download the STL or order the 3D printed… It is suitable as a starting point for 3D printing or technical review.

Which dimensions can I adjust for Custom mounting part?

The available input fields define the dimensions of the generated model, for example Width, Depth, Height, Wall thickness, Thickness, Specific dimension. Please check the preview and the displayed overall dimensions before ordering.

Is the STL generated from my inputs?

Yes. The STL is generated from the entered parameters and prepared for download or email delivery after payment.

Can I open the STL in Bambu Studio, Cura or PrusaSlicer?

The generated STL is suitable as a starting point for common slicers. Please review orientation, scale, material and print settings in your slicer software.

Do I need to check dimensions and tolerances before buying?

Yes, please check dimensions before ordering. Fit, strength and tolerances depend on material and print settings; the preview and overall dimensions help with verification.

Which material is suitable for Custom mounting part?

PLA is useful for samples and simple parts, PETG for tougher applications and ASA for outdoor or higher-temperature use. Load, tolerance and print orientation matter.

Can I download Custom mounting part as an STL or order it printed?

Yes. After configuration you can use the generated model for STL download or continue to the 3D printing order flow with price calculation.

What are typical uses for Custom mounting part?

Typical uses include custom dimensions, repairs, prototypes and mounting aids in the Mounting profiles category. For functional parts, always verify load and fit in the final application.

Ratings

What andere sagen

★★★★★
0.0/5 · 0 Ratings

Submit rating

Please Name, E-Mail, Sterne and Kommentar eintragen.

Wed nur zur Spam-Abwehr genutzt (im Backend gehasht gespeichert).

★★★★★

Bis zu 5 Bilder, JPG/PNG/WebP, maximal 5 MB pro Bild.

Latest reviews

Noch no Bewertungen – sei der Erste 🙂

Mindestbestellwert noch nicht erreicht

Für physische 3D-Drucke gilt ein Mindestbestellwert von 10,00 €. Dir fehlen noch . Digitale STL-Dateien und Versandkosten zählen nicht zum Mindestbestellwert.

Du kannst weitere Produkte auswählen oder die Menge eines vorhandenen 3D-Drucks erhöhen.

Photo to 3D

What would you like to create? Choose an option – you will upload your source on the next page.

Photo to Relief Photo to ReliefTurn your photo into a tactile 3D relief.Proven relief configurator · STL or printed partStart now → Photo to Figurine Photo to FigurineNew · currently being testedTurn your photo into a full 3D figurine.Turntable preview · print or digital STLStart now → Floor Plan to 3D Floor Plan to 3DNew · currently being testedTurn a floor plan into a spatial wall and opening preview.Review preview · confirm recognition and assumptionsStart now → Drawing to 3D Drawing to 3DNew · currently being testedCreate a 3D part from a technical drawing.Review preview · verify dimensions and viewsStart now →