


Home & organization STL guides ·
Renovation trim frame for indoor intercoms STL: Create a Custom-Size 3D Model
Create a custom-size renovation trim frame for indoor intercoms STL for your own 3D printer. Check the model controls, measure the fit and buy the generated digital file.
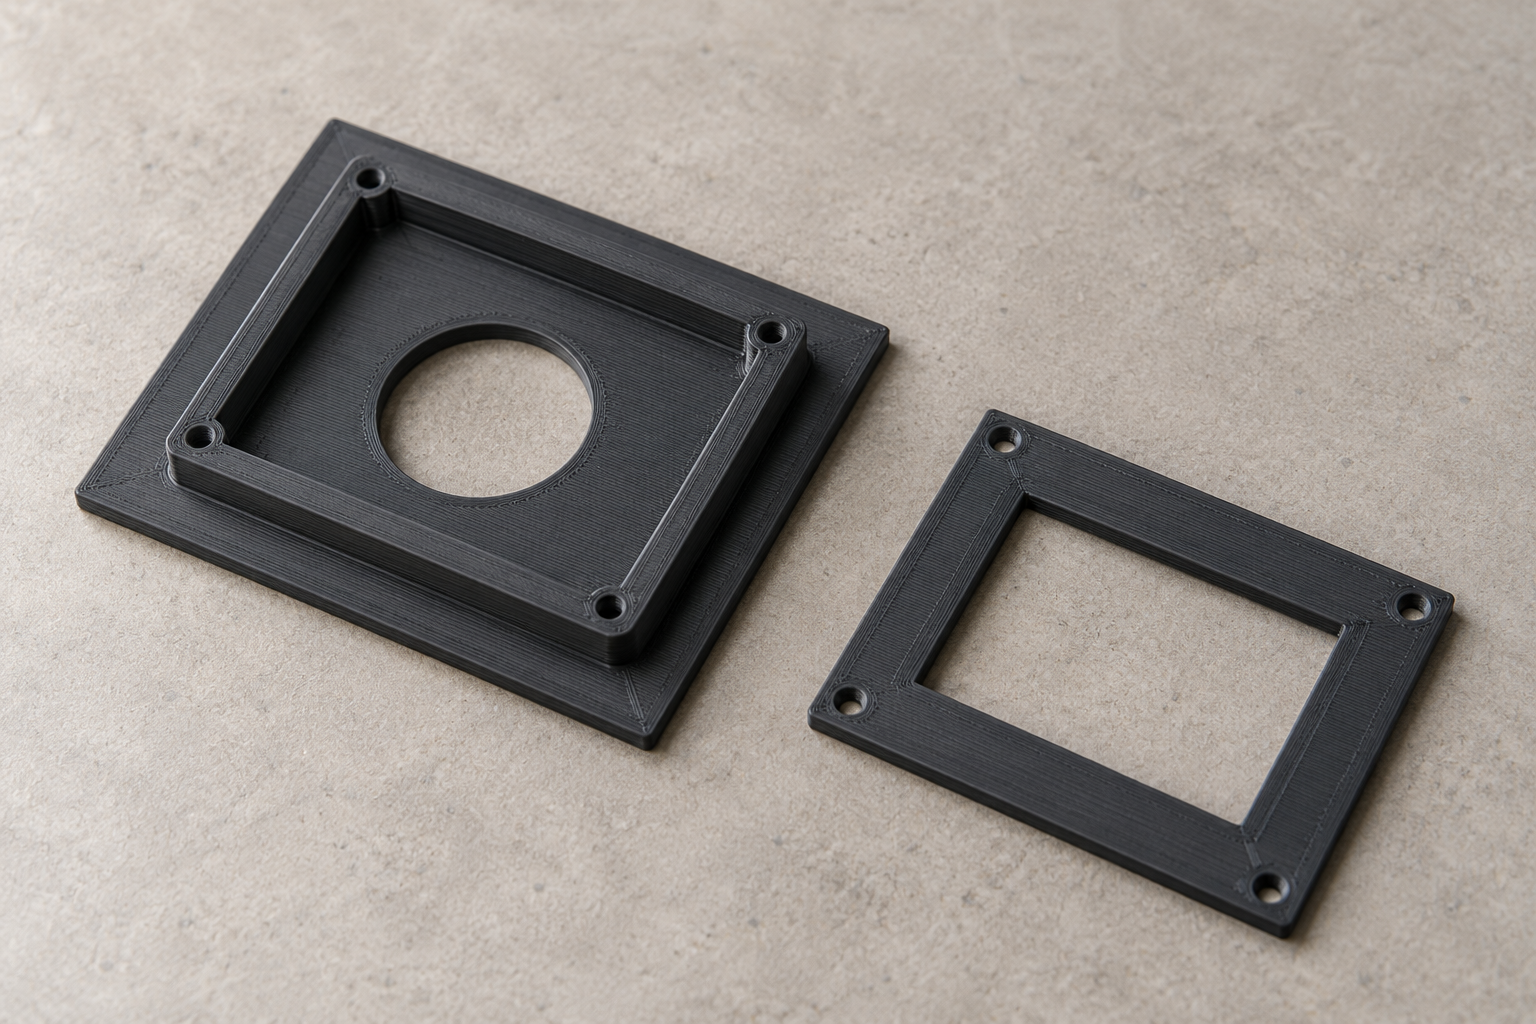
Has an intercom replacement left exposed wallpaper edges or discolouration? This flat trim covers the area around the new unit. A custom opening, optionally offset, leaves the device on its own independent wall mounting.
With the Custom renovation trim frame for indoor intercoms template, you can turn those measurements into a custom-size STL. Review controls such as outer width, outer height, finished opening width, check your model in the preview and choose the digital file. You buy the generated STL and print it on your own 3D printer, using your preferred filament and slicer settings.
Measurements for your renovation trim frame for indoor intercoms STL
The product page exposes the following useful geometry controls. Work from your measured parts and check the displayed units and the preview before entering final values.
| Model control | What to check |
|---|---|
| Outer width | Measure across the named feature and allow space for the neighbouring parts. |
| Outer height | Measure from the relevant seating surface and check the available vertical clearance. |
| Finished opening width | Measure across the named feature and allow space for the neighbouring parts. |
| Finished opening height | Measure from the relevant seating surface and check the available vertical clearance. |
| Horizontal opening offset | Check this feature against the matching component and confirm its effect in the 3D preview. |
| Vertical opening offset | Check this feature against the matching component and confirm its effect in the 3D preview. |
| Frame thickness | Measure between the two relevant faces and check fit in any receiving slot. |
| Outer corner radius | Check that the value is a radius rather than a diameter and that the curve clears adjacent parts. |
| Inner corner radius | Check that the value is a radius rather than a diameter and that the curve clears adjacent parts. |
Measurement sequence for this design
- Measure the full area of old marks and choose outside dimensions with cover margin.
- Measure the device outline, corners and protrusions. Include your chosen fitting clearance in the opening.
- Measure the device position relative to the cover. Check borders, ventilation and controls.
Confirm the working geometry before buying the file
Compare the pictured shape with the actual task, not only the product name. Mark which faces touch other objects, which parts need to move and which pieces are supplied separately. The model controls change an existing design; they do not automatically add a feature that the template does not include. Check the complete motion or assembly space in the preview before choosing your final dimensions.
Fit and parts supplied separately
Decorative indoor trim without a back, device support or electrical enclosure function. It does not replace required covers or insulation. No brand compatibility claim. Adhesive and intercom are separate.
Configure the model, buy the STL and print locally
- Open the renovation trim frame for indoor intercoms product page and compare the model preview with your application.
- Enter the relevant measurements. Use the units displayed beside each input; convert inch measurements before using a millimetre field.
- Review the complete geometry and keep a record of your parameter values. Check small openings, mating features and remaining wall thickness.
- Choose the digital STL purchase option and review the current price and order details before payment.
- After receiving the STL, open it in your slicer, confirm the imported dimensions and inspect the layer preview before printing.
Configure my renovation trim frame for indoor intercoms STL
Trial-fit the printed geometry
1. Trial-fit around the device; confirm it can pass over the front before installation. 2. Attach the back to a sound wall with suitable thin adhesive tape. Device and trim remain independent. 3. Keep the enclosure, vents and controls clear. Electrical connection work requires a qualified person.
Before you choose your STL
Why configure the model instead of scaling a download?
Uniform scaling changes all dimensions together. Here you can work with the available controls, including outer width, outer height, finished opening width, and check the result before purchase. Keep your input values for later revisions: the downloaded STL contains the final mesh, rather than the original parametric editing history.
What do I buy?
Select the digital STL option for the file you will print yourself. Review the current price and selected configuration before paying. Ordering a finished print is a separate option.
Make the next print fit your project
Have your measurements ready? Open the renovation trim frame for indoor intercoms template, adjust the model and inspect the preview. When the geometry matches what you need, choose your STL and take it to your own printer.
Next step