


Paper crafts ·
Place paper shapes with custom wide-jaw craft tweezers
Choose arm length, open jaw gap and jaw width for paper flowers and lightweight craft parts. Smooth blunt contact faces help you handle small shapes.
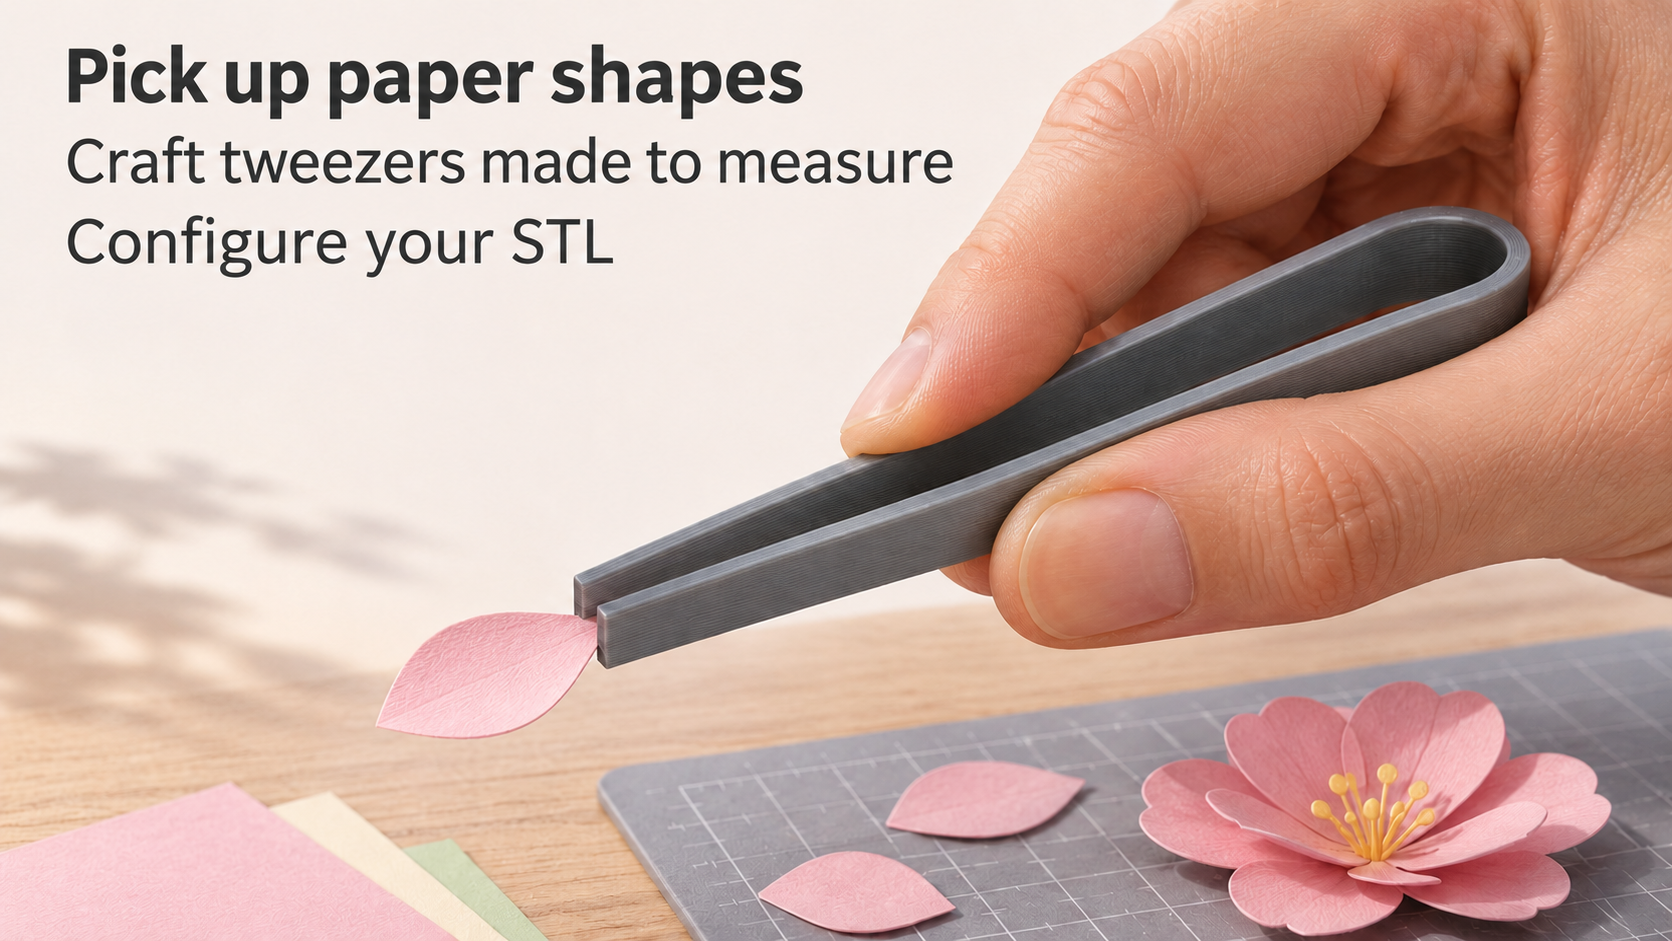
Pick up a small shape by its edge
When assembling paper flowers, fingers can hide a small glue joint. Wide tweezers help you lift a lightweight petal by its edge and guide it into place. This model has two flat arms with blunt rectangular ends and a closed curved spring at the rear.
Squeeze the arms gently by hand. There is no latch or self-holding mechanism. When released, the material-dependent spring action should reopen the jaws. Check this movement on scrap paper before using a finished piece.
Choose reach and contact area
Free arm length from the end of the bend to the tip ranges from 50 to 100 mm, initially 70 mm. Open jaw gap is 4–12 mm, starting at 8 mm. Jaw width is 6–14 mm, initially 9 mm. Arm thickness stays fixed at 1.8 mm.
Longer arms increase reach but also change flex. Wide jaws spread contact across more paper, while narrow spaces may require a smaller width. Choose dimensions for a particular craft step instead of automatically using the largest settings. The three dimensions work together with your filament’s flexibility.
Print smooth faces and use light pressure
Start with PETG, 0.2 mm layers and at least four perimeters. In the STL orientation the arm edges lie on the build plate. Inspect the complete perimeter and rear bend in the slicer. Remove burrs from the gripping faces so they do not mark paper.
Test opening and closing without stretching the arms apart. Grip light parts only as firmly as needed and check the curved spring for cracks. This is a craft tool, not a medical instrument or a tool for hot items or electrical work. Avoid allowing glue to harden between the jaws.
The image is an AI application visualization, not a photograph of a physically tested print. Accessories shown are not included in the STL.
Next step