


Kitchen and sink ·
Stand a kitchen sponge upright on the sink drainboard
Size an open slatted holder around your sponge. Its upright arrangement and open base let water reach a suitable draining surface beneath it.
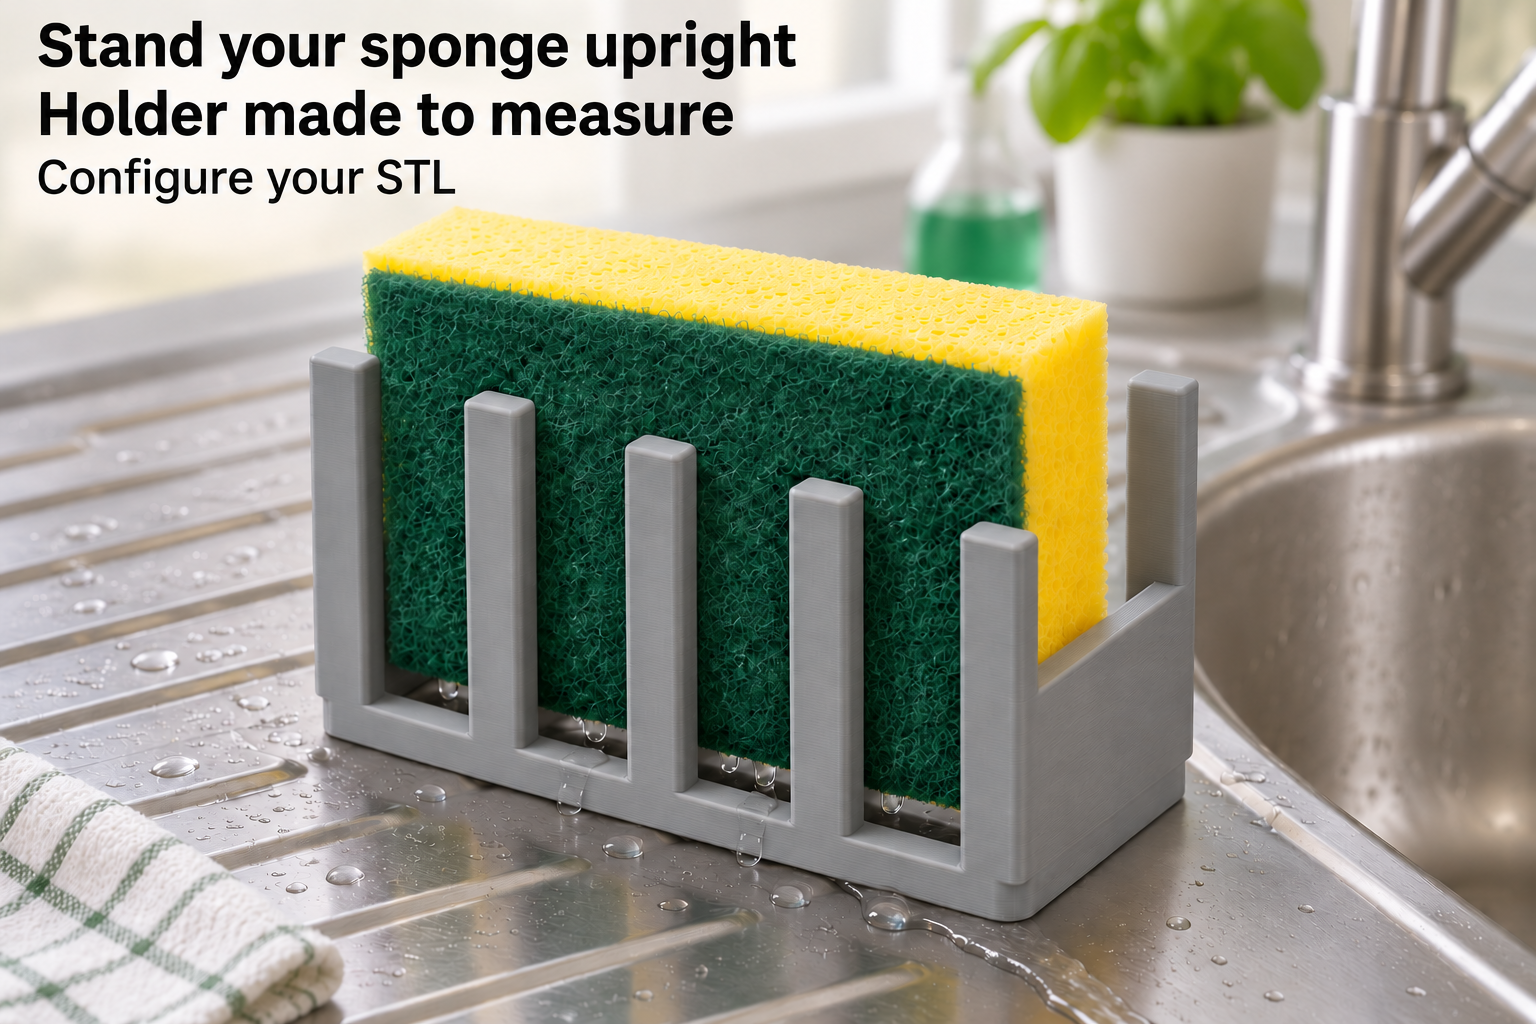
Give the sponge a regular place beside the sink
A sponge lying flat creates a broad wet contact area on the surface beneath it. This holder stands it on its narrow edge. Separate upright slats guide both long sides, while lower end walls limit movement at the short ends. There is no continuous rail across the tops of the slats.
The base is a frame with a large opening. It allows water to drain down rather than collecting it in a tray. Place the holder on a suitable drainboard sloping towards the sink, not directly on a moisture-sensitive wooden worktop.
Measure without squeezing the sponge
Measure your damp sponge at its natural, uncompressed length and thickness. Usable length ranges from 60 to 125 mm and the clear gap between the sides from 15 to 45 mm. Initial values are 85 and 25 mm. Add enough clearance for the sponge to fit without being squeezed.
Holder height can be set from 30 to 65 mm, starting at 45 mm. Leave enough sponge projecting above the holder to grasp it easily. Choose four to seven slats on each long side, with five as the default. Both sides have the same count; additional slats do not compensate for incorrect internal dimensions.
Allow space and keep the drainage path clear
Outside length and width each equal the chosen internal dimension plus 6 mm. The default footprint is therefore 91 × 31 mm. Slats are 7 mm wide and 3 mm thick, and the base frame is 4 mm high. Check whether the ribs on your drainboard allow the holder to sit steadily.
PETG, 0.2 mm layers and four perimeters provide a printing starting point. Print with the base frame on the bed and remove rough edges. Insert the sponge loosely and check where the water flows. Clean soap residue from the frame and gaps regularly, then let the holder dry openly. An open structure does not establish germ-free storage or a specific drying time.
The image is an AI application visualization, not a photograph of a physically tested print. Accessories shown are not included in the STL.
Next step