


Sewing and repairs ·
Feed elastic through a fabric casing with a fitted two-slot bodkin
Match slot length and bodkin thickness to the elastic and casing. Thread the band back through both slots and guide the blunt front through the existing opening.
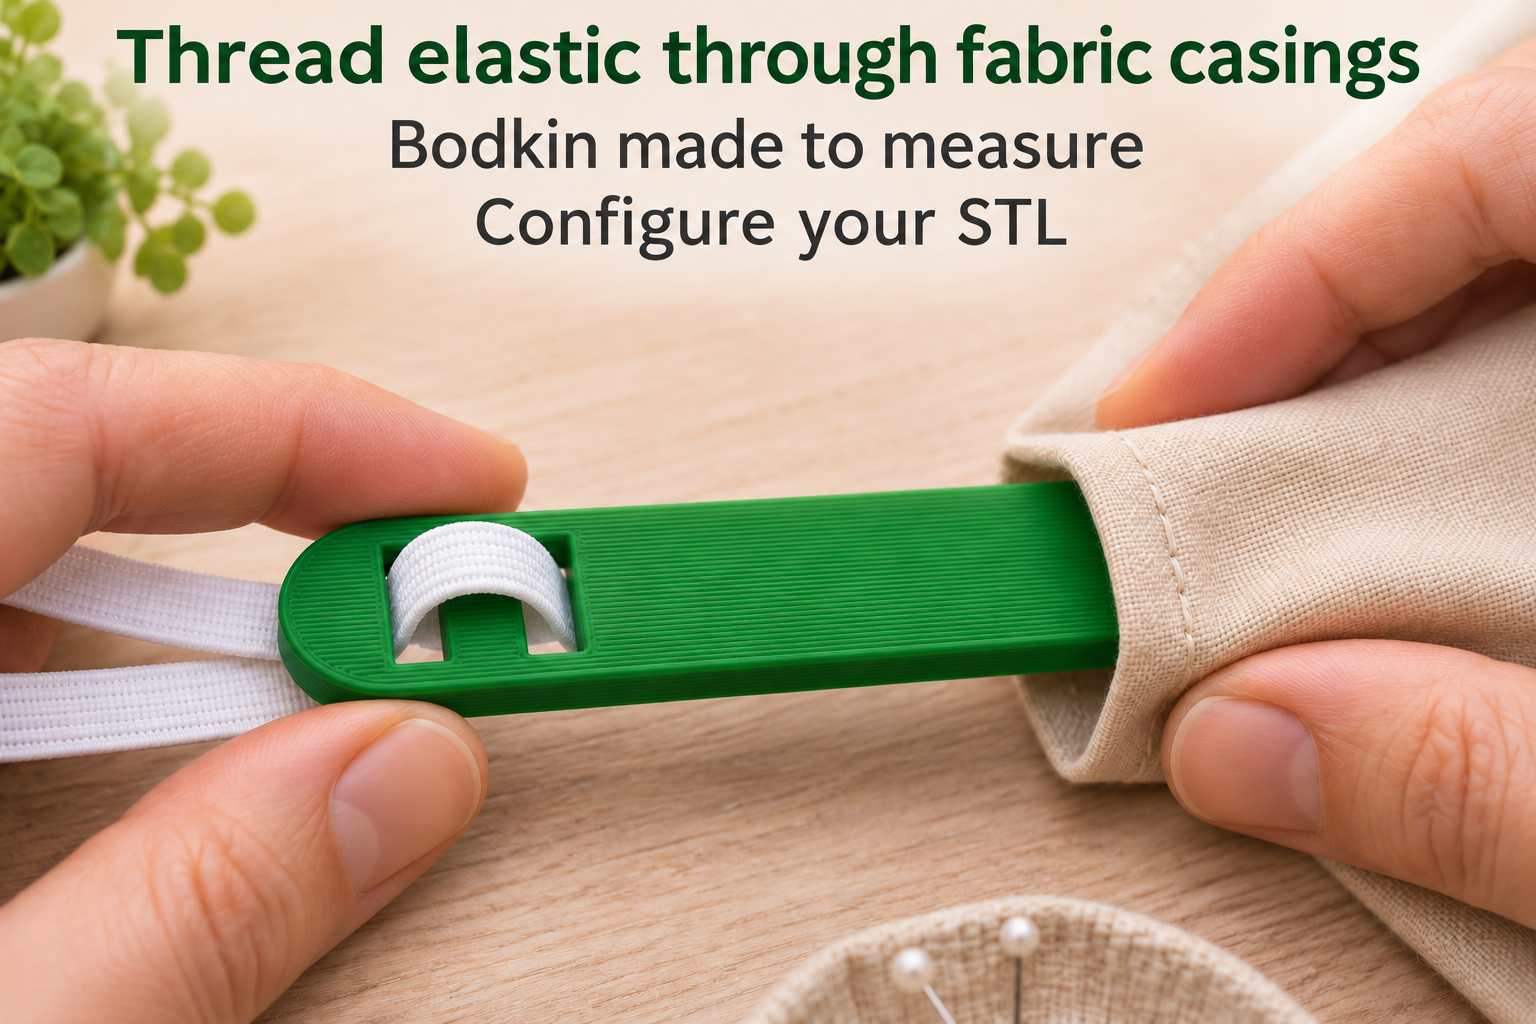
Guide the band through an existing opening
When feeding elastic into a sewn casing, a firm leading piece helps you guide the band. This flat bodkin has two transverse slots near one end and a long blunt front. Pass the elastic through the first slot and back through the second so it wraps around the bridge between them.
Test that connection outside the casing with a gentle pull. Then insert the rounded free end through the existing opening and carefully work the fabric over it. The tool does not pierce fabric and has no metal clamp. It is intended for freely moving casings; do not overcome a snag by pulling hard.
Allow room for the entire bodkin
Clear slot length for the band ranges from 4 to 22 mm, initially 10 mm. The body is always 6 mm wider, giving 16 mm at the starting setting. The casing must accommodate this wider body and the doubled-back elastic section, not just the elastic itself.
Each slot has a fixed narrow dimension of 2.5 mm, and slot centres are 8 mm apart. Check elastic thickness and how it folds as well as width. Overall length ranges from 65 to 140 mm, initially 90 mm. Thickness ranges from 1.6 to 3 mm, initially 2 mm. A longer bodkin does not compensate for insufficient room around tight bends.
Smooth the print and test a short casing
Print flat in PETG with 0.2 mm layers and at least four walls. Smooth the slot edges, rounded ends and underside. Inspect for cracks between the slots and sharp burrs that could damage either fabric or elastic.
Start with a short scrap casing of similar width. Keep the trailing elastic end accessible so it cannot disappear inside. If the bodkin jams or the elastic slips out, release tension and adjust the dimensions or threading. The model contains only the bodkin; elastic and fabric are separate supplies.
The image is an AI application visualization, not a photograph of a physically tested print. Accessories shown are not included in the STL.
Next step