


Weaving and yarn preparation ·
Build a small warping-board layout with printed twin pegs
Two pegs on a screw-mounted plate guide yarn loops on your own board. Match their height, spacing and mounting pattern to your yarn bundle and planned warping path.
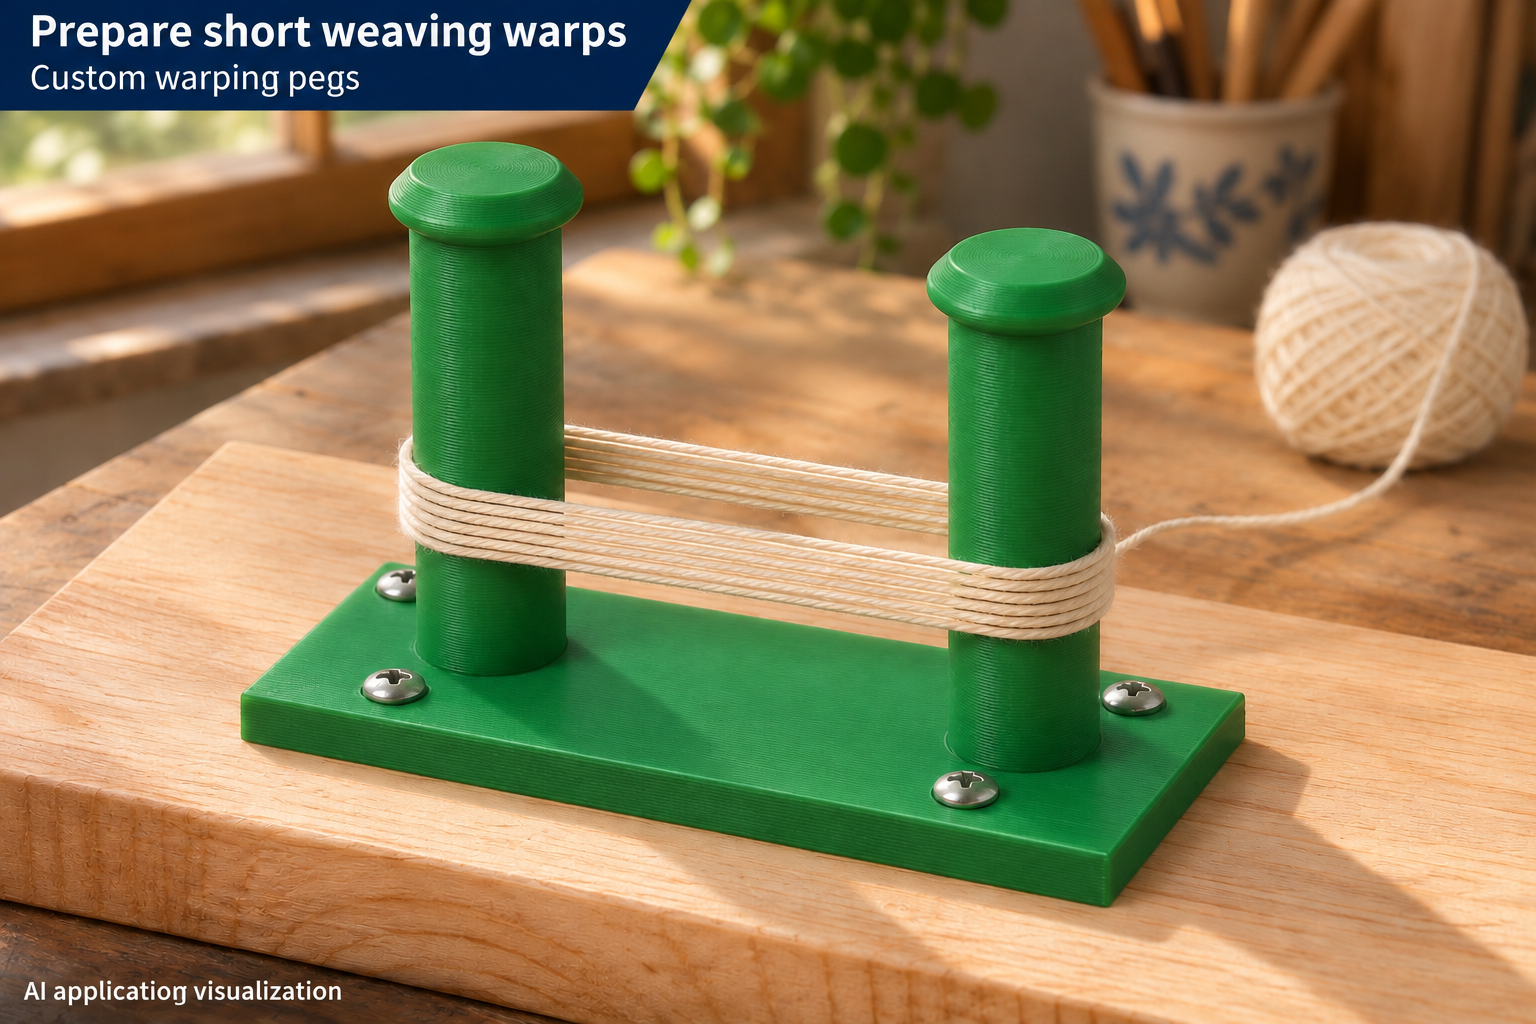
Guide yarn around a layout sized for your board
A small hand-weaving project needs a clear warping path that fits the board available. This module places two upright pegs on one rectangular base. Four screws fasten the base to the wood. Slightly widened heads help keep loosely laid loops from slipping off the tops.
The picture shows short sample loops passing around the outside of both pegs; it is not a loom weaving cloth. Arrange several modules if your planned path requires them. Measure the actual yarn route on the board: the centre spacing of two pegs is not the finished warp length.
Leave enough usable height for the yarn bundle
Peg diameter adjusts from 10 to 24 mm and usable cylindrical height from 25 to 85 mm, starting at 16 and 55 mm. Allow room above the laid bundle so its top strands do not already crowd the heads.
Head overhang is 1–4 mm per side. The head is wider than the shaft and adds height above the usable section. With the standard settings and 5 mm base, overall module height is 65 mm. Usable peg height therefore does not mean the full height of the printed part.
Plan the path and all four screw positions
Centre spacing ranges from 40 to 110 mm. Check clearance between the widened heads and access for handling the yarn. The model limits very slender, tall pegs; individual parameter ranges cannot all be combined freely.
The rectangular base changes size with peg spacing and the mounting pattern. At the starting settings it measures 95 × 42.4 mm. Base thickness can be 3–8 mm. Four plain through holes sit in pairs, one in front of and one behind each peg. Hole diameter and transverse hole spacing are separately adjustable. Choose screws with heads that bear on the plate and lengths suited to the board thickness.
Smooth the contact surfaces before winding
Inspect a first print for rough layer edges, burrs and uneven areas wherever yarn will touch. Smooth these areas and draw a piece of your actual yarn across them before preparing the warp. Fasten the plate onto a flat surface and check all four screws.
Begin with a few loops under light hand tension. The strands pass around the outer peg surfaces and stay below the heads. This model is for short hand-weaving warps, not powered tensioning or load carrying. Board, screws and yarn are separate items. The image is an AI application visualization; no physical test prints have been performed.
Next step