


Music and microphone accessories ·
Guide a lavalier microphone cable on two strings with a soft TPU bridge
Two slotted sockets grip strings between the bridge and tailpiece. A separate open clip guides the cable while the microphone capsule remains free.
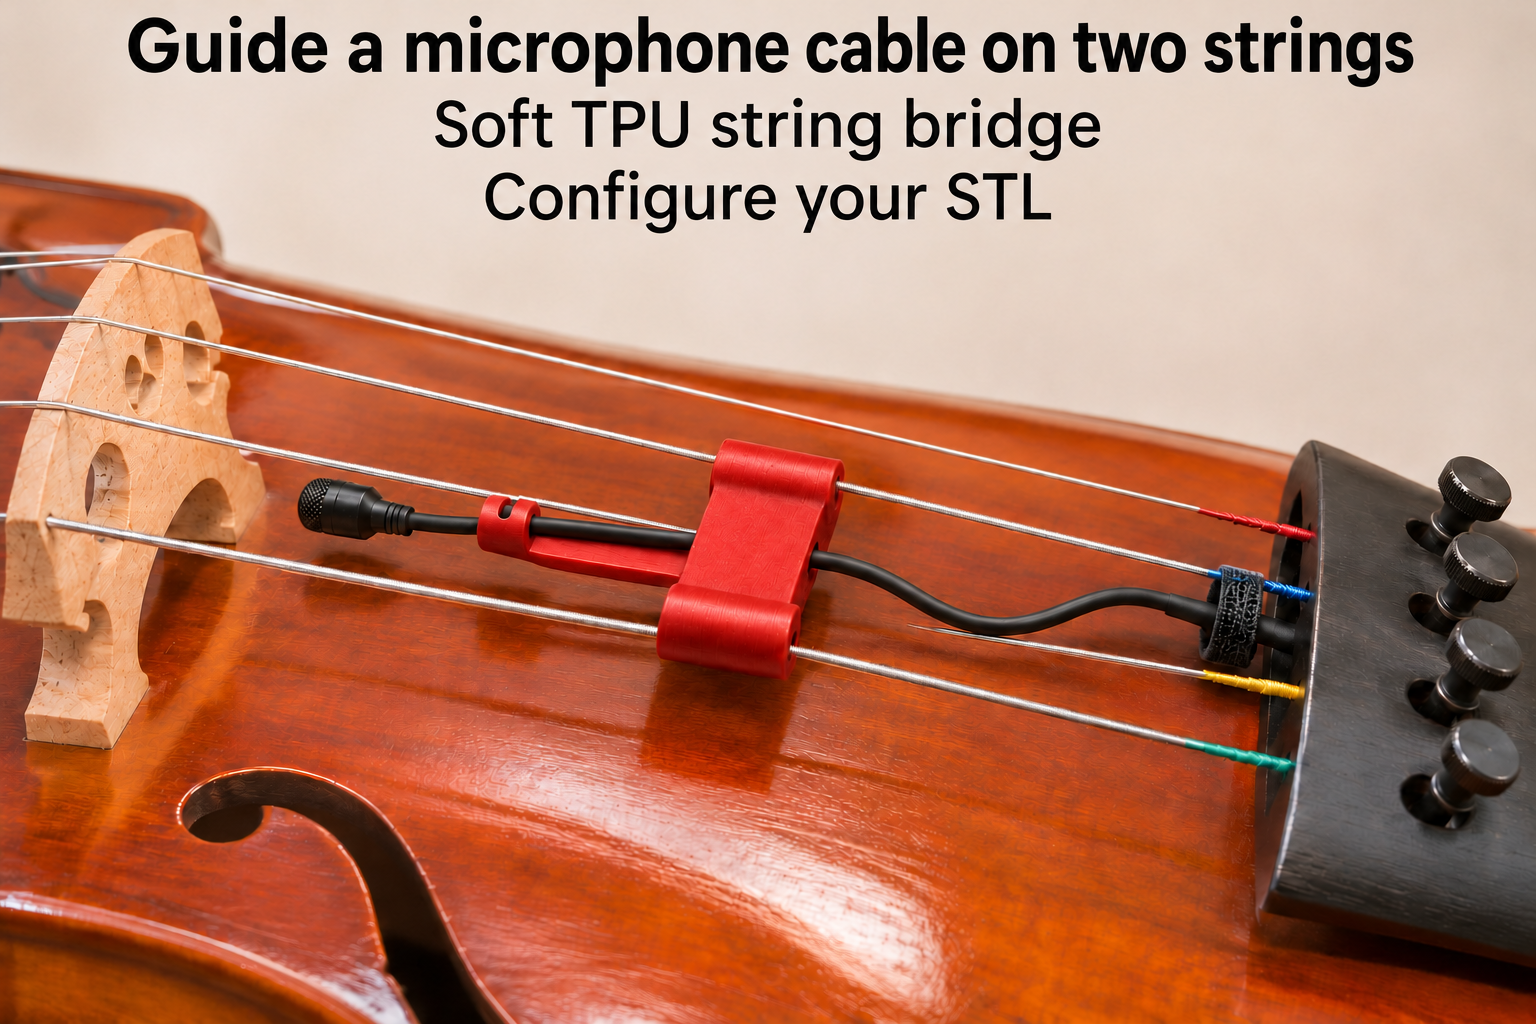
Guide the cable behind the instrument bridge
A custom microphone setup on a bowed string instrument may need a thin cable guided at a suitable position without gripping the capsule itself. This soft TPU bridge uses two downward-slotted sockets around two strings between the bridge and tailpiece. An extended arm carries a separate upward-opening cable clip.
The strings run lengthwise through their sockets and the cable sits in its own clip. Leave the microphone capsule outside and free. This is neither a capsule clamp nor a bridge mute. Choose the position and provide additional cable strain relief on your own instrument.
Measure at the intended contact points
The selected string-centre spacing ranges from 7 to 25 mm, initially 12 mm. Measure where the part will actually sit because spacing can change along the strings. String bore diameter ranges from 0.6 to 2.5 mm, initially 1.2 mm, and applies to both sockets. Substantially different string diameters may prevent a suitable shared fit.
Cable diameter ranges from 1.2 to 4 mm, initially 2.2 mm. Entry slots are deliberately narrower than their bores: each is 64 percent of the entered diameter. Insertion therefore relies on soft TPU flexing. Do not make the part as a rigid clamp or spread strings apart to compensate for incorrect sizing.
Print softly and fit without force
Clip wall and contact length range from 1–2.2 and 5–14 mm, initially 1.4 and 8 mm. Arm reach ranges from 4 to 18 mm, initially 8 mm, and connecting-web thickness from 1.6 to 4 mm, initially 2.4 mm. The reach setting is a construction dimension rather than the overall finished length.
Smooth every string and cable contact and fit the part without force. Check that it touches neither other strings nor the instrument body and that the capsule remains clear. Route the cable with slack and independent strain relief. Then check its seating and listen for unwanted noise while playing. No sound improvement or universal brand compatibility is promised. Screws and adhesive are not part of the mounting method.
The image is an AI application visualization, not a photograph of a physically tested print. Accessories shown are not included in the STL.
Next step