


Knitting tools ·
Size a three-stitch transfer tool to your knitting machine's needle pitch
Create a flat three-prong transfer tool with closed eyes. Set needle pitch, prong length and eye diameter, then print and check the fit with your own machine.
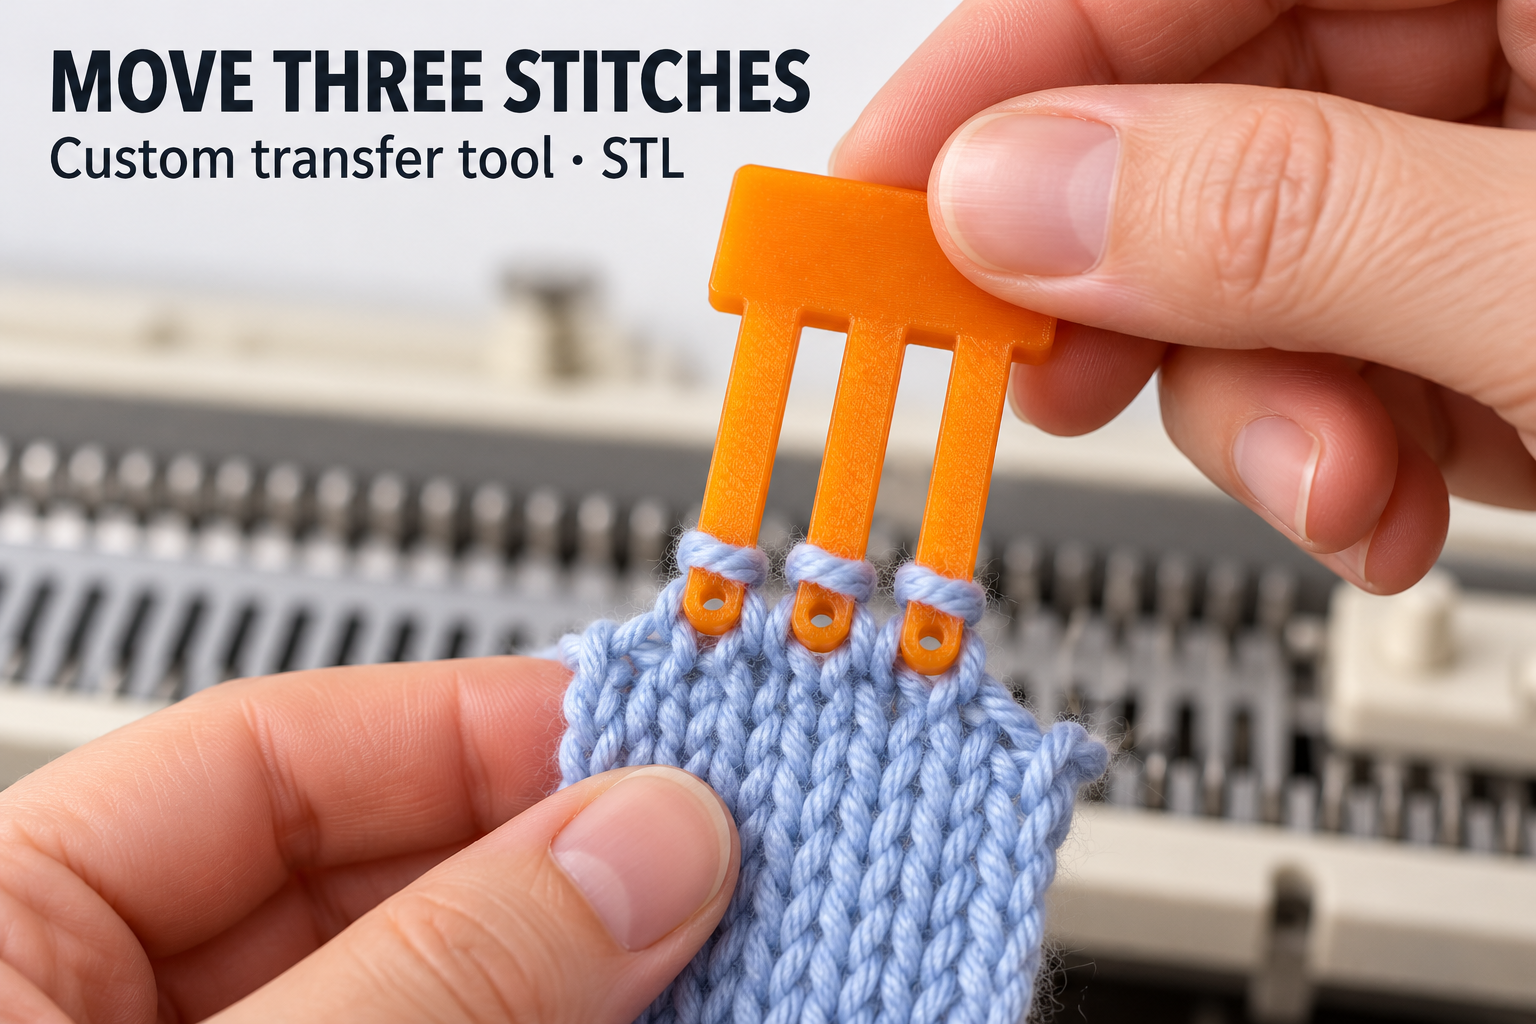
Move a small group of stitches with one measured tool
When a hand transfer calls for three adjacent live stitches, a tool with matching spacing can help keep them together. This parametric design combines a broad flat grip with three parallel prongs, each ending in a closed round eye. It is intended for manual transfer on a knitting machine when the eyes and prong thickness suit the actual needles.
If you are looking for a three-stitch transfer tool STL, check more than the machine's advertised gauge. The printed tool must align with the needle centers and engage the hooks without forcing them. This model has no separate metal tips and does not assume compatibility with a particular brand.
Measure pitch and inspect the needle hooks
Needle pitch is the center-to-center spacing of adjacent needles. It can be set from 4.5 to 12 mm; the default is 6.5 mm. Measure several intervals on your machine and divide by their number if that makes the measurement easier. The distance between the first and third needles is two pitches, not three.
Free prong length is adjustable from 18 to 34 mm, initially 26 mm. Select enough reach for your working position without assuming that a longer prong is stronger. The eye bore can be 1.2 to 2 mm, initially 1.6 mm. Tool thickness remains 1.6 mm. Check both the opening and that thickness against the needle-hook shape; a matching pitch alone is not sufficient.
Print flat and prepare the yarn-contact edges
The model guidance specifies a flat PETG print. Inspect the sliced eye openings before printing, then check the finished holes and all edges. Carefully smooth rough spots and remove stray filament that could catch fine yarn. Do not turn a closed eye into an open slot while cleaning it.
Start with loose scrap yarn and a practice swatch. Follow your machine's manual for the needle position and transfer sequence. Align all three eyes before taking the stitches onto the prongs, support the fabric and move without pulling. Stop if a hook will not engage or a stitch catches. The tool is not a lever for bending or moving a resistant needle.
Confirm the fit before using a finished piece
The application image illustrates three stitches temporarily resting on the prong shafts; the yarn does not pass through the small needle-engagement eyes. Test pickup and return on your own needles before using the tool on an important project. A successful fit on one machine does not establish compatibility with another.
The image is an AI visualization, and the geometry has been digitally checked without a claimed physical test print. Machine, yarn and other knitting accessories are not included. Configure your custom three-stitch transfer tool, review the preview and purchase the STL for a measured trial on your 3D printer.
Next step