


Photography setups and workshop aids ·
Place a lightweight photo subject on a removable three-point platform
Three bonded balls support an upper plate on a cone, V-groove and flat. Lift off a small tabletop setup together with its platform, then place it back on the contacts.
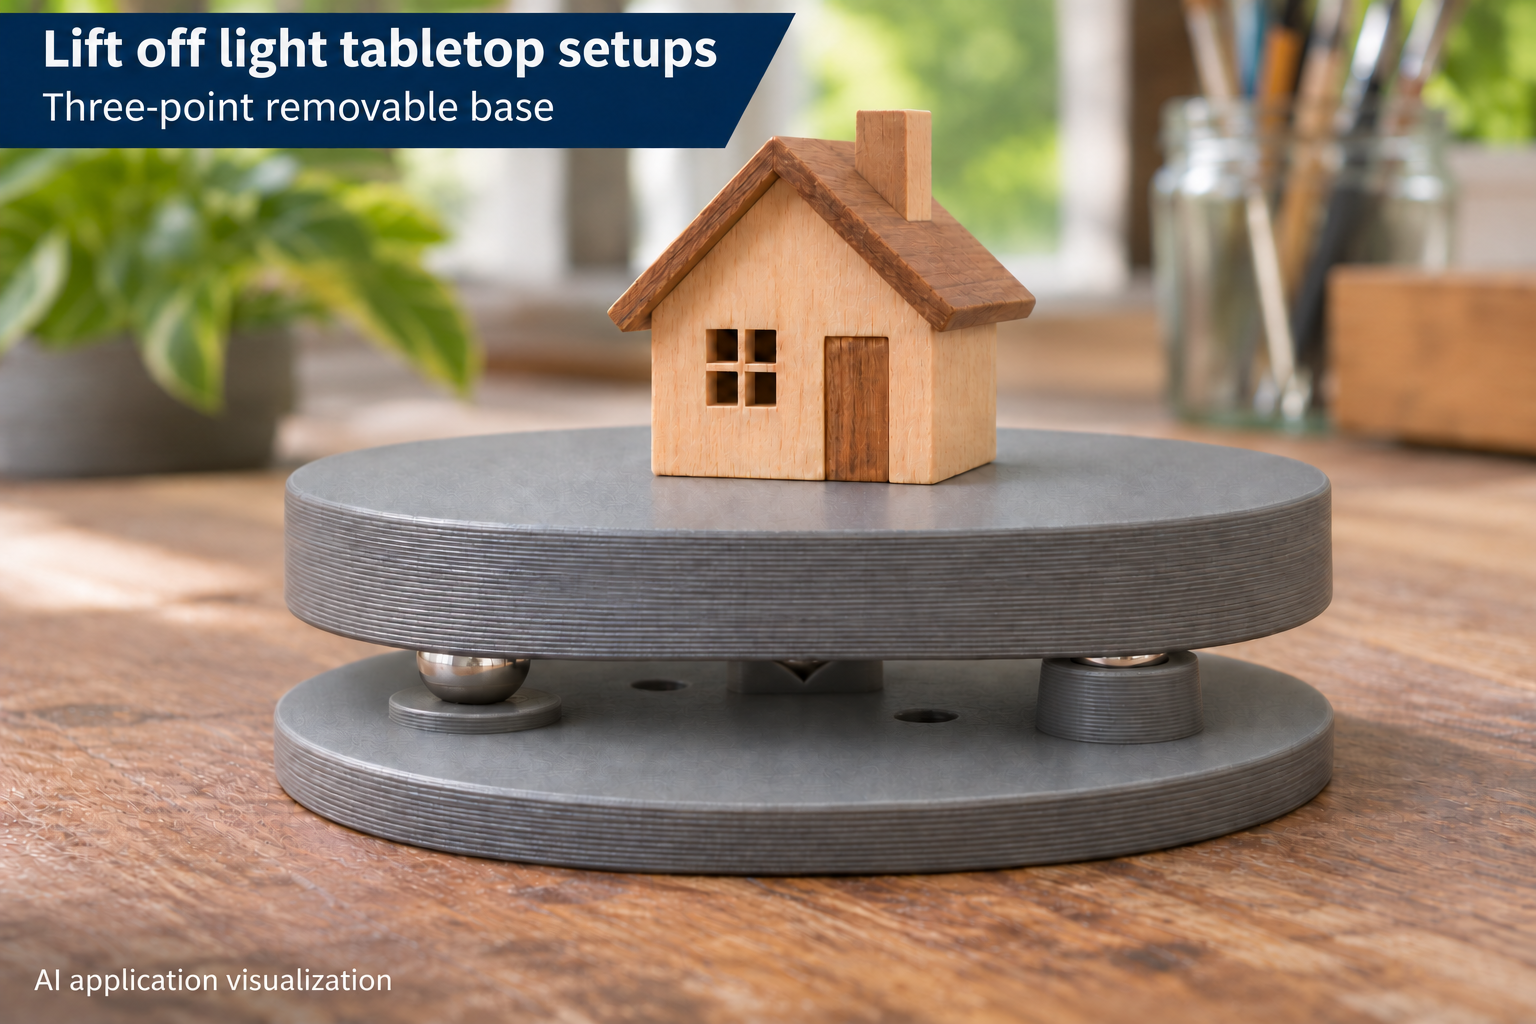
Lift a small subject together with its support
For tabletop photography or a craft project, you may want to remove a lightweight subject and its platform as one unit. This base consists of two round printed plates. Three separate matching balls bonded into the upper plate meet a conical seat, an oriented V-groove and a low flat pad on the lower plate.
The picture shows a small wooden house on the seated platform. The three different contacts locate it without a close-fitting rim around the edge. There is no latch: gravity alone keeps the upper plate resting horizontally on the contacts.
Choose plate diameter and contact radius
Plate diameter adjusts from 55 to 120 mm, starting at 80 mm. The three contacts are equally spaced at 120 degrees around a circle. Its radius can be 16–40 mm and starts at 25 mm. This is the distance from the plate centre to a contact, not the distance between two balls.
Keep the subject centred and within the support footprint. Larger dimensions alone do not establish a rated load capacity. Contacts, mounting holes and the outer edge need adequate clearance; the individual adjustment limits cannot be combined arbitrarily.
Bond three balls into the upper plate, then flip it
Ball diameter ranges from 4 to 10 mm, initially 6 mm. Use three balls of the same actual size. Each is bonded halfway into a hemispherical pocket in the upper plate, leaving its other half projecting from the contact face. The balls belong to the upper plate; they are not loose bearings placed between the two discs.
Both plates are supplied in an unassembled print layout. Turn the upper one over for assembly so the balls face down. Keep the lower one with its cone, V-groove and flat facing up. Lower plate thickness ranges from 3 to 7 mm and upper thickness from 4 to 10 mm. Larger balls require enough material remaining above the pockets.
Check fastening and seating on your own setup
Both plates have two plain mounting holes. Their diameter and centre spacing are adjustable, initially 3.4 and 20 mm. Arrange any fasteners so they cannot intrude into the contacts or stop the plates seating correctly. Balls, screws and any attached subject fixtures are separate items.
Keep burrs and adhesive off the contact faces. After the adhesive cures, check that all three contacts support the platform without rocking. Lift the complete upper assembly clear to remove it. No positioning-repeatability specification is claimed. Use it for a light horizontal tabletop setup, never for loads suspended above people. The image is an AI application visualization; no physical test prints have been performed.
Next step