


Sewing and fabric tools ·
Fit a screw-in fabric eyelet to a light curtain or craft panel
Create a two-part eyelet sized for your fabric project. Adjust the opening, reinforced fabric thickness and rim, then download the STL to print both rings.
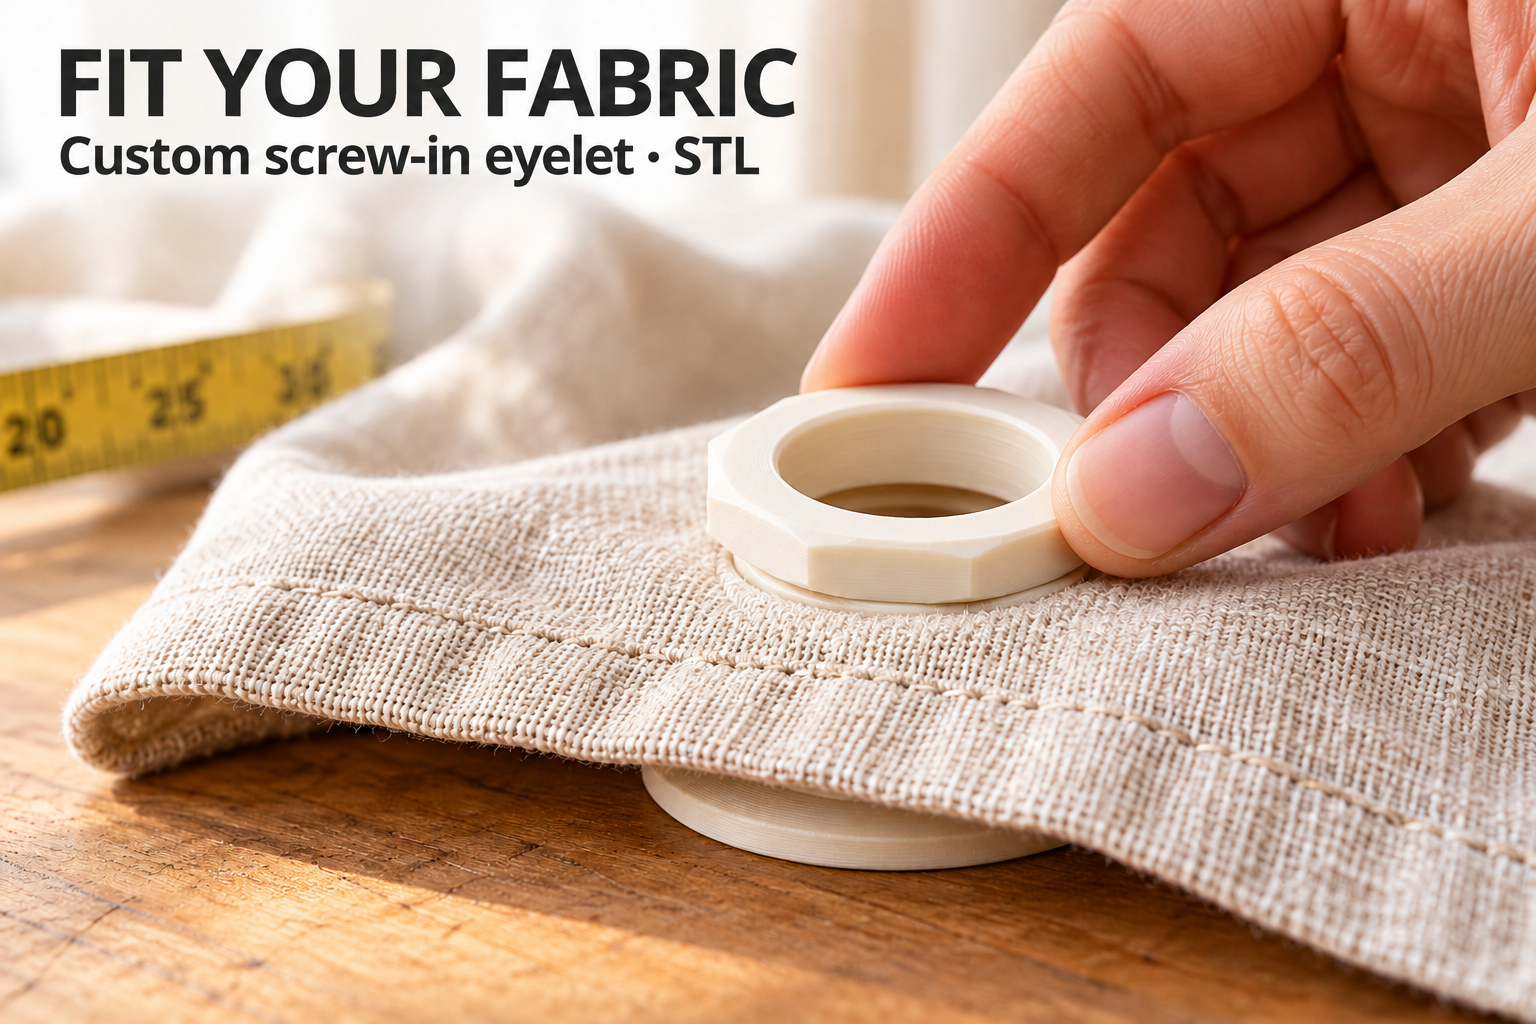
Finish a fabric opening with two printed rings
A lightweight curtain panel or a small fabric craft project may need an opening that standard eyelets do not quite match. This parametric screw-in eyelet lets you set the clear opening and the fabric stack thickness before downloading the STL. A broad front ring carries an open threaded neck; a separate backing ring screws onto it from the other side of the fabric.
The result is a removable two-part fitting rather than a metal eyelet that must be pressed permanently together. Start by checking your project dimensions, then print one pair and test it on a reinforced fabric offcut before cutting the finished panel.
Distinguish the clear opening from the fabric cutout
The clear inside diameter can be set from 16 to 40 mm. That is the usable hole through the assembled eyelet, not the hole you cut in the cloth. The fabric cutout must accommodate the outside of the threaded neck: the selected clear opening plus 6 mm, with a small fitting allowance. For the 25 mm default opening, the nominal neck outside diameter is therefore 31 mm.
Measure the complete reinforced fabric stack, including folded layers or interfacing, and enter a thickness from 0.8 to 4 mm. The default is 2 mm. Reinforce thin or fraying material first, then measure again; otherwise the finished stack may not match the fitting.
Choose the visible rim and the thread fit
The visible rim's radial width is adjustable from 6 to 12 mm, with an 8 mm default. Front rim thickness ranges from 2.5 to 5 mm, initially 3 mm. These controls let you balance the visible border with the space around the opening.
Radial thread clearance is a separate setting from 0.2 to 0.45 mm, initially 0.3 mm. It controls the fit between the printed threaded parts; it is not an allowance for the cloth cutout. Inspect the sliced threads, remove stray strands and test the two rings together before installation. If they bind, review print accuracy and clearance rather than forcing them.
Assemble gently and check the fabric
Pass the front ring's neck through the prepared opening, start the backing ring squarely from behind and tighten evenly by hand. The fabric should sit between the rings without crushed folds. Keep the central passage open and check that the edge remains covered when the fabric moves.
This design is for light indoor curtains and craft fabric. It is not a rated tie-down, load-bearing eyelet or waterproof feedthrough. The image is an AI application visualization; digital geometry checks do not represent a physical test print. Fabric and accessories are not included.
Configure your threaded fabric eyelet and purchase the custom STL for your 3D printer. A small trial pair helps you confirm the fit before making the rest of your project.
Next step