


Furniture and interiors ·
Fit a brush strip into a T-slot: a carrier profile for a furniture gap
When an existing brush backing does not fit the rail, a printed intermediate profile connects its flat strip to a compatible T-slot on light furniture.
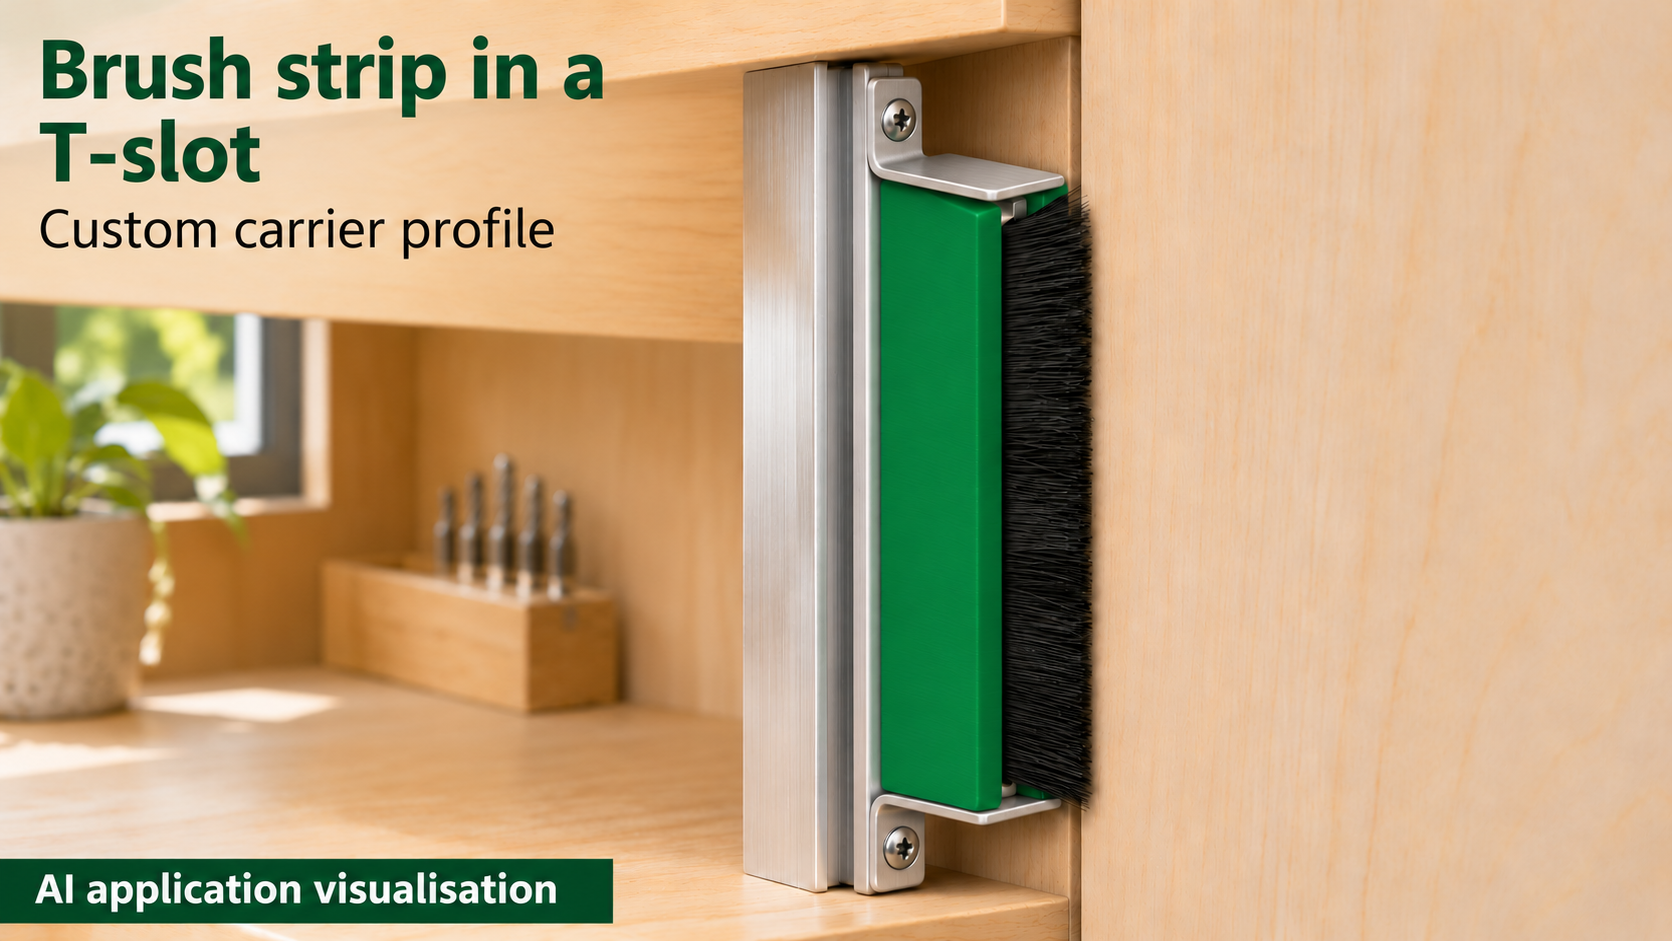
Connect two different profile shapes
A brush strip is intended to cover a small gap in a lightweight cabinet, but its flat backing does not fit the existing T-slot. This straight intermediate carrier provides two lengthwise sliding interfaces. A broad T-foot sits behind the rail lips, while the brush backing fits in the outer channel. Only the bristles emerge through its narrower opening.
The model includes no bristles, aluminium rail or end stops. The illustration shows a short segment used as a local dust and sight screen, not a fully sealed door.
Measure the slot and backing separately
Measure the internal width and depth behind the slot lips, plus the opening width and lip thickness. fuss_b and fuss_t are finished outside dimensions of the T-foot; steg_b is the connecting stem width. The stem must pass through the opening while the foot retains enough overlap behind it. The fixed clear stem length between foot and channel is 2.5 mm, so the rail lips must fit this space too.
Then measure the actual brush backing width and thickness. ruecken_b and ruecken_t are finished internal channel dimensions. austritt is the narrower opening for the bristle bundle. Add your own printing and sliding clearance: the configurator provides no automatic fit allowance. The backing edges must remain underneath the retaining shoulders.
Seven settings with defined limits
Defaults are laenge 60 mm, fuss_b 9 mm, fuss_t 1.6 mm, steg_b 5 mm, ruecken_b 6.9 mm, ruecken_t 1.8 mm and austritt 3.5 mm. Outer channel width is ruecken_b plus 4 mm, giving 10.9 mm. Distance from foot underside to outer channel face is fuss_t plus ruecken_t plus 6.5 mm, or 9.9 mm; the bristles extend beyond this.
Ranges are length 25–150 mm, foot width 6–14 mm, foot thickness 1.2–3 mm, stem width 3–8 mm, channel width 4.8–10 mm, channel height 1–3 mm and outlet 2–6 mm. The foot must be at least 2 mm wider than the stem. The backing channel must stay at least 2 mm wider than the outlet. These geometry limits do not replace checking the actual rail.
Slide in lengthwise and retain both components
Print standing on the cross-section. For long slender segments, check bed adhesion and stability in the slicer. Start with a short permitted length and test both fits. Remove burrs without grinding away foot shoulders or channel lips. The foot slides in from the open rail end, and the backing enters from the open channel end. Sideways snap-in installation is not designed into this model.
Both longitudinal ends remain open. Separate stops must prevent both the carrier and the brush backing from sliding out. The metal brackets shown belong to the furniture assembly and overlap the end faces of both parts. Plan the required insertion space and future removal before closing the ends.
Check bristle contact and movement
Choose bristle length for the remaining gap and verify gentle contact with the opposing surface. Excessive bending can increase friction and load the carrier. Move any sliding furniture panel slowly through its full travel; the rigid carrier must not scrape or collide.
This is a light indoor dust or sight screen. It offers no stated waterproofing, fire protection or burglary resistance. The image is an AI application visualisation, not documentation of a physical print or endurance test.
Next step