


Workshop and storage ·
Label shelf compartments with a holder sized for the existing shelf edge
Keep screws, craft supplies or storage bins easy to identify with replaceable paper labels in a slide-on holder matched to your shelf thickness.
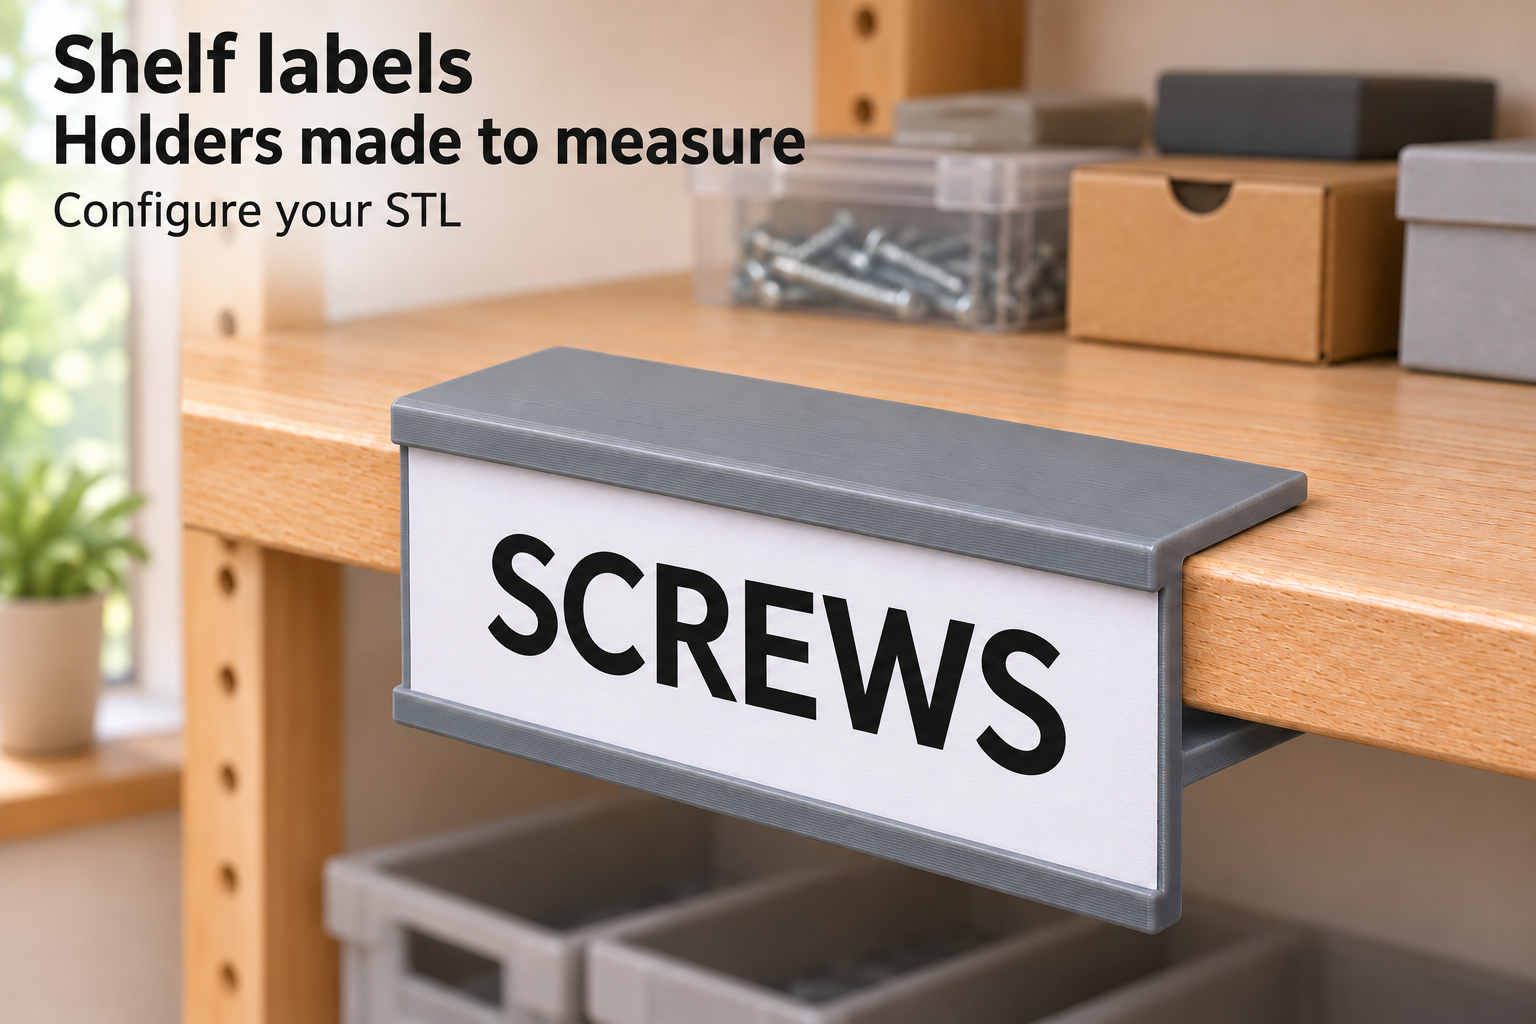
Keep the label with the compartment
When several similar boxes sit side by side, a label on the shelf helps identify the right compartment. It stays visible when a box is removed. This holder slides onto a straight shelf edge and carries a replaceable paper strip behind two shallow front lips. The insert enters and leaves from either open side.
It suits a dry indoor storage area for screws, craft materials or supplies. Changing the wording only requires a new paper insert, not another printed plastic sign. The paper is exposed: the model does not include a clear protective window.
Set the shelf gap separately from the front size
Measure the thickness of the shelf edge where the holder will sit. The clear gap between the rear arms can be set from 8 to 26 mm. Enter the finished opening including the clearance you want. The initial 18.3 mm setting may be a starting point for an 18 mm shelf, but the actual fit depends on your print.
Holder length adjusts from 40 to 120 mm and total front height from 32 to 55 mm, starting at 75 and 35 mm. Front height is the full profile height, not the unobstructed label area. The retaining lips cover part of the paper at its top and bottom, so trim the insert to the finished channel.
Print the profile and leave room for label changes
The suggested starting settings are PETG, 0.2 mm layers and four perimeters. Print standing on the short end of the extruded profile and use a brim for bed adhesion. Clear strings and rough spots from the narrow paper guides before inserting a label.
The rear arms extend approximately 18 mm above and below the shelf edge. Check that the surface is straight and those areas are unobstructed. A spring-clamping action is not guaranteed. A small removable adhesive spot can help on a suitable surface if the holder is loose; do not force an opening that is too tight. Keep one side accessible so the paper can slide out when the compartment contents change.
The image is an AI application visualization, not a photograph of a physically tested print. Accessories shown are not included in the STL.
Next step