


Repairs and enclosures ·
Repair a broken plastic screw boss with a printed sleeve and glue flange
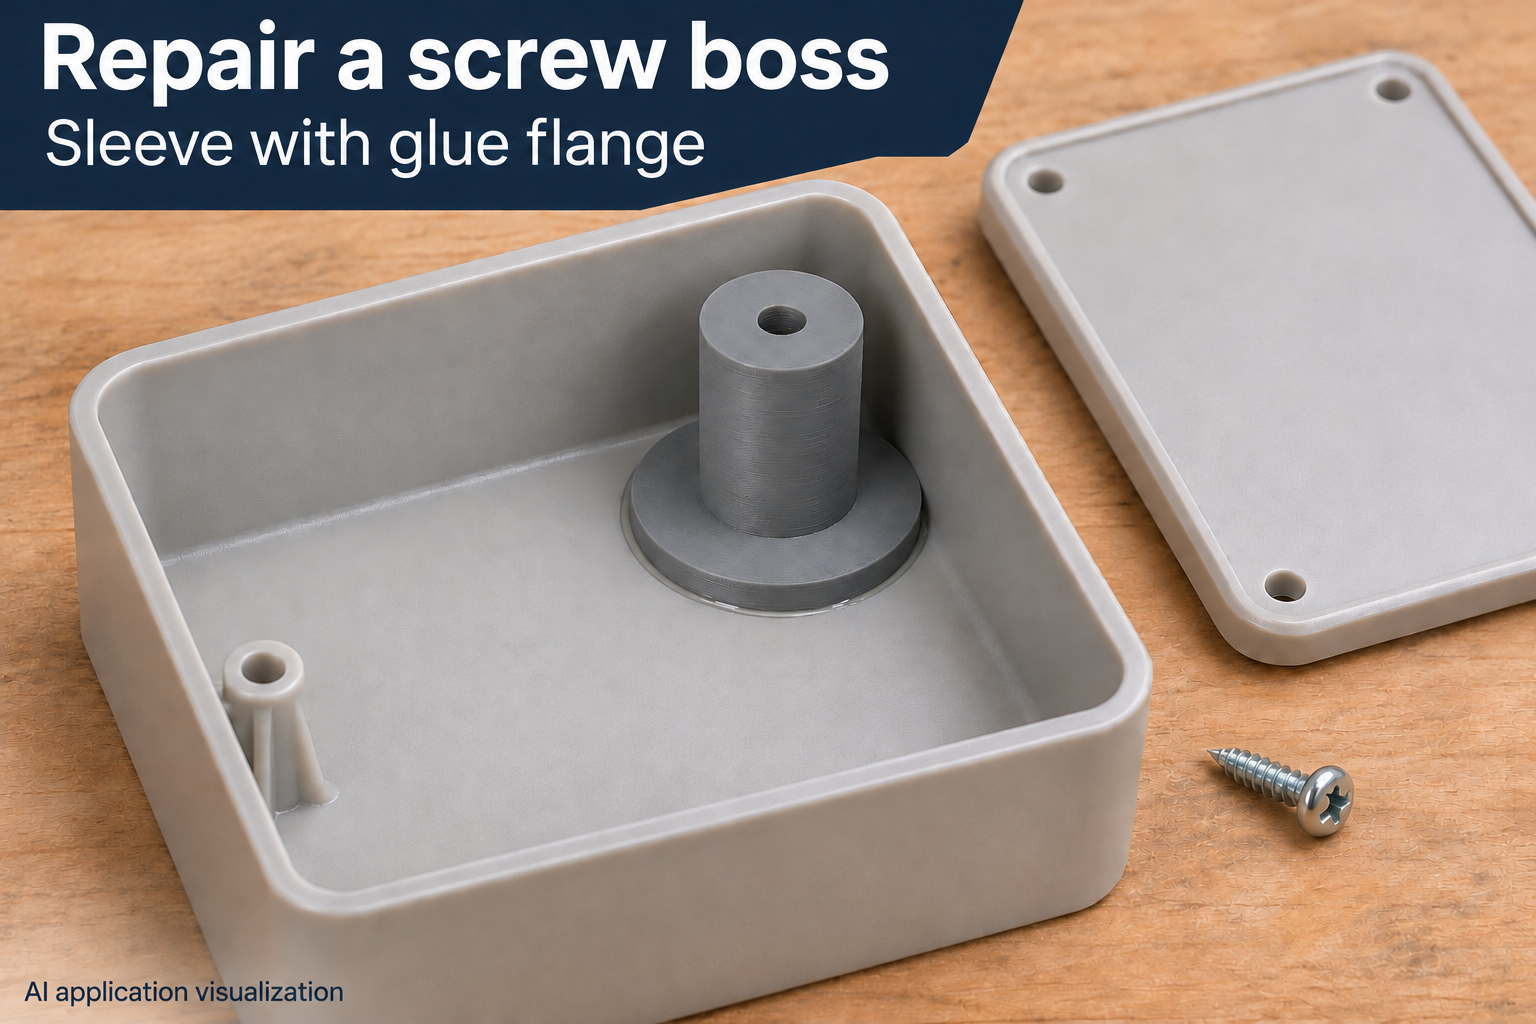
The sleeve locates over a sound stump of the original screw boss. Its broad flange bonds to the flat enclosure floor, while a small pilot hole accepts the lid screw.
Rebuild a lightly loaded lid fixing
When a screw boss breaks inside a small hobby enclosure, a sound round stump may remain on the floor. This sleeve has a larger underside recess that fits over that stump and stops below the top. Its broad circular flange rests on the flat enclosure floor and bonds to it with a suitable adhesive.
A smaller pilot hole at the top accepts a separately supplied thread-forming screw for plastic. The printed model has no finished thread or metal insert. It needs an intact floor and a sufficiently sound locating stump; the sleeve alone does not turn loose fragments or a cracked base into a reliable mounting.
Measure the stump and available flange space
The underside recess can be 4–12 mm in diameter and 2–10 mm deep, initially 6.4 and 4 mm. Your chosen diameter must already include the required adhesive clearance. The model does not automatically add another glue gap. The stump must not hold the sleeve above the floor.
Wall thickness is 1.5–4 mm. Barrel outside diameter equals the recess diameter plus twice the wall thickness. Flange diameter can be 14–34 mm and flange thickness 1.5–4 mm. Check corners carefully: the whole flange needs a flat landing area clear of walls and reinforcing ribs.
Match the height and screw to the lid
Overall height ranges from 8 to 28 mm, initially 14 mm. Measure the original lid support height so the cover closes without distortion. The pilot hole can be 1.8–4.2 mm, initially 2.5 mm. Hole size, screw type and printed material need to be tested together.
Usable material above the lower stump recess is limited. Account for lid thickness and screw engagement when choosing screw length, so the tip does not bottom against the old stump or enclosure floor.
Dry-fit before bonding
Check the print's location and lid alignment without adhesive first. Prepare both plastics according to the selected adhesive manufacturer's instructions and allow its stated curing time. Keep adhesive out of the pilot hole. Tighten the screw only enough to seat the light lid. This application concerns lightly loaded hobby enclosures, not hinge mounts or safety-critical housings. Adhesive and screw are separate supplies; no rated strength or physically tested print is claimed.
The image is an AI application visualization, not a photograph of a physically tested print. Illustrated accessories are not included in the STL.
Next step