


Craft tools ·
Make repeatable gift bows with a ribbon jig sized for your ribbon
Set the loop-post spacing, height and center gap for a bow-making jig you can print yourself. Wrap, tie and lift decorative ribbon bows from the same guide.
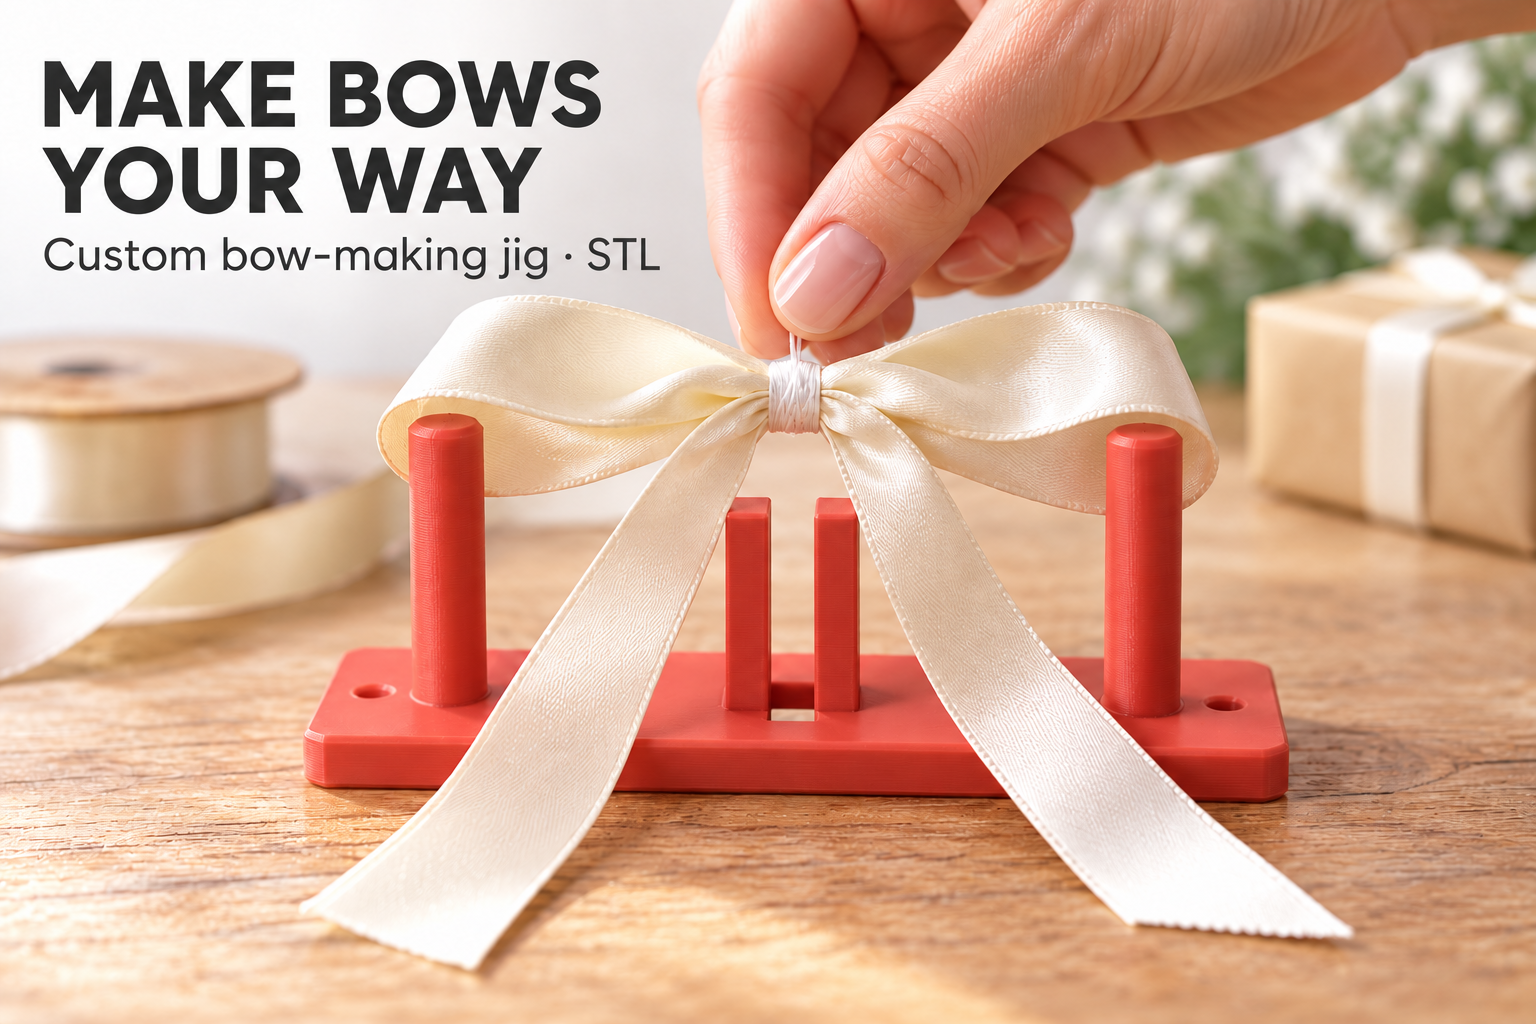
Give the next bow the same starting span
When you wrap several gifts or prepare matching decorations, holding ribbon loops at a similar width can be fiddly. This 3D-printable bow jig gives you two outer round posts to guide the loop span and a central fork to gather the ribbon before tying. It is a small bench tool for repeating a chosen setup with your own ribbon.
If you are searching for a ribbon bow maker STL that suits a particular project, configure the tool before downloading it. You can change the spacing and working height without scaling every feature of a fixed model. The finished bow still depends on the ribbon, the amount wrapped and how you arrange the loops.
Choose dimensions around your ribbon
The distance between the outer loop posts is adjustable from 70 to 160 mm, initially 110 mm. Treat this as the jig's wrapping span, not a guaranteed final bow width. Gathering and spreading the ribbon will change its final shape.
Usable post height ranges from 30 to 65 mm, with a 45 mm default. Height provides room for ribbon layers; it does not clamp them. The round posts can be 8 to 14 mm in diameter, initially 10 mm. Consider how easily your chosen ribbon bends around them without unwanted creases.
The clear gap in the central tying fork is adjustable from 5 to 12 mm, initially 8 mm. Choose enough room for the gathered ribbon and your tying method. Base width ranges from 32 to 60 mm, with 42 mm as the starting value. Two 4.5 mm holes allow optional attachment to your own support board.
Prepare the center before wrapping
Place the tying thread through the opening beneath the center fork before you start adding ribbon. Guide the ribbon loosely around the outer posts, gather the layers in the fork and tie the middle. Thread or thin craft wire can hold the center, depending on the decoration you are making.
Lift the tied bow upward off the posts, then spread the loops and arrange the tails. Avoid pulling sideways against the printed prongs. Try a simple bow first so you can judge the selected span and center gap before making a larger batch. Keep a note of the dimensions and ribbon type if you want to repeat the setup later.
Check the print where it touches the ribbon
Inspect the post surfaces and fork edges for rough spots or stray filament that could catch delicate fabric. Confirm that the base rests steadily and that the tying opening remains clear after printing. Ribbon, thread and mounting fasteners are not included in the model.
The photograph-style image is an AI visualization. Geometry has been digitally checked, but no physical test print is claimed. Configure your custom ribbon bow-making jig, review its preview and purchase the STL to print the tool for your next set of gifts or decorations.
Next step