


Displays and hobby mechanisms ·
Set a light tabletop display to repeatable positions with a removable pin
A fixed base, rotating hole plate and loose pin provide a simple manual adjustment for small horizontal hobby displays.
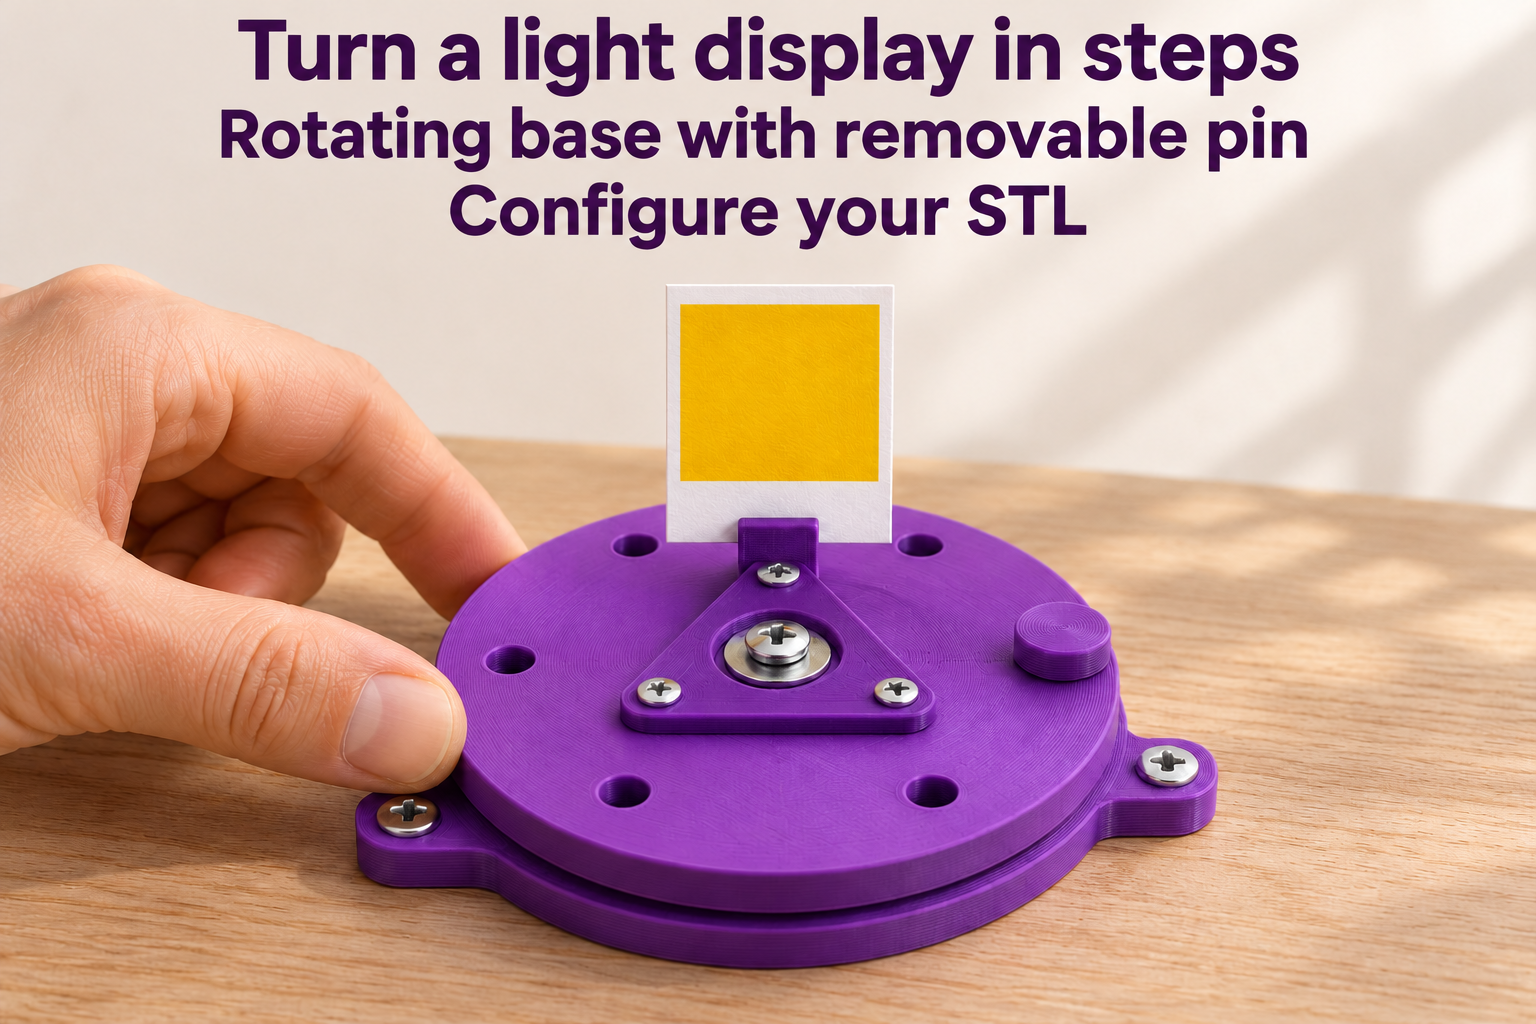
Orient a small display in defined steps
A light sign, card holder or small craft assembly may need several tabletop viewing positions. This set consists of a fixed screw-down base, a rotating perforated disc and a loose indexing pin. Your own centre screw and washers guide rotation.
Insert the pin from above through a disc hole into the single receiving hole in the base. To adjust, remove it completely, turn the disc slowly and reinsert it when the holes align. There is no spring-loaded automatic detent or hidden locking mechanism.
Choose hole count and circle diameter together
Disc diameter ranges from 45 to 110 mm, starting at 70 mm. Index-hole pitch-circle diameter ranges from 30 to 85 mm, initially 50 mm. Hole count accepts integers from 6 to 24. Angular spacing is 360 degrees divided by that count: twelve holes give 30-degree steps, while six holes as illustrated give 60-degree steps.
Pin diameter ranges from 3 to 6 mm, initially 4 mm. Corresponding holes include a fixed 0.35 mm diameter allowance. This does not promise backlash-free precision indexing. Enough material must remain at the disc edge and between holes; large holes cannot be combined with every small pitch circle.
Attach the display and inspect free movement
Three inner holes fasten your light display to the disc. Their circle diameter is half the indexing pitch-circle diameter. Underside 90-degree countersinks accommodate flat screw heads. Check that these sit flush before assembly so they cannot rub against the fixed base. Leave the centre pivot and indexing holes accessible.
Disc and base thickness each range from 3 to 8 mm, initially 5 mm. Centre and mounting bores start at 5.4 and 3.4 mm. Deburr the holes, screw down the base and adjust the centre fastening to allow rotation without binding. Use horizontally, slowly and by hand only. It is not a load-securing device, machine fixture or a system with verified angular accuracy.
The image is an AI application visualization, not a photograph of a physically tested print. Accessories shown are not included in the STL.
Next step