


Board games and the gaming table ·
Deal from a card stack with a tray sized for your playing cards
Keep a horizontal card stack organized and slide the bottom card through a front slot. Match the tray dimensions and outlet gap to your deck.
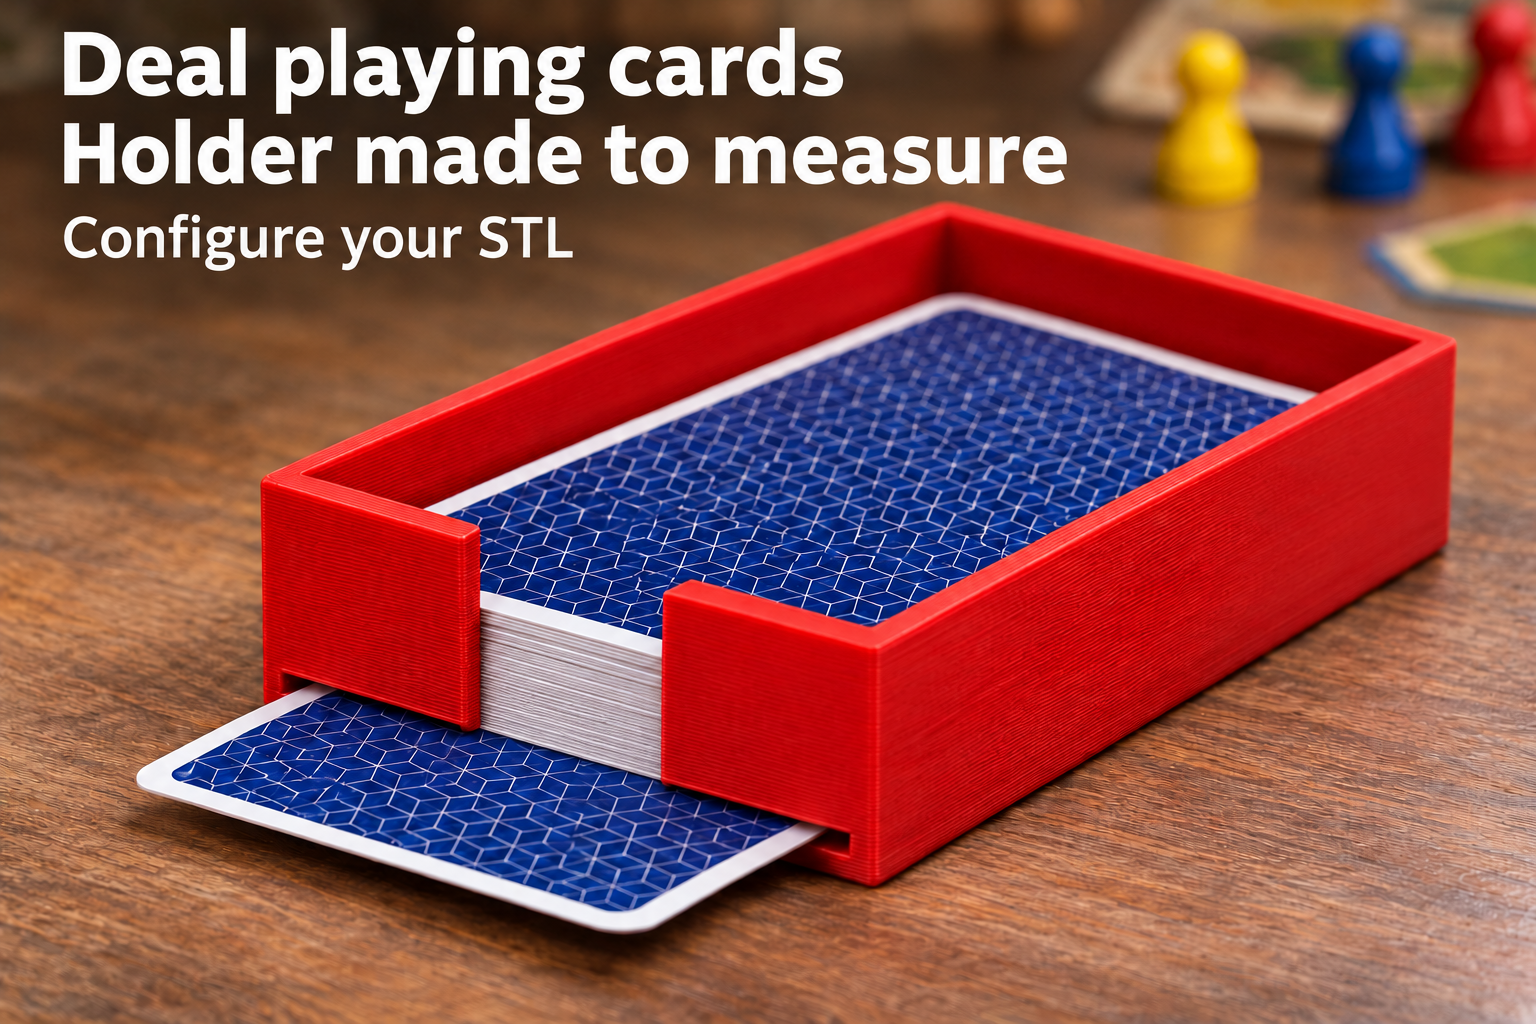
Keep the deck together on the game table
During a board game, an accessible deck is useful, but loose cards can spread across the table as they are taken. This tray provides a flat, open resting area with side walls and a rear wall. The bottom card slides out through a low slot at the front.
A large central finger opening interrupts both the front wall and the floor. It gives access to move the bottom card forward. This is a horizontal tray with no inclined feed ramp, weighted follower or automatic feed mechanism.
Measure the cards, including any sleeves
Measure card width and length. If you use sleeves, measure their outside dimensions instead. Width adjusts from 45 to 80 mm and length from 65 to 120 mm. The starting values are 63 × 88 mm. The design adds 1 mm total clearance to each inside dimension, not 1 mm on every side.
Front slot height ranges from 0.6 to 2 mm, starting at 1 mm. A selected gap does not guarantee that exactly one card will pass. Card thickness, coating, curled edges and friction all affect dispensing. Sleeves can also behave differently from bare cards at the low front opening.
Smooth the contact surfaces and try your deck
The model suggests PLA, 0.2 mm layers and at least four perimeters as a printing starting point. Place the flat floor on the print bed. Check the outlet slot and contact surfaces after printing, removing burrs or strings that could catch a paper edge or sleeve.
Begin with a small, neatly aligned stack. Hold the tray steady and push the bottom card forward through the finger opening. Check that it comes out without bending or scratching. If several cards move together or the outlet jams, trial the slot setting with your actual deck; reliable single-card separation is not promised. The overall wall height is 22 mm, so the tray does not accept an unlimited stack of thick cards.
The image is an AI application visualization, not a photograph of a physically tested print. Accessories shown are not included in the STL.
Next step