


Electronics and prototypes ·
Support a piezo disc at its rim: a mounting ring for electronics prototypes
Attach a piezo disc to a prototype board without bonding its centre down. Match the rim support, wire exit and screw ears to the actual component.
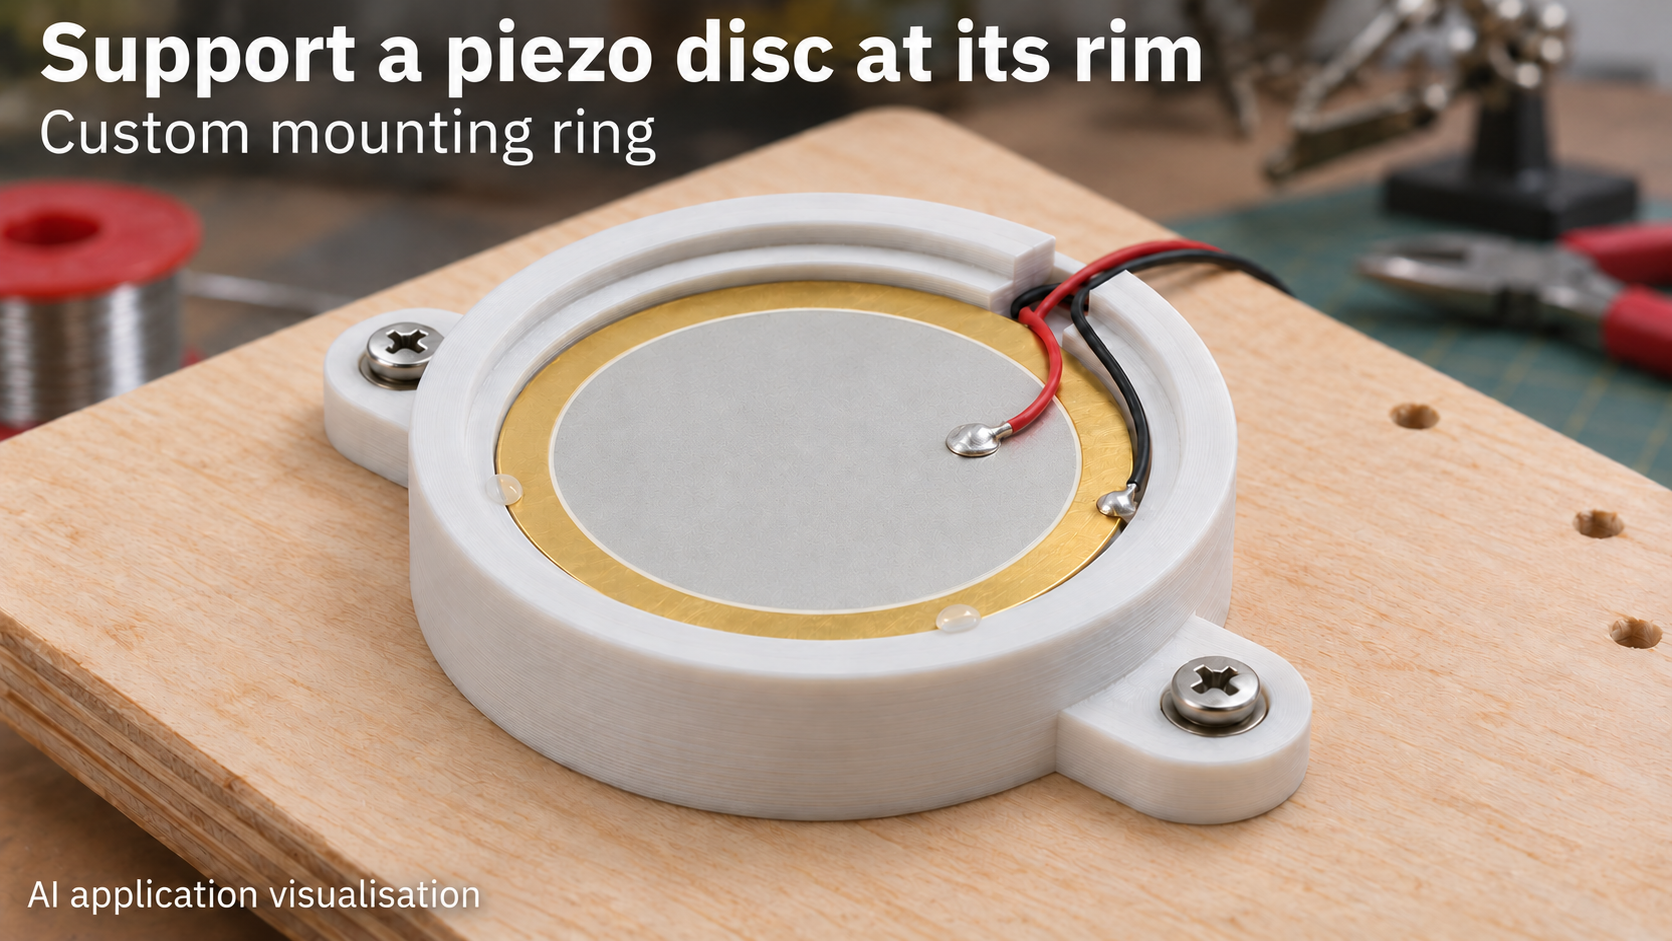
Give a bare disc a defined seat
A bare piezo disc is awkward to attach neatly to a small electronics prototype board. Bonding its whole underside or pressing on the ceramic changes its mechanical support. This ring provides a circular step beneath the outer metal rim, with an open centre below. Two low ears secure the ring to the board, while a side groove carries the leads out.
The use case is a stationary, lightweight electronics prototype. The disc, screws and adhesive are separate components. The printed model contains neither electronics nor an acoustically tuned enclosure.
Measure the disc before choosing the support
Measure the outside diameter, total thickness, ceramic diameter and solder-joint clearance. disc_d is the seat diameter including your chosen clearance. Its 27.4 mm default does not guarantee a fit for every nominal 27 mm disc. Check a fit trial before bonding.
rim sets the radial step width. Actual overlap beneath the disc is smaller by half the diametral clearance. Keep it beneath the metal rim: the ceramic and solder joints must not rest on the step. The central opening is disc_d minus twice rim, or 24.6 mm at the defaults.
Set the height and wire groove
Defaults are disc_d 27.4 mm, rim 1.4 mm, disc_h 0.8 mm, under_h 4 mm, wall 2.4 mm, wire_w 3.5 mm and bolt_d 3.4 mm. The seat is at under_h plus wall, 6.4 mm above the underside. Adding disc_h gives a total height of 7.2 mm. under_h alone is not the full height below the disc.
Ranges are seat diameter 15–45 mm, rim 1–3 mm, disc_h 0.4–2 mm, under_h 2–10 mm, wall 2–4 mm, wire groove 2–7 mm and hole diameter 2.5–5 mm. disc_d must also exceed twice rim plus 8 mm. The groove is perpendicular to the line joining the ears. Allow room for both insulated leads and a gentle bend.
Mount without clamping the centre
Print with the ears flat and remove burrs from the step, groove and holes. The disc should fit without bending. If retention is needed, apply only small spots of suitable adhesive on the outer metal rim. Keep the ceramic and open centre free of adhesive.
Use suitable screws and washers to attach the ears to a flat board without distorting the plastic. These screws secure the ring, not the disc. Route the leads through the groove and provide strain relief outside the ring; the groove itself is not a cable clamp.
Checks before operation
Inspect the open centre, metal-rim seating, insulation and solder-joint clearance. An initial functional check needs a circuit appropriate to the particular disc. Sound level, resonance and sensitivity depend on the disc, drive circuit and mounting; this model guarantees no acoustic figures.
The image is an AI application visualisation showing an installed disc with small retention spots on its metal rim. It does not document a physical print or acoustic test. The open mount is neither a sealed enclosure nor a tested alarm assembly.
Next step