


Writing tools and everyday use ·
Add a custom pocket clip to a lightweight round pen
A pen that still writes may only need a new clip. Size an open clamping ring and long clip arm for its barrel and a thin fabric pocket.
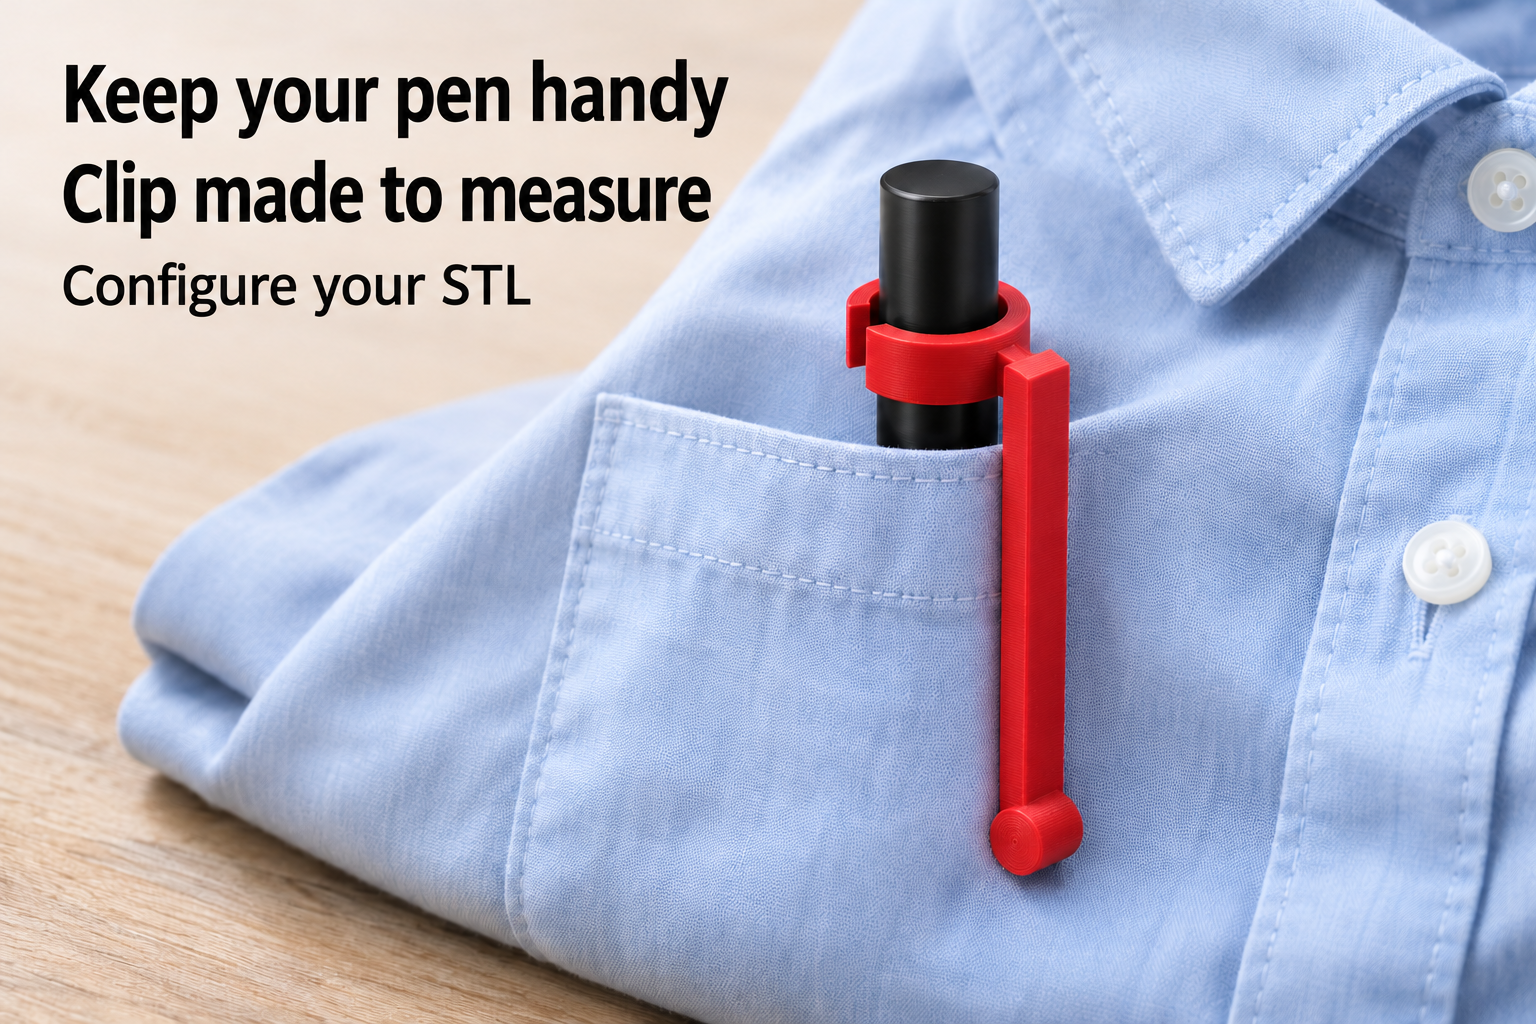
Keep using a pen that has lost its clip
A missing clip need not make an otherwise useful pen unusable. This model adds a separate pocket clip to a lightweight pen with a round barrel. It combines a side-open clamping ring with one long plastic arm and a rounded contact tip.
In use, the ring sits above the pocket edge. The pen goes inside the pocket while the arm extends down the outside of thin fabric. It is intended for light everyday use. It has no latch and is not a positive retention device against loss during movement.
Measure the barrel and understand the gap
Measure the barrel exactly where the ring will sit. The clear diameter adjusts from 8 to 20 mm, starting at 12 mm. A measurement elsewhere on a tapered, oval or heavily textured pen does not establish the fit at the intended position. Check that the ring will not obstruct the cap or click mechanism.
Arm length can be set from 30 to 60 mm, with 42 mm as the starting value. The tip gap ranges from 0.3 to 1.5 mm and starts at 0.6 mm. This gap is measured from the nominal pen barrel, not directly from the fabric thickness. The ring has a fixed axial width of 6 mm. Its radial wall and the arm thickness are both 1.8 mm; these are not separate settings.
Fit gently and test on your pocket material
The suggested printing starting point is PETG, 0.2 mm layers and at least four perimeters. The supplied orientation stands on the ring and arm root; use a brim for adhesion. Remove rough edges around the ring and rounded tip before they contact the pen or cloth.
Ease the open ring onto the barrel and bend the arm only slightly. Elasticity and holding force depend strongly on filament and print quality. Test over a clear table first: check that the ring remains on the barrel and the arm holds the thin fabric. This light design is not assured for thick pocket seams or a heavy pen. Stop using a print with cracks, a permanently bent arm or a loose fit.
The image is an AI application visualization, not a photograph of a physically tested print. Accessories shown are not included in the STL.
Next step