


Jewellery and crafts ·
Pre-form a soft-wire bracelet on a custom oval mandrel
Print a straight oval former with a lower flange. Its external axes define the working shape; measure the finished wire separately after removing it.
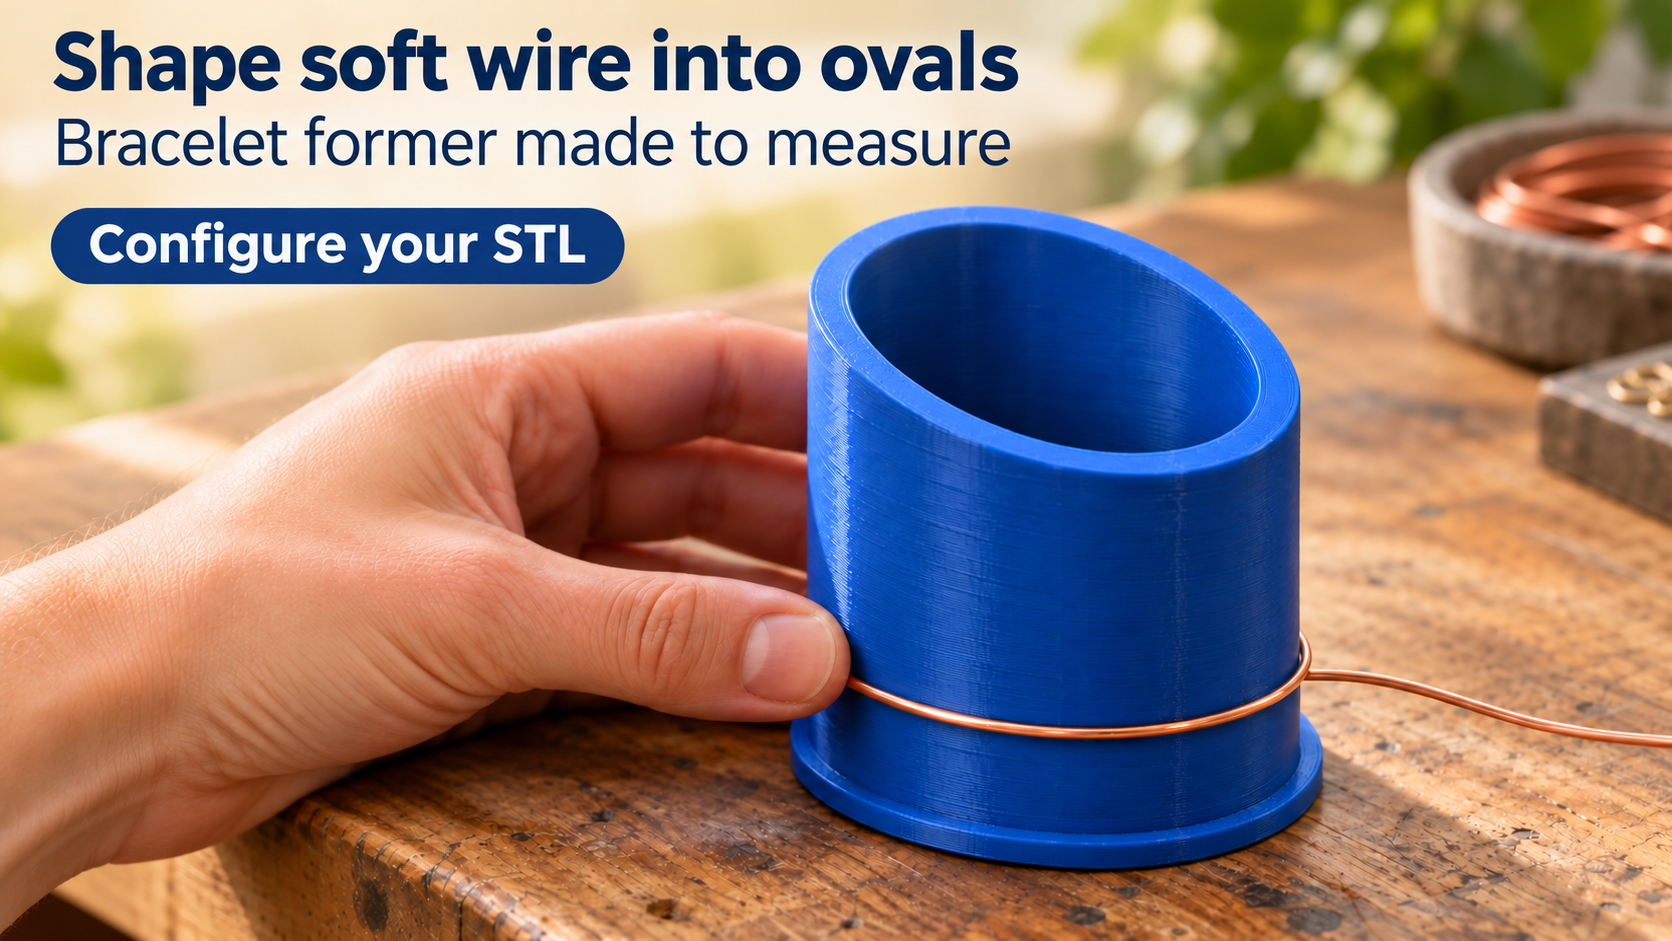
Use a repeatable oval working shape
Soft jewellery wire can be guided around an oval form when preparing a bracelet. This mandrel maintains the same oval outside section throughout its height. It is hollow and open at the top, with a closed floor and a continuous lower flange forming its base.
Guide the wire around the smooth exterior using light hand pressure, then lift it off the top. The lower rim limits downward slipping. The tool is neither tapered nor marked with calibrated bracelet sizes.
Separate tool dimensions from bracelet dimensions
The major outside axis ranges from 40 to 95 mm and the minor axis from 30 to 80 mm, starting at 65 × 50 mm. Overall height is 25–100 mm, initially 55 mm. These values describe the tool. The wire may spring back after removal depending on its material and condition.
Measure the desired inside bracelet axes on a sample and test springback with a short piece of your wire. Record tool dimensions separately from the result. Wall thickness is adjustable from 3 to 10 mm, floor thickness from 3 to 8 mm and flange projection from 2 to 8 mm; initial values are 5, 4 and 3 mm.
Check geometry and finish the contact surface
The major axis must be at least as large as the minor one. The minor axis must be at least twice wall thickness plus 20 mm, and height must exceed or equal floor thickness plus 15 mm. Inspect the preview after changing these settings.
Start with PETG, five perimeters and solid bottom layers. Print with the flange down and smooth the wire-contact surface. Use soft wire and light hand pressure only: no hammering, heating or spring wire. Measure the finished shape independently. No particular final bracelet size or load capacity has been physically established.
The image is an AI application visualization, not a photograph of a physically tested print. Accessories shown are not included in the STL.
Next step