


Pottery tools ·
Form a clay spout around an oval mandrel sized for your project
Shape a hollow clay spout from a slab with a custom oval former. Set the base, tip and length, then download the STL for a reusable pottery tool.
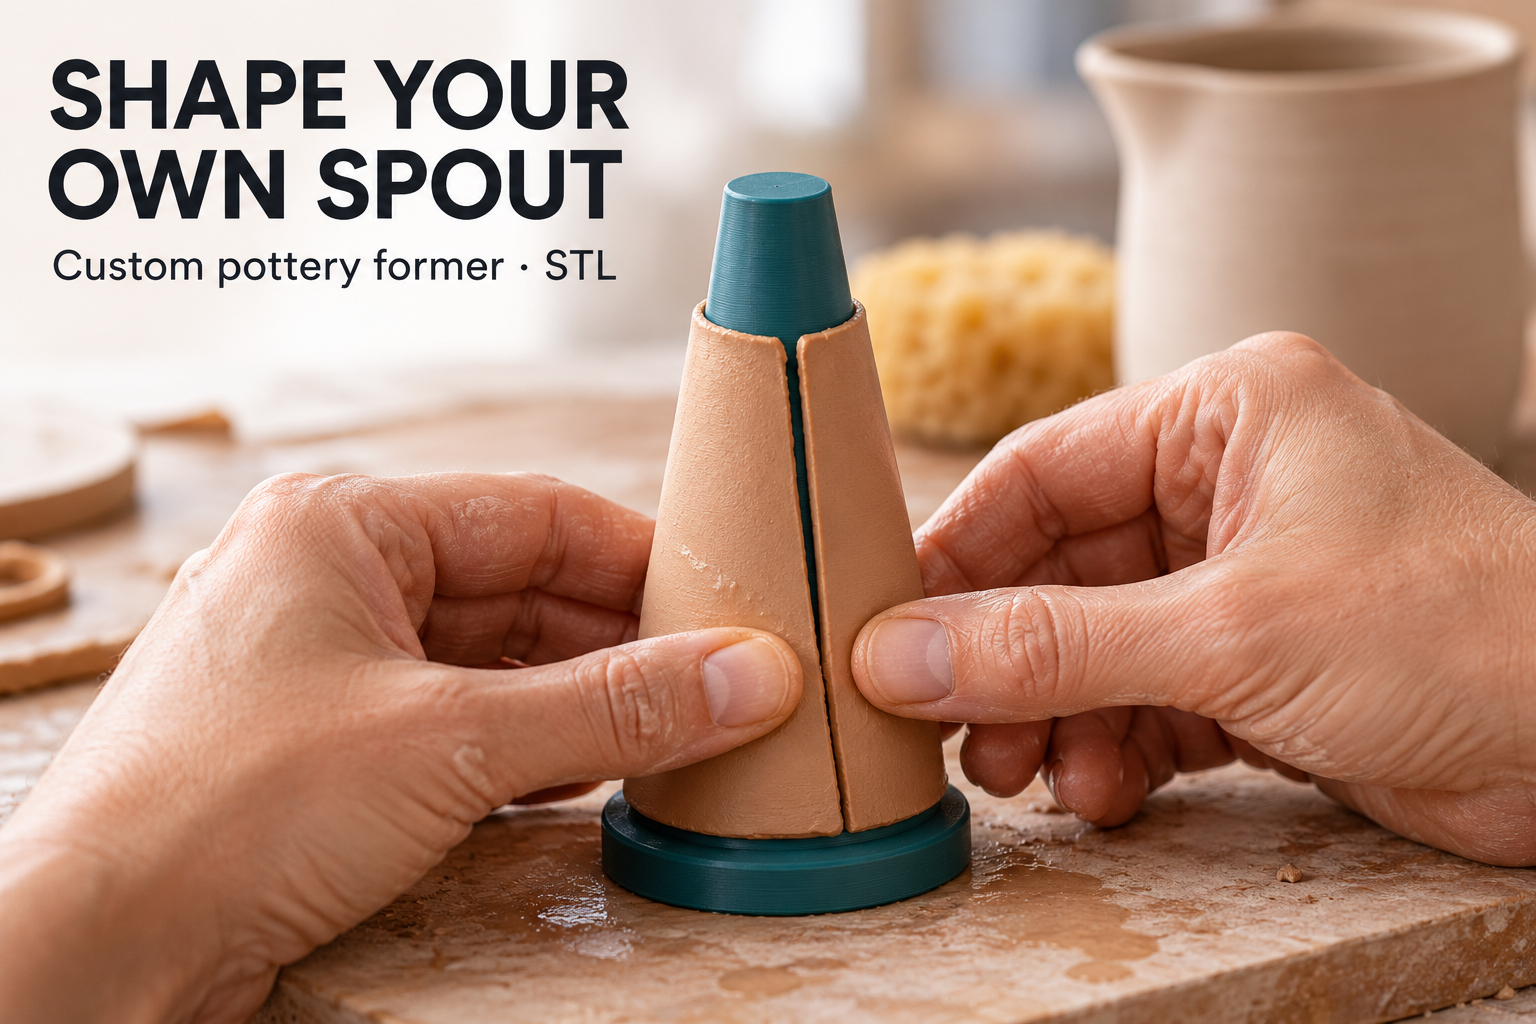
Give a slab-built spout a defined inner shape
A small jug or a hand-built pouring vessel needs a spout that suits its proportions. Rolling clay around a random handle can leave you with a shape that is too wide, too short or awkward to remove. This parametric pottery tool provides an oval tapered mandrel around which you wrap a thin clay slab and join the edges.
The downloadable STL is for the forming tool. You make the ceramic spout in clay, remove it from the mandrel and attach it to your vessel using your usual pottery process. If you are looking for a custom pottery spout former STL, the useful starting point is the desired inner opening before drying and firing.
Choose the two oval sections and the forming length
Three dimensions define the mandrel: the major diameter at the root, adjustable from 20 to 45 mm; the major diameter at the narrow tip, from 6 to 16 mm; and the forming length, from 45 to 100 mm. Defaults are 30, 10 and 70 mm. The minor diameter at each end is fixed at 70 percent of its major diameter. A 30 mm root therefore has a 21 mm minor diameter, while a 10 mm tip has a 7 mm minor diameter.
These describe the tool's surface and thus the clay's initial inner space, not the outside dimensions of the finished spout. Add your intended wall thickness when judging its overall proportions. Allow for the shrinkage of your own clay body and firing schedule; the configurator does not compensate for it automatically. The round foot acts as a grip and a stop.
Print, smooth and make a clay trial
Print the former upright in PLA or PETG. Smooth the working surface carefully, since visible print ridges can mark the clay or make release harder. Before committing to a finished piece, test a small slab with your chosen clay and surface preparation. The right release behavior depends on both the clay condition and the tool surface.
Wrap the slab around the taper without trapping folds, join the seam and support the clay while removing it toward the narrow end. Do this before the clay shrinks tightly onto the plastic. Trim the base and lip as needed for your design, then check the connection to the vessel. The former controls the starting cavity; it does not automatically produce a drip-free pouring lip.
Build the tool to suit the next vessel
The application image is an AI visualization. Geometry has been digitally checked, but no physical test print is claimed. Clay and studio accessories are not included in the STL download.
Configure your oval pottery spout former, inspect the preview and purchase the STL for your 3D printer. Adjusting the mandrel before printing gives you a clear starting shape for your next slab-built spout.
Next step