


Home and picture frames ·
Secure a recessed picture-frame backing with a fitted retaining tab
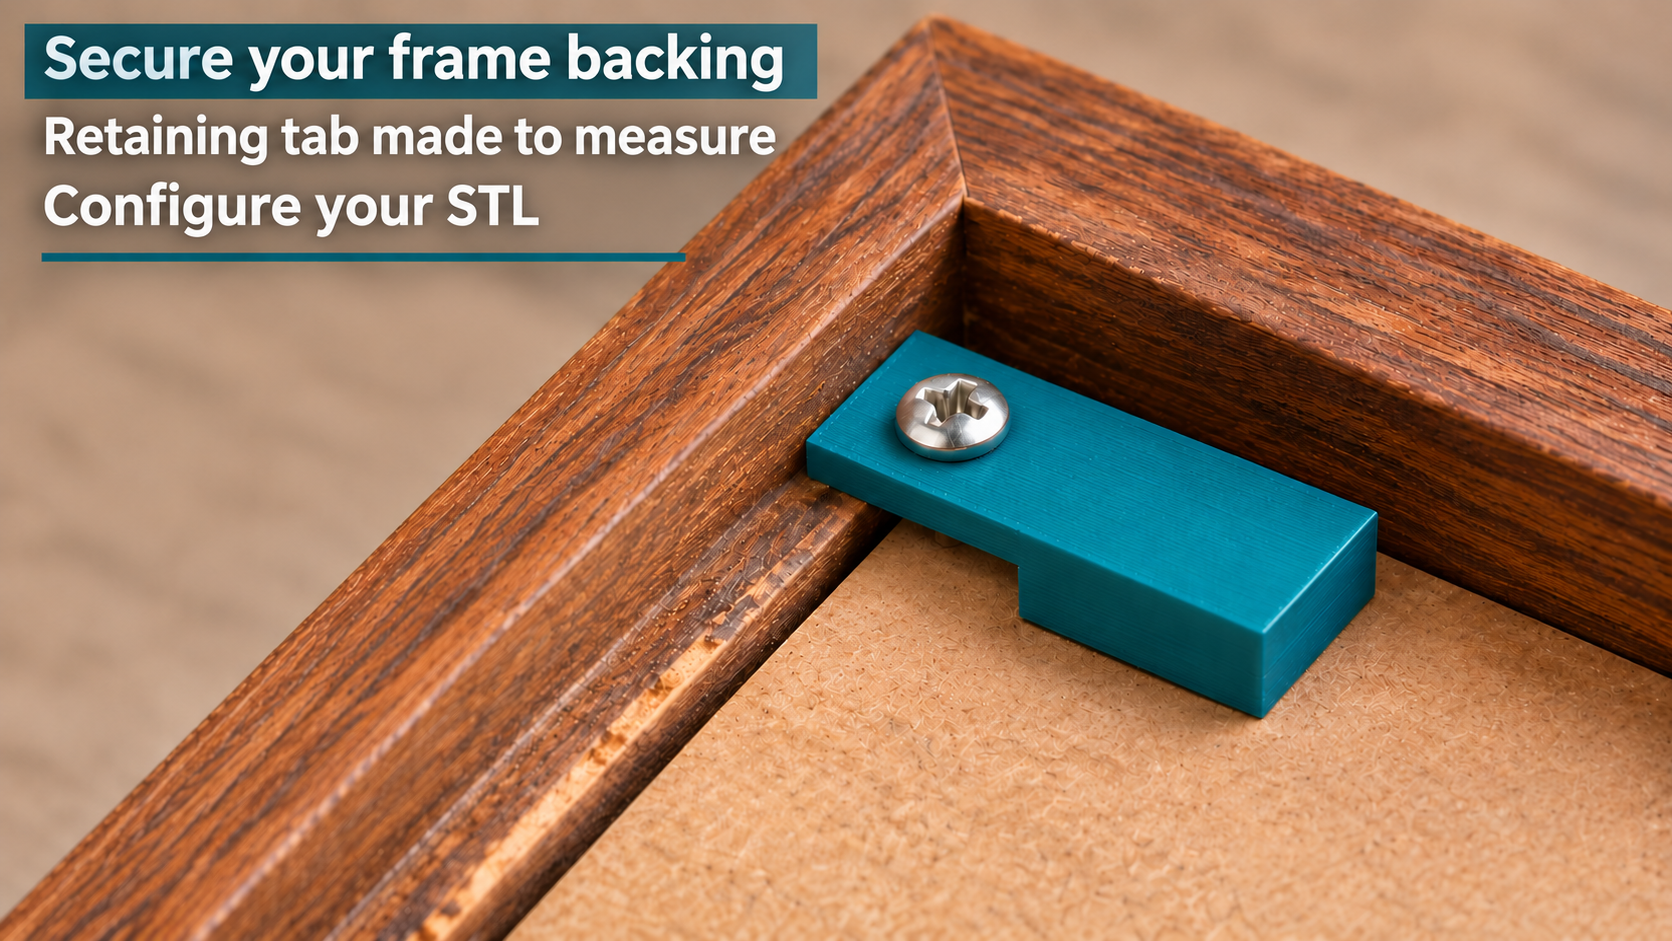
Match the tab length, width and offset to your wooden frame. One screw passes through the thin half; the thicker half reaches down onto the backing.
Replace a missing backing retainer
A picture-frame backing can become loose when an original retaining clip is missing or no longer fits. This one-piece tab bridges the wooden frame edge and the recessed board. Its thin half rests on the wood, while the thick half extends downward to contact the backing. A separate screw fixes the tab into the wood.
There is no hinge or mechanically adjustable step. You choose the dimensions before printing. The tab retains the backing inside the frame; it is not a wall hanger. Check the other retainers as well so that the board is supported evenly around its edges.
Measure the recess from the wooden support surface
Measure the height difference between the wooden surface supporting the tab and the installed backing. Set the step height to suit that recess, within 1–15 mm; the initial value is 4 mm. Board thickness alone does not determine this setting. Both contact surfaces should meet without bending the backing.
Overall length ranges from 20 to 150 mm and width from 10 to 100 mm, initially 38 and 16 mm. The two halves have equal lengths. Base thickness is 2–8 mm, initially 3 mm. The hole is centred across the thin half, one quarter of the overall length from its end.
Print flat, turn over and install gently
The plain hole accepts a diameter setting of 2–8 mm, initially 3.4 mm. Length must exceed four hole diameters; width must exceed the hole diameter plus 4 mm. There is no countersink. Choose a suitable screw head and wood-screw length that cannot reach the frame front or glass.
Print in PETG with 0.2 mm layers and four walls, placing the large flat base on the bed. Turn the finished part over for installation: flat face upward and step downward. Rest the frame face down on a protected flat surface, trial-fit the tab and tighten gently. Do not compensate for an incorrect step height by forcing the screw tighter.
The image is an AI application visualization, not a photograph of a physically tested print. Accessories shown are not included in the STL.
Next step