


Music and rehearsal ·
Keep three spare guitar picks on your microphone stand
Fit a small TPU clip to your stand tube and keep three picks beside it. Size the ring around the tube and the slots around the picks you actually use.
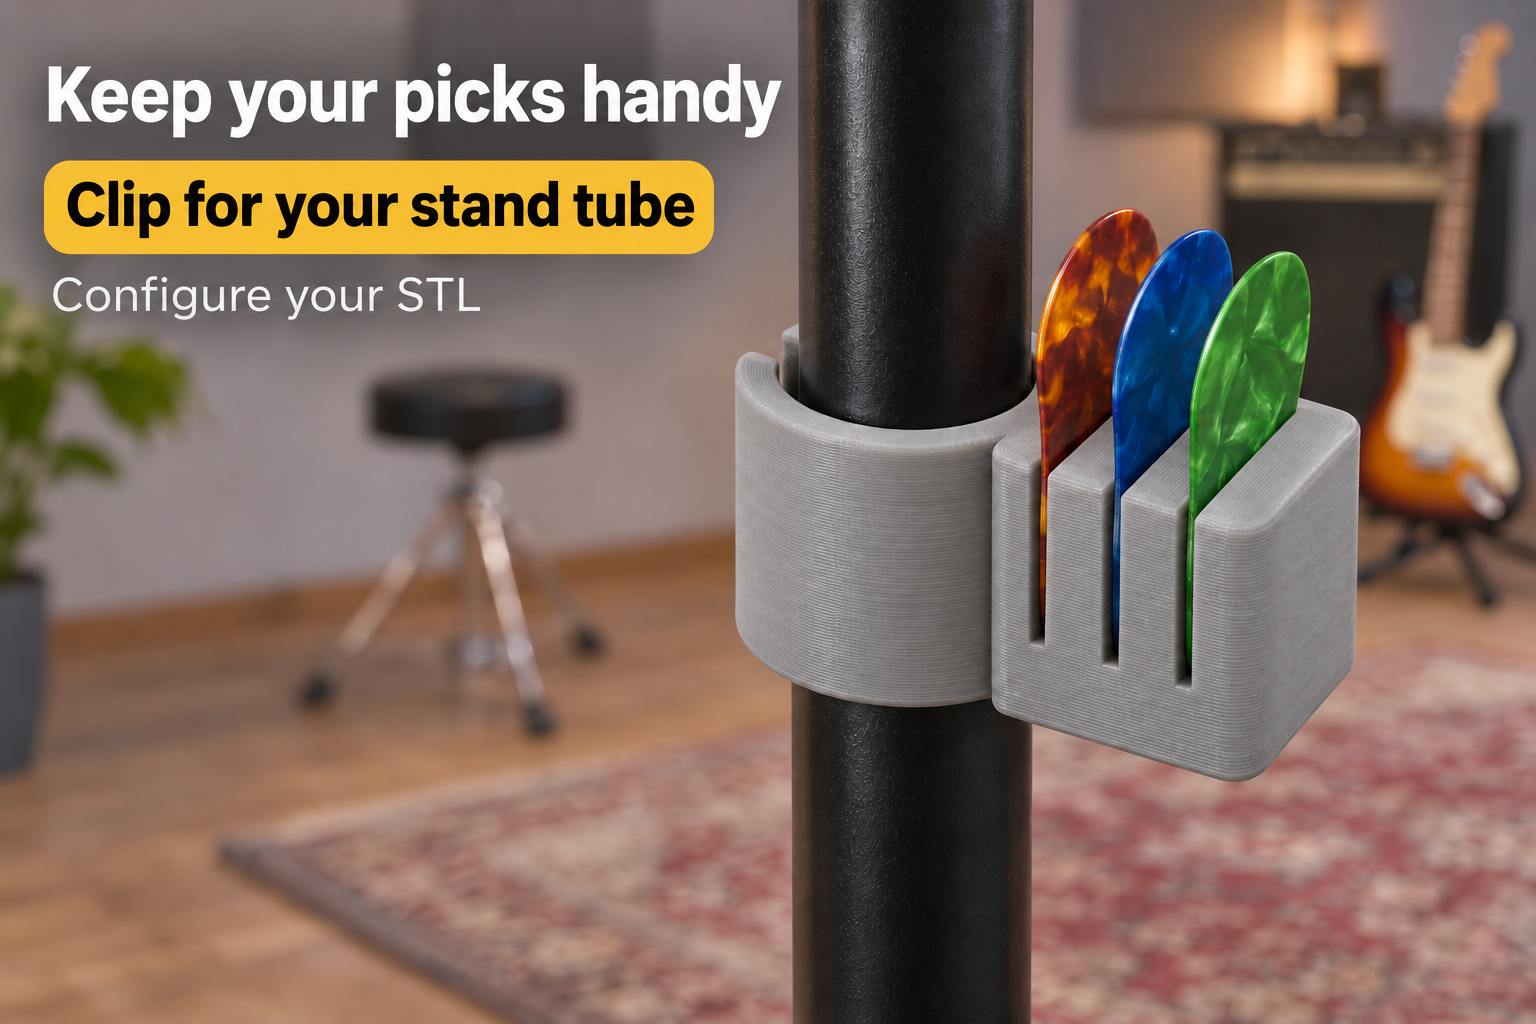
Put spare picks within easy reach
A pick dropped during practice or a change between thicknesses is easier to manage when the spares have a regular home. This model combines an open C-shaped ring with a small block beside the stand tube. The block holds three picks in separate parallel slots.
Insert the picks from above, with their points down. There is no fan mechanism or separate spring. The clip is intended only to carry these small picks; it does not support the microphone or other equipment.
Measure the tube and the inserted part of each pick
Measure the outside diameter of the straight tube at the intended mounting position. The ring’s clear diameter ranges from 12 to 35 mm, starting at 22 mm. Clip height can be set from 14 to 28 mm, with a 20 mm initial value. Choose a height that leaves enough pick exposed for your fingers.
All three slots share one width setting, from 0.4 to 1.4 mm and initially 0.7 mm. Measure pick thickness where it will enter the holder rather than relying on its label alone. It should sit lightly without wedging. A closed floor begins 6 mm above the underside, so usable insertion depth is clip height minus 6 mm.
Print in flexible material and check retention
The model is designed for TPU. Suggested starting settings are 0.2 mm layers and four perimeters, with the flat underside on the build plate. Inspect the sliced preview to make sure all three narrow slots stay open. Ring wall thickness is 2.5 mm, while the actual flexibility also depends on TPU hardness.
Ease the clip onto the tube from the side and check whether it rotates or slips down under the small pick load. Test one pick first, then all three. Tight slots or an excessively stretched ring call for a dimensional adjustment. Position the holder where it clears stand clamps, cables and your reaching hand. Record the successful tube and slot settings for replacement prints.
The image is an AI application visualization, not a photograph of a physically tested print. Accessories shown are not included in the STL.
Next step