


Bathroom and travel ·
Store a manual toothbrush head in a case sized to fit
Configure a ventilated tray and separate slip-on lid for your manual toothbrush. The handle stays outside while the head and bristles fit inside with clearance.
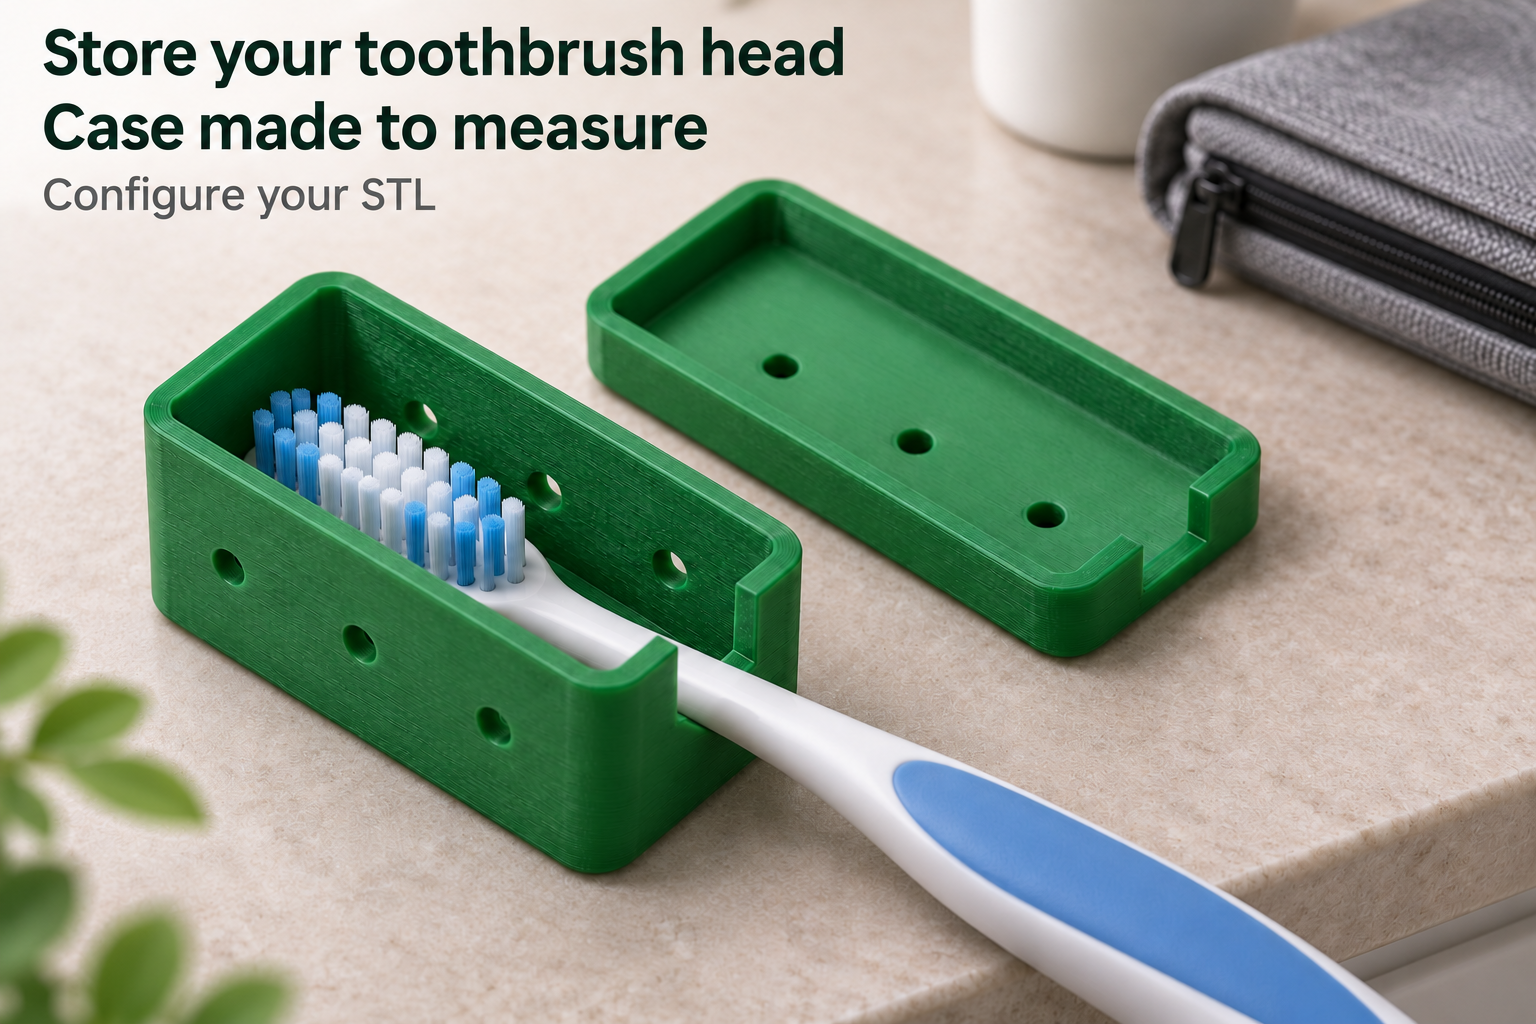
A compact shell around the brush head
For storing a clean, fully dry manual toothbrush, a small head case can take less space than a long box surrounding the whole handle. This model has a deep tray and a separate shallow lid. The head rests inside the tray, while its continuous neck and handle extend through a notch at one short end.
The arrangement is intended for an intact manual toothbrush, not a detached electric brush head. Vent holes appear in both long sides, the floor and the lid. They do not make the case a sterile container.
Measure head, bristles and neck separately
Internal length ranges from 24 to 45 mm, width from 12 to 22 mm and height from 12 to 25 mm. Initial dimensions are 34 × 16 × 18 mm. Measure the complete head including its bristles and add clearance. The lid must not press on the bristles or bend them sideways.
The neck opening can be set from 5 to 10 mm, starting at 8 mm. Check both width and height of the neck where it will actually leave the case. The notch is open at the top, allowing the brush to be lowered into the tray. Shell walls and floor are each 2 mm thick.
Check lid fit and everyday use
The lid slips over the outside of the tray. Nominal clearance is 0.2 mm per side, but the real fit depends on the print. There is no hinge, latch or gasket. Check that the lid stays in place well enough for your intended use. An additional elastic band would be a separate accessory.
PETG, 0.2 mm layers and four perimeters provide starting settings. Print both parts with their closed faces on the build plate. Remove burrs, check that the ventilation holes are clear and test the brush placement without contacting the bristles. Clean and dry the case regularly too. Do not simply pack a wet toothbrush inside the closed case: ventilation holes do not replace letting it dry fully before packing.
The image is an AI application visualization, not a photograph of a physically tested print. Accessories shown are not included in the STL.
Next step