


Yarn and handcraft ·
Make decorative cords with a lucet fork sized for your hand
Set the space between two prongs and choose a comfortable handle for small cord-making projects with soft yarn.
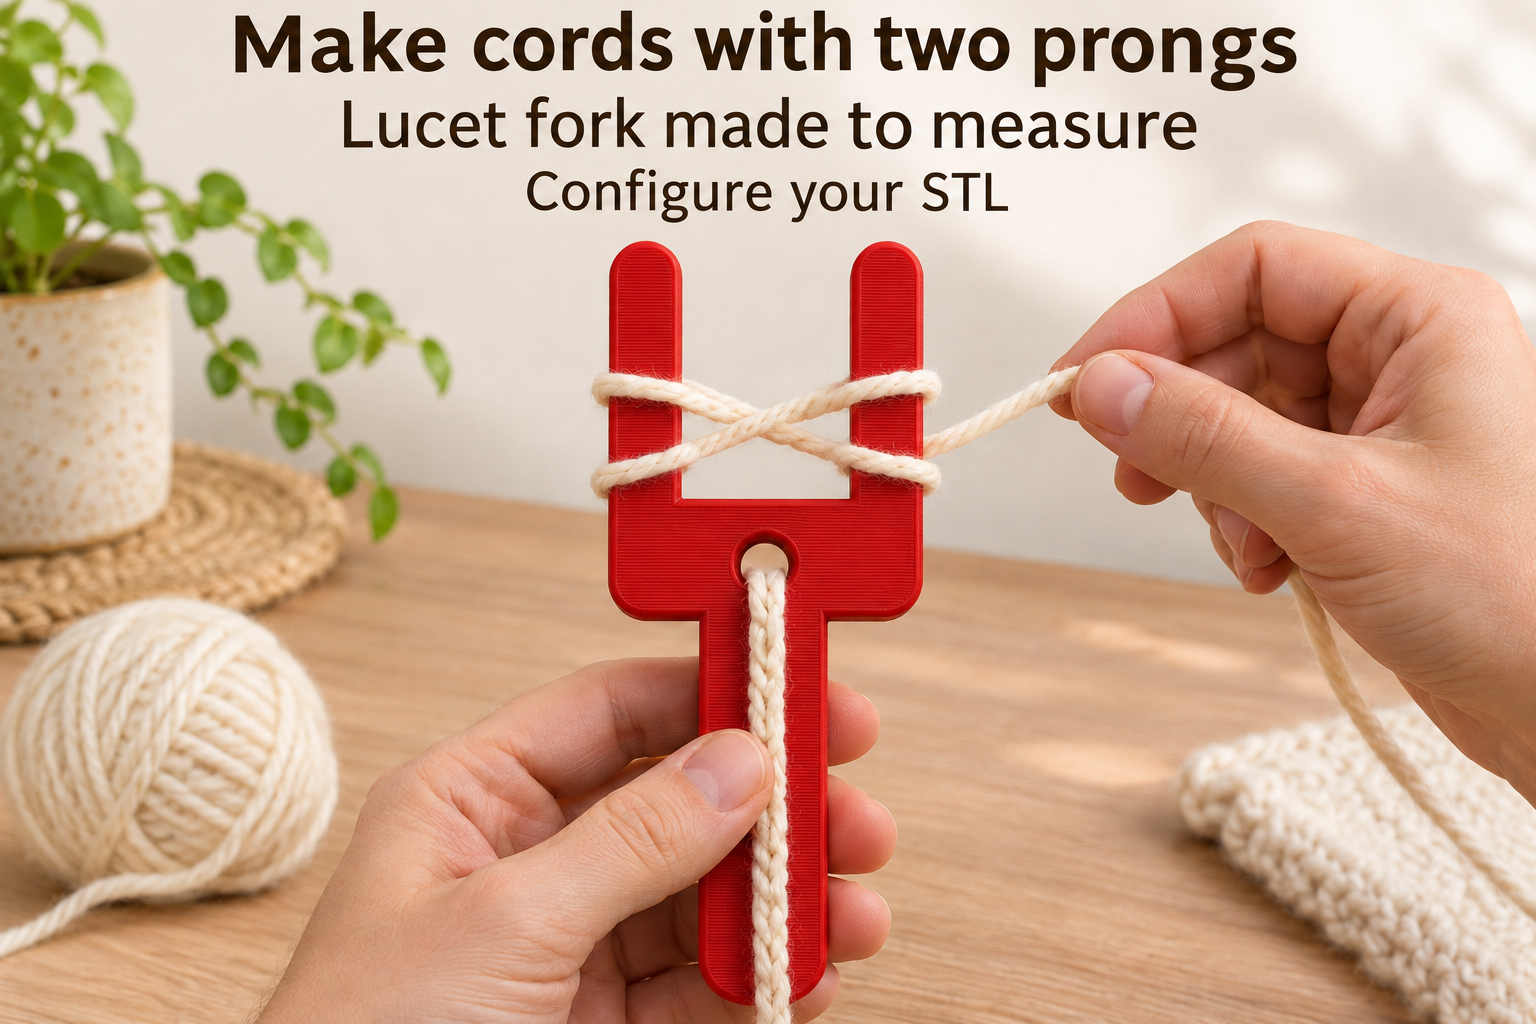
A hand tool for small cord projects
A lucet fork can turn yarn into cords for drawstring pouches, decorative ties and textile pendants. This model has two rounded prongs above a crossbar and a flat handle below it. A central hole guides the developing cord down towards the handle. It has no extra pegs, rotating spindle or moving adjustment.
Hold the handle gently and begin with soft yarn loops around both prongs. Work by lifting lower loops over a prong tip and alternating the sequence. Feed the cord end through the central hole. Practise on spare yarn first so you can establish a comfortable rhythm before making the length needed for your project.
Choose working space and handle length
The clear gap between the prongs ranges from 16 to 40 mm, starting at 25 mm. Each prong is 8 mm wide, giving a default overall width of 41 mm. Prong length ranges from 22 to 45 mm, starting at 32 mm. Extra room can help fingers lift loops, but it does not replace suitable yarn tension.
Handle length is adjustable from 45 to 85 mm, with a 65 mm starting value. Choose enough grip space without pressing your hand into the crossbar. Thickness stays at 5 mm and the central hole is 8 mm in diameter. Prong spacing alone cannot specify the finished cord diameter: yarn size, loop formation and tension also affect it.
Finish the contact surfaces before use
Printing flat in PETG with 0.2 mm layers and four walls is a starting point for your own trials. Inspect the prong roots and material around the hole in the slicer. Smooth the tips, inside edges and hole carefully; rough layer edges can catch or abrade yarn.
Make a short sample and check yarn wear, comfort and cord consistency. Keep tension moderate and do not use the prongs as levers. Replace a print with a cracked prong root or damaged tip. Yarn and the finished cord are separate supplies, and the print settings require validation on your own printer.
The image is an AI application visualization, not a photograph of a physically tested print. Accessories shown are not included in the STL.
Next step