


Photography & optics ·
Replace missing lens grip rubber with a custom TPU grip band
If the focus or zoom ring still works but its rubber grip is missing, measure the existing grip zone and configure a ribbed TPU replacement that leaves moving joints clear.
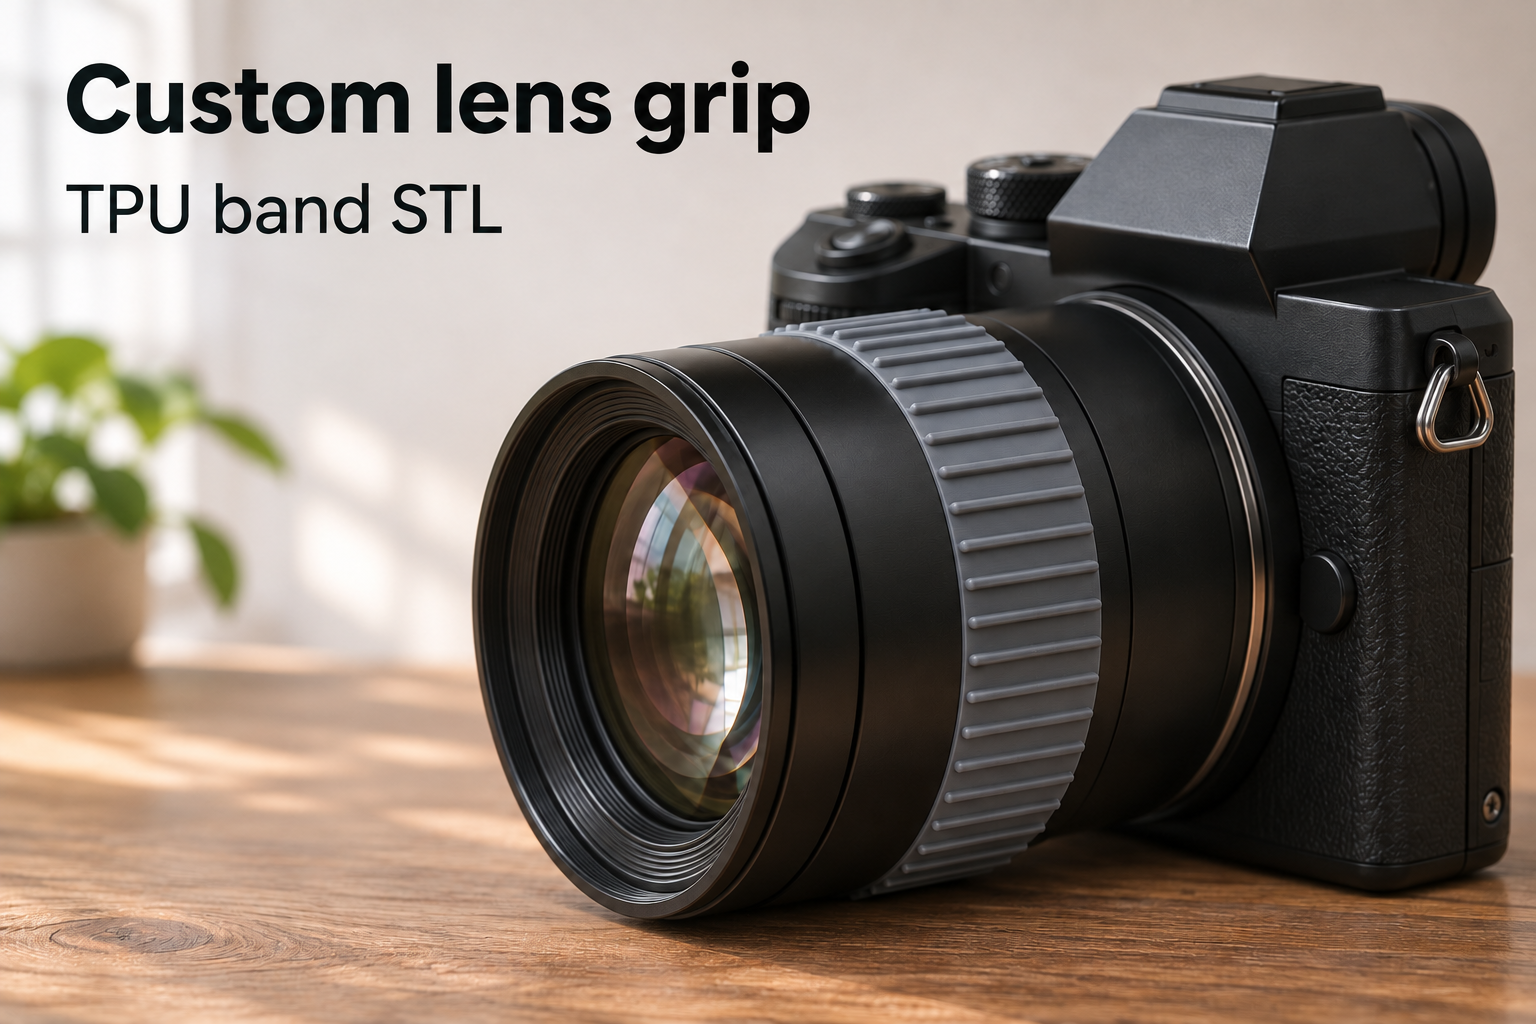
Renew the grip on a working lens ring
A lens can lose its rubber grip while the focus or zoom mechanism underneath still works. This model adds a replacement gripping surface to that existing zone. It is a closed flexible TPU ring with a smooth bore and 48 outer longitudinal ribs. The ribs run along the lens axis, and the band turns together with the underlying control ring.
The application assumes the lens mechanism itself is sound. A sticking or damaged focus mechanism is not repaired by adding a band. This part is not a timing belt for a motor drive, and it comes with no promise of preventing zoom creep.
Measure the grip zone rather than the filter thread
Measure the outside diameter of the exposed area where the new band will sit. A marked filter diameter refers to a different feature and is not a reliable substitute for that measurement. The band’s clear inner diameter can be set from 35 to 100 mm, with a 65 mm starting value.
Next measure the usable width along the optical axis. The available range is 8 to 35 mm, starting at 18 mm. Keep the whole band on the moving grip zone. It must not bridge a barrel joint or cover a scale, switch or button. Check the available space throughout any extension or rotation that occurs during focusing and zooming.
Find a gentle stretch through a test fit
Base wall thickness, excluding the ribs, is adjustable from 1 to 2.5 mm; its default is 1.5 mm. The raised ribs add material beyond that base wall. Their number is fixed in this design rather than offered as a separate setting.
The model does not apply an automatic shrink allowance or a standard percentage reduction. Use a short test ring and your actual TPU to find a suitable gentle stretch. A narrow band within the allowed width range makes a useful first fit check. It should grip the control ring without making the mechanism harder to turn. One universal allowance would not reliably cover different filaments, printers and lens surfaces.
Check the fitting route and the complete control movement
The band is closed and has no side fastener. Before printing, check that it can slide over an accessible part of the lens without force or lens disassembly. The model suggests TPU 95A, 0.2 mm layers and at least four perimeters as a starting point. Print on a ring end face, then remove strings and inspect the smooth inner surface for rough spots.
Once fitted, check the full intended rotation and any zoom travel. Do not glue the band across barrel seams or let it interfere with neighbouring controls. Camera and lens are not included; the image is an AI application visualization, not a photograph of a physically tested print. Configure the lens grip band to your measurements and purchase the STL for home printing.
Next step