


Packing and organization ·
Peel labels at your packing desk with a custom axleless roll dispenser
Keep a label roll in an open tray and pull its backing down over a low blunt front edge. Size the holder to the roll you actually use.
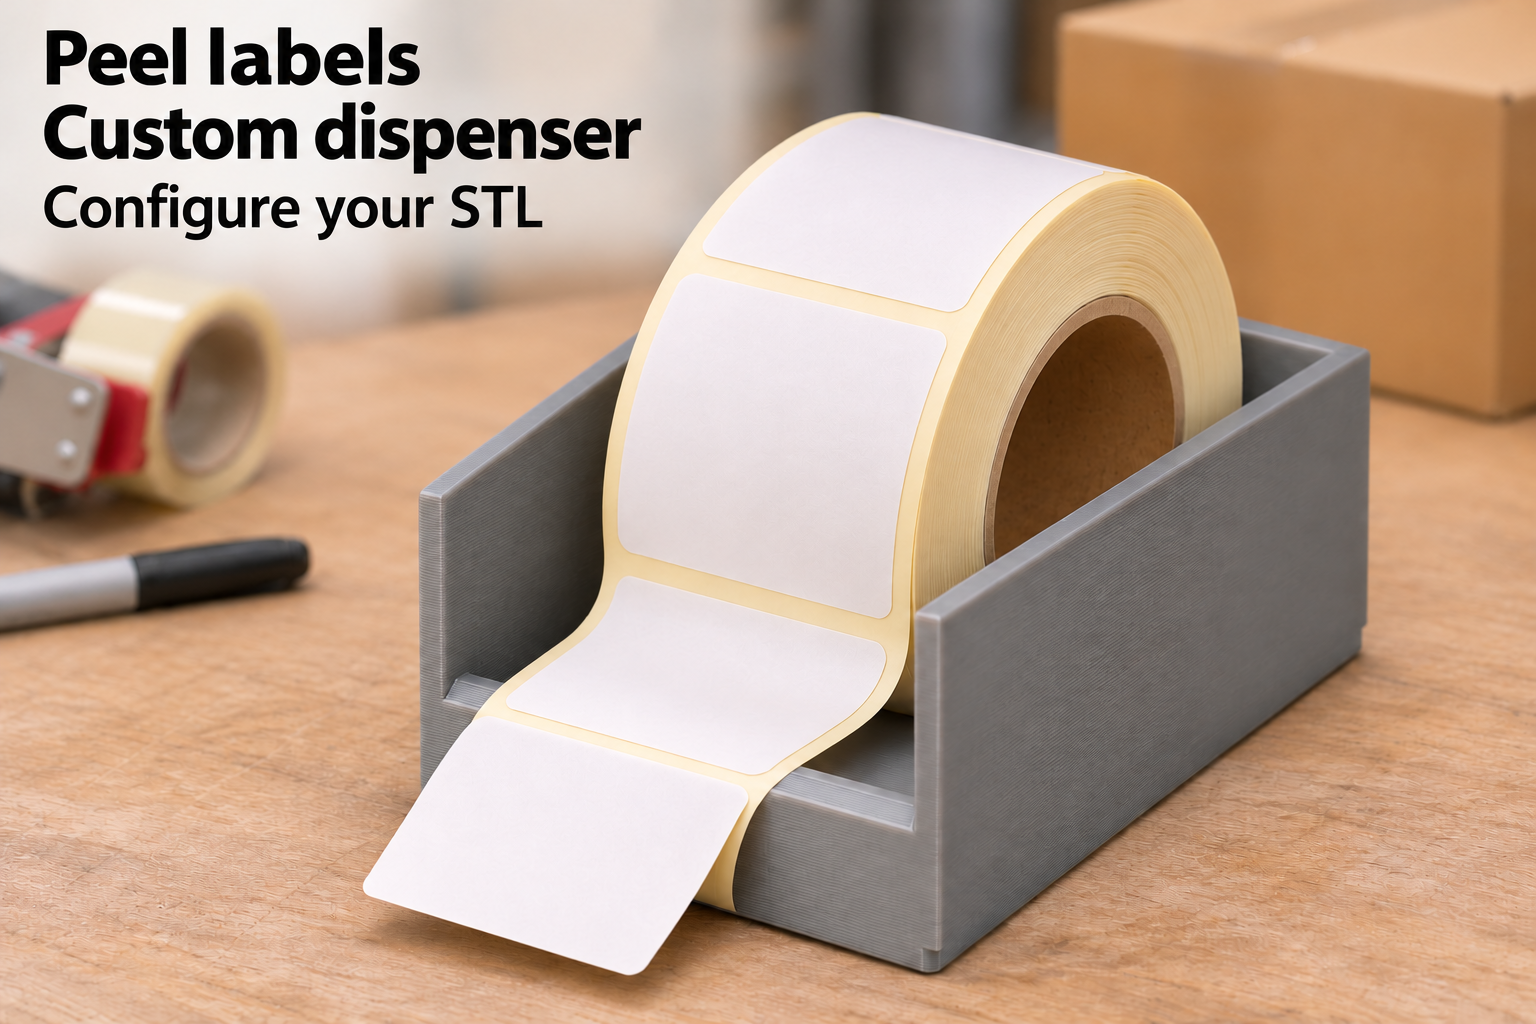
Give a loose label roll a place at the packing desk
When labelling boxes or storage containers, a roll is easier to manage in a defined place. This one-piece dispenser holds it loosely in an open tray. No spindle passes through the core, so a replacement roll can simply be laid inside. Tall sides and a rear wall define the storage area.
A low blunt edge runs across the front. Lead the backing paper over it and pull the backing down on the outside. The change in direction can help the label separate from its carrier. Performance depends on backing stiffness, adhesive and label shape, so test your own roll before relying on the arrangement.
Measure the full roll and include clearance
Measure the complete roll width and largest outside diameter, preferably with a full roll. Clear roll width adjusts from 20 to 120 mm and the diameter setting from 40 to 120 mm. Include the clearance needed for the roll to move without binding against the sides. Core diameter is not a configuration dimension for this axleless design.
Wall thickness can be set from 2.4 to 4 mm and peel-edge height from 12 to 24 mm. The starting values are 55 mm clear width, 75 mm diameter including clearance, 3 mm walls and an 18 mm front edge. The side walls intentionally stop below the top of a full roll, leaving its upper portion accessible.
Thread the backing and steady the tray
Print with the flat base on the bed. The model suggests PETG, 0.2 mm layers and four perimeters as a starting point. Smooth rough print marks on the peel edge without turning it into a sharp blade. There is no cutter or serrated tear-off feature in the model.
Place the roll inside and bring a free length of backing across the low front. Hold the tray with one hand while pulling the backing down and back with the other. Start slowly with a few labels. If the roll shifts, the paper binds or labels fail to lift, check the fit and whether that label stock suits the method. The tray has no automatic feed and does not promise one-handed dispensing.
The image is an AI application visualization, not a photograph of a physically tested print. Accessories shown are not included in the STL.
Next step