


Insect screens and frame building ·
Attach insect-screen mesh to a wooden frame with a printed spline channel
A screw-on profile holds loose insect-screen mesh with a separate flexible spline. Match its groove, opening and screw spacing to a small indoor frame.
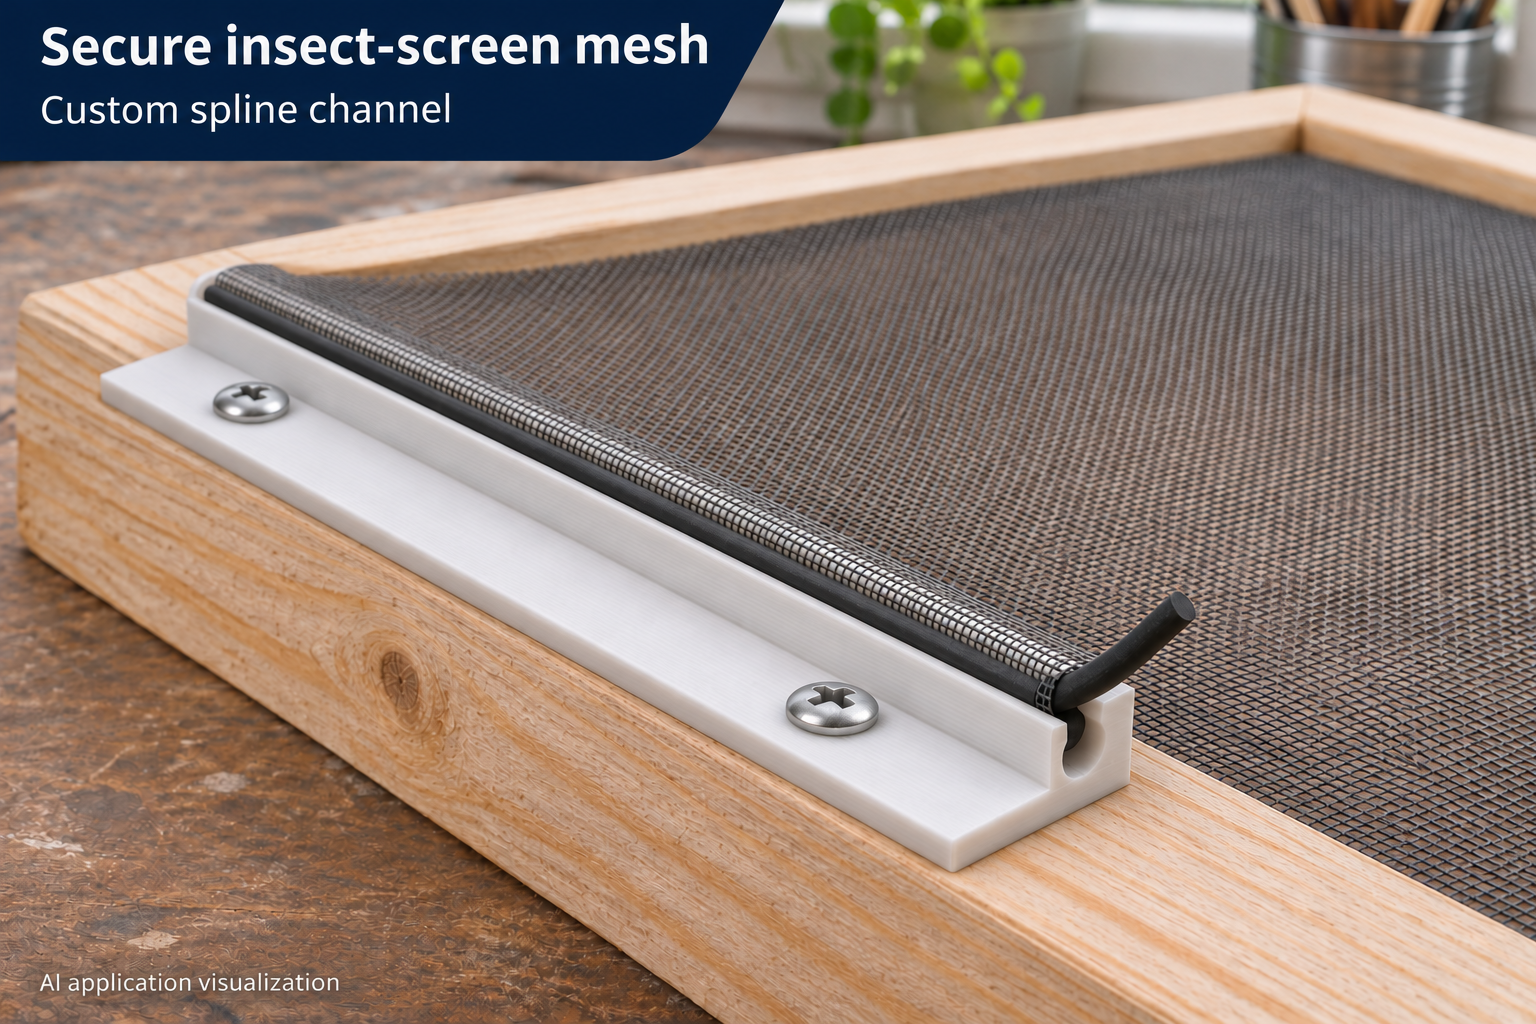
Hold loose screen mesh on a small DIY frame
You have the mesh for a small indoor wooden screen frame, but need a way to retain its edge. This straight printed profile combines a round, narrow-opening groove with a flat side flange. Two screws secure the flange to the wood. A separate flexible spline presses the fabric into the groove and holds it in place.
Position the screw flange over the solid frame and the groove toward the screened opening. The mesh crosses the inner lip into the groove, leaving the screws outside the mesh area. The illustration shows one section during assembly, with a short spline end still lifted out.
Choose the groove around your actual mesh and spline
Groove diameter adjusts from 2.8 to 7 mm, and the slot opening from 1.8 to 5.5 mm. Their starting values are 4 mm and 2.8 mm. Groove diameter is not automatically the spline diameter to buy: folded mesh also takes up space. Print tolerance and the flexibility of the cord affect the resulting fit.
Print a short sample and try the actual materials together before making the full section. The spline should enter with gentle pressure and retain the mesh without spreading the channel. The opening must remain narrower than the round groove; not every combination of the individual parameter limits is valid.
Size the mounting flange and hole spacing
Profile length ranges from 35 to 200 mm and starts at 100 mm. The two screw holes initially sit 80 mm apart. Their spacing is adjustable, but must leave enough material between each hole and the end. Set the spacing after choosing length and hole diameter.
The flange can be 8–20 mm wide, with a 2–5 mm base thickness. Its plain through holes accept a configured diameter of 2.4–5.4 mm; they are not countersunk. Choose separate screws whose heads bear on the flange and whose length suits the wooden frame. Check that the whole flange rests on the timber.
Fit one section before completing the frame
Dry-fit the profile first, fasten it evenly and lay the mesh over the groove. Press the compatible spline in progressively. Check retention and even tension before planning adjacent sections. Corner connectors and a complete frame are not included in this model.
This application is for small indoor frames or repair sections. It is not fall protection or an animal barrier, and outdoor durability is not specified. Mesh, spline and screws are separate items. The picture is an AI application visualization; no physical test print has been performed.
Next step