


Instruments and accessories ·
Print a humbucker mounting ring for a flat guitar top
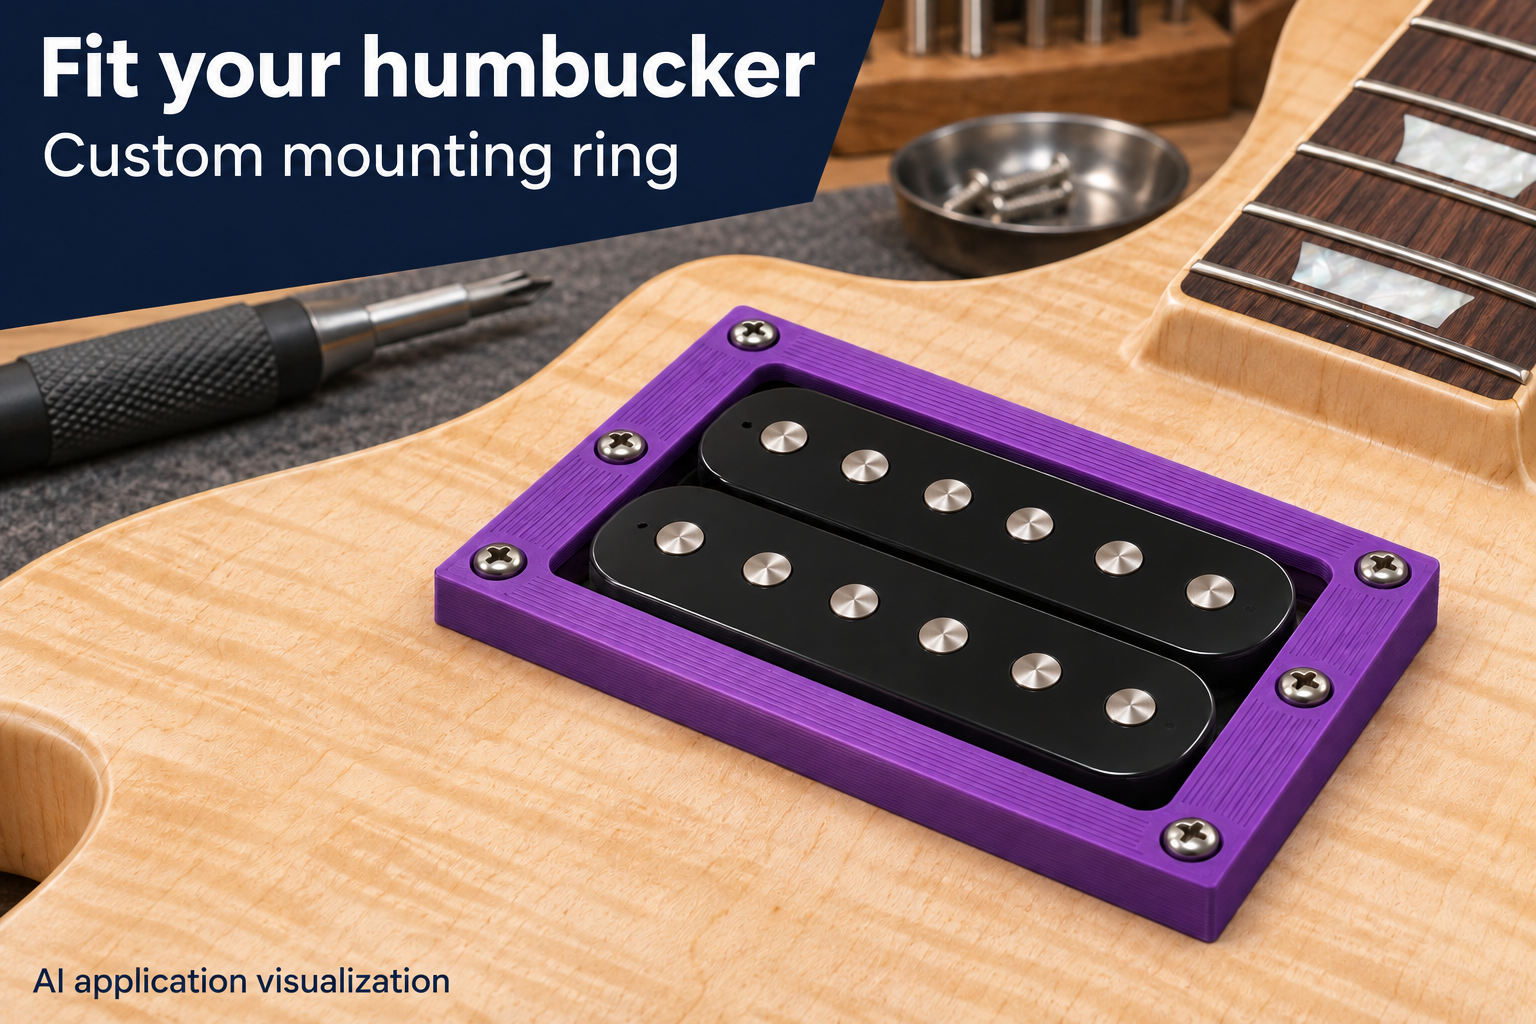
A wedge-shaped ring supports a humbucker above a flat guitar body. Match its opening, height and six fixing positions to your own pickup and instrument.
Replace the ring around your own pickup
A cracked mounting ring or a differently sized humbucker calls for a matching opening and fixing pattern. This model provides a rectangular frame with four corner holes for attachment to the guitar body and two height-adjustment holes at the centres of the short ends. The pickup hangs from those two adjustment screws using its own mounting ears.
The underside is flat. The upper surface rises across the short dimension, so the frame combines a chosen height with a slight slope. A carved or curved guitar top needs a separately matched support surface: the wedge does not make the underside curved.
Measure the opening and all six screw positions
The opening can be 45–95 mm long and 20–55 mm wide, starting at 70 × 38 mm. Measure the actual pickup casing and allow it to move during height adjustment. Check that its mounting ears and the body cavity also have enough clearance.
Border width is adjustable from 5 to 14 mm, initially 8 mm. The outside dimensions equal the opening plus twice that border. The two adjustment holes have a selectable spacing of 55–115 mm. Corner holes follow the outside dimensions and their edge-offset setting; they are not four independently movable fixing points. Compare the whole pattern with the instrument before printing.
Choose the wedge height and test the assembly
The low edge can be 3–12 mm high, with an additional rise of 0–10 mm. All six holes share one diameter setting of 2.4–4.5 mm. They are plain holes without printed threads or countersinks. Screw heads must seat properly, and the adjustment screws must match the pickup ears in thread and length.
Dry-fit a first print with the strings removed. Check that the underside sits evenly and the pickup moves freely. Supply suitable springs or spacing tubing beneath the adjustment screws. Tighten the body screws gently without distorting the ring, then set pickup height on the completed instrument. Pickup, screws and springs are separate items. The model does not establish universal brand compatibility or a physically tested print.
The image is an AI application visualization, not a photograph of a physically tested print. Illustrated accessories are not included in the STL.
Next step