


Paper and quilling ·
Crimp narrow paper strips with hand-operated quilling rollers
Two meshing rollers add texture to paper strips. Choose the working width and tooth module for your craft project.
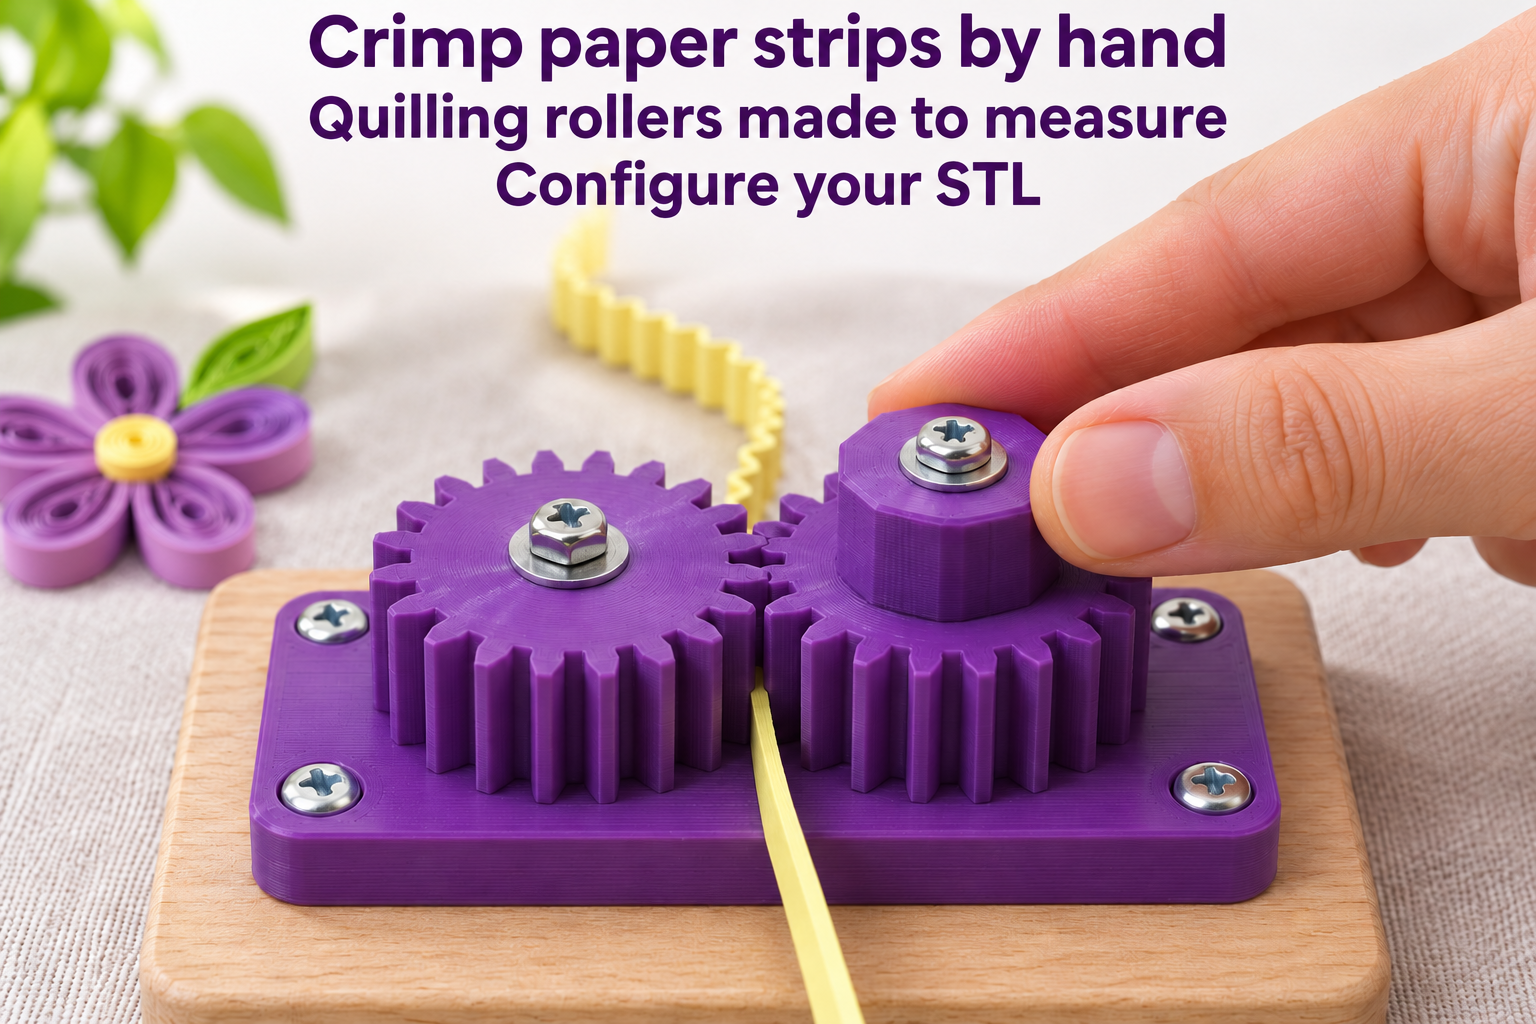
Shape paper in the meshing teeth
Corrugated strips can add texture to quilling ornaments and paper decorations. This model provides a base and two spur-gear rollers, each with 20 teeth. One roller has an integral twelve-sided hand knob. Turning it drives the meshing pair and shapes paper passing through their contact area.
With the base horizontal, the roller axes stand vertically. Feed paper on edge so its width runs up the working height of the rollers. It must not lie flat across their tops or pass underneath the base. Start slowly with a spare strip and guide it without pulling hard on the emerging corrugations.
Understand width and axle clearance
Working width ranges from 6 to 18 mm, starting at 10 mm. Keep the strip within this usable height. Tooth module ranges from 1 to 1.75, initially 1.25. It changes the tooth geometry and resulting texture; a particular finished wave profile requires testing the actual paper.
Additional axle spacing ranges from 0.15 to 0.5 mm, initially 0.25 mm. This parameter is neither paper thickness nor a directly measured gap between teeth. Centre distance equals 20 times the module plus this allowance, giving 25.25 mm initially. The corresponding base measures 53.25 × 30 × 5 mm.
Assemble separate axles and test rotation
Two 3.4 mm axle holes accept separate M3 hardware. Choose suitable screws, washers and nuts, leaving the rollers free to turn instead of clamping them tightly. Hexagonal recesses underneath accommodate nuts. Four further 3.4 mm corner holes allow the base to be fixed to a suitable board.
PETG, 0.2 mm layers and four walls are starting settings for your own print trials. Inspect tooth tips and bores, then check free rotation before feeding paper. Test each paper weight separately. If the mechanism jams, stop and inspect the fit rather than forcing the knob. Hardware, mounting board and paper are separate supplies.
The image is an AI application visualization, not a photograph of a physically tested print. Accessories shown are not included in the STL.
Next step