


Glasses and everyday use ·
Print a soft ear stop sized for your existing glasses temple
Match a small TPU sleeve and rounded fin to your glasses. Check that it can slide over the temple tip and sit behind the ear without pressure.
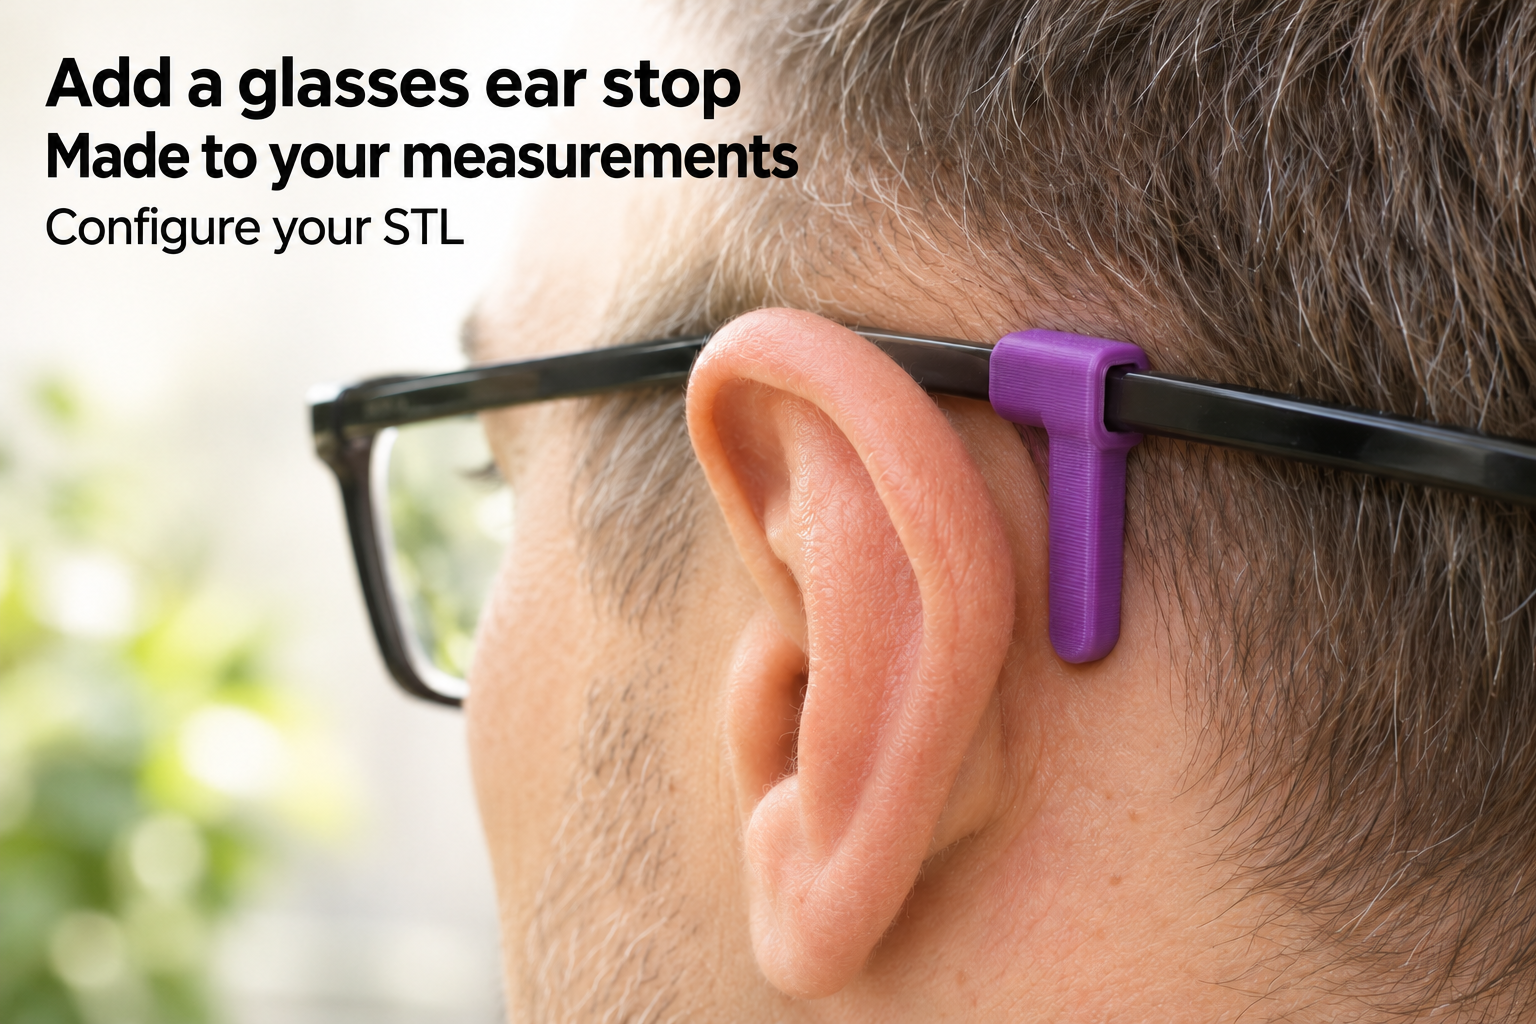
Add a small soft stop to an existing temple
If you want a soft stop behind the ear, this part can be sized to your glasses temple cross-section. It consists of a short rectangular sleeve and a straight flexible fin with a rounded end. It is not a rigid hook intended to clamp around the ear.
Check the glasses themselves first. An ear stop does not repair a broken temple or loose hinge. Attaching the part also does not establish a particular level of slip resistance.
Check the cross-section and mounting route
Measure width and height at the exact position where the sleeve should sit. Clear width ranges from 3 to 9 mm and clear height from 2 to 5 mm, starting at 5 × 3 mm. Choose a gently sliding fit, allowing for printing tolerances and any thicker section near the temple tip.
The sleeve is open at both ends but closed around its sides. It therefore needs to slide over the temple end; it is not a side-entry snap clip. Its fixed length along the temple is 9 mm. Fin length from the sleeve’s outside edge can be set from 8 to 22 mm, with 14 mm as the initial value.
Print and adjust gently
The suggested starting point is TPU 95A, 0.2 mm layers and at least four perimeters. Print the sleeve upright in the supplied STL orientation and inspect the thin walls in your slicer. Carefully smooth print marks and skin-contact surfaces before fitting it.
Slide the stop gently into position and check that it sits without pressure. The fin should lie behind the ear without pressing into it or distorting the frame. Remove the part if it causes discomfort. One model produces one ear stop, so print two if both temples need one. Check shape, flexibility and actual retention on the finished print rather than assuming they follow from the nominal dimensions alone.
The image is an AI application visualization, not a photograph of a physically tested print. Accessories shown are not included in the STL.
Next step