


Gaming and desk organization ·
Give your controller a desk stand sized around its two grips
Measure your gamepad at the actual contact points and create twin cradles that support its grips while keeping buttons, triggers and sticks clear.
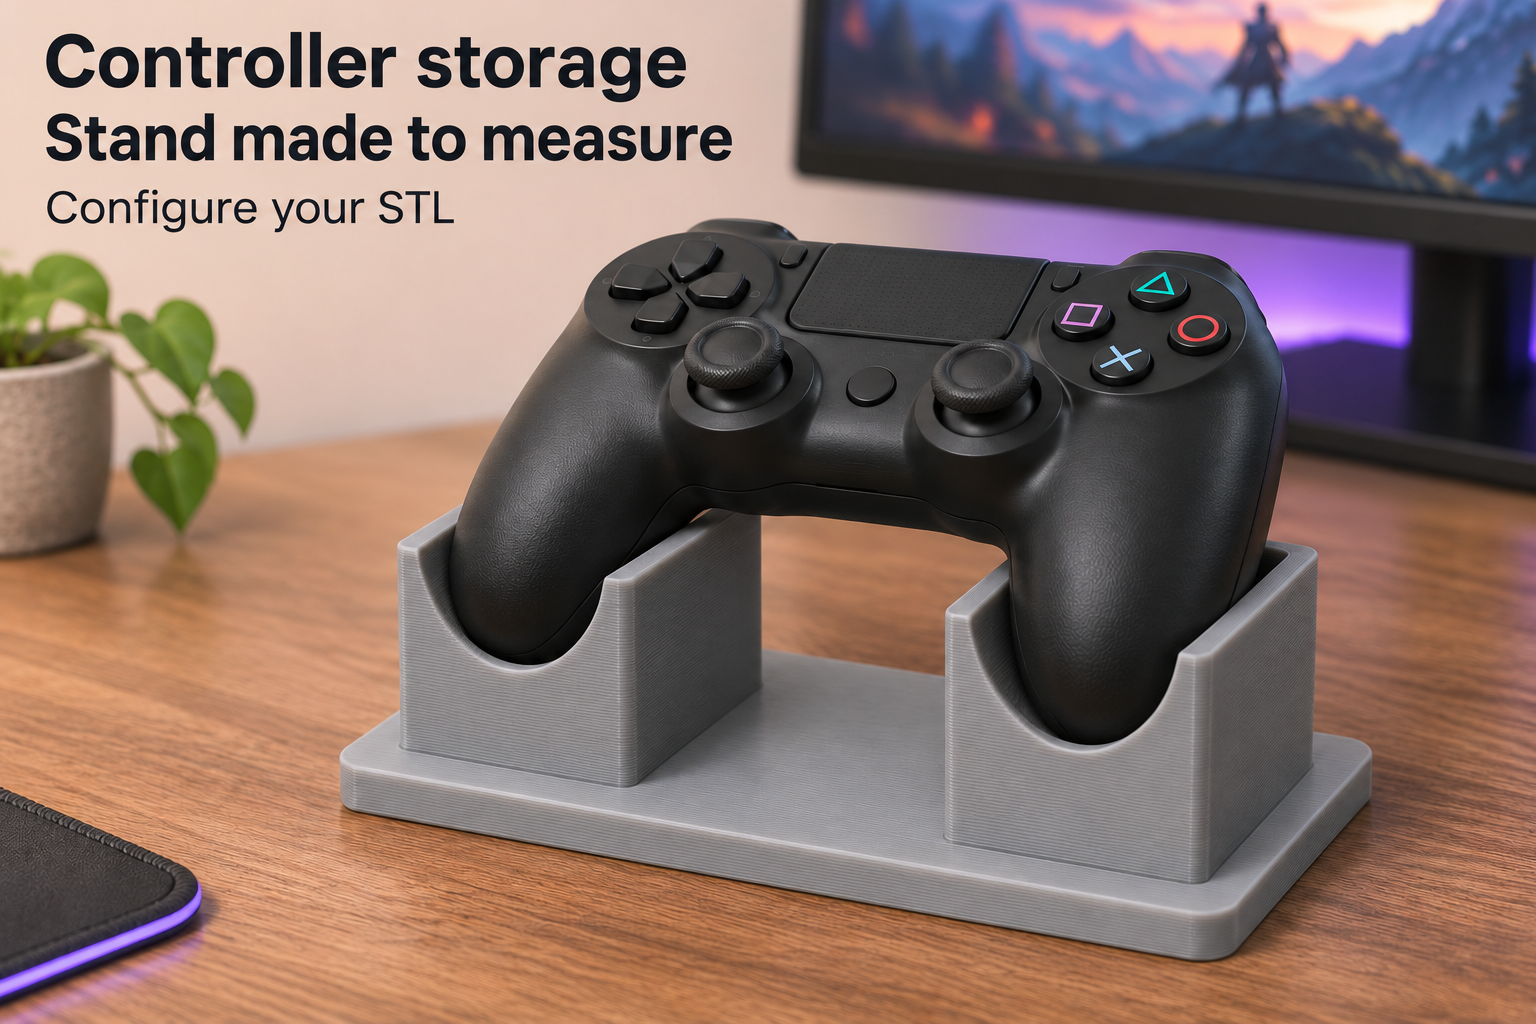
A regular resting place after a game
A controller left among a keyboard, headphones and cables can be awkward to find and put away. This desk stand gives it a defined resting place. Two parallel semicircular cradles support the grips on a shared base. Each cradle is open at the front and has a solid stop at the rear.
The adjustable geometry is useful when a ready-made stand does not match your particular grip shape or desk space. It provides a resting support; it has no charging electronics or locking mechanism.
Measure the actual contact points
Choose where the grips will sit before measuring. Grip centre spacing can be set from 65 to 140 mm, cradle diameter from 24 to 46 mm, and cradle length including the rear stop from 28 to 65 mm. The starting values are 90, 34 and 46 mm respectively.
Check more than the controller’s overall width. Tapered or angled grips need to rest together in two parallel troughs, and the centre of the housing needs sufficient clearance. Check the underside as well as the grip angle. Buttons, triggers and sticks must remain unloaded. A matching width does not establish universal compatibility with a console brand.
Allow space for the base and check the print
The base is 6 mm thick. Its width equals grip centre spacing plus cradle diameter plus 20 mm; its depth equals cradle length plus 20 mm. The default footprint is therefore 144 × 66 mm. The controller itself may overhang that area, so check the complete arrangement on your desk.
The model suggests PETG, 0.2 mm layers and four perimeters as a printing starting point, with the flat base on the bed. Remove rough edges before placing the controller. Check that both grips carry the weight and that the assembly does not rock. Thin separate padding can protect contact surfaces, but include its thickness when selecting the cradle diameter. Lift the controller clear to remove it rather than forcing its housing between the walls.
The image is an AI application visualization, not a photograph of a physically tested print. Accessories shown are not included in the STL.
Next step