


Workshop ·
Build a manual rail carriage with adjustable eccentric wheel bushes
A printed four-wheel plate and two eccentric bushes let you set the running clearance of a light hand-operated carriage around your own wheels and rail.
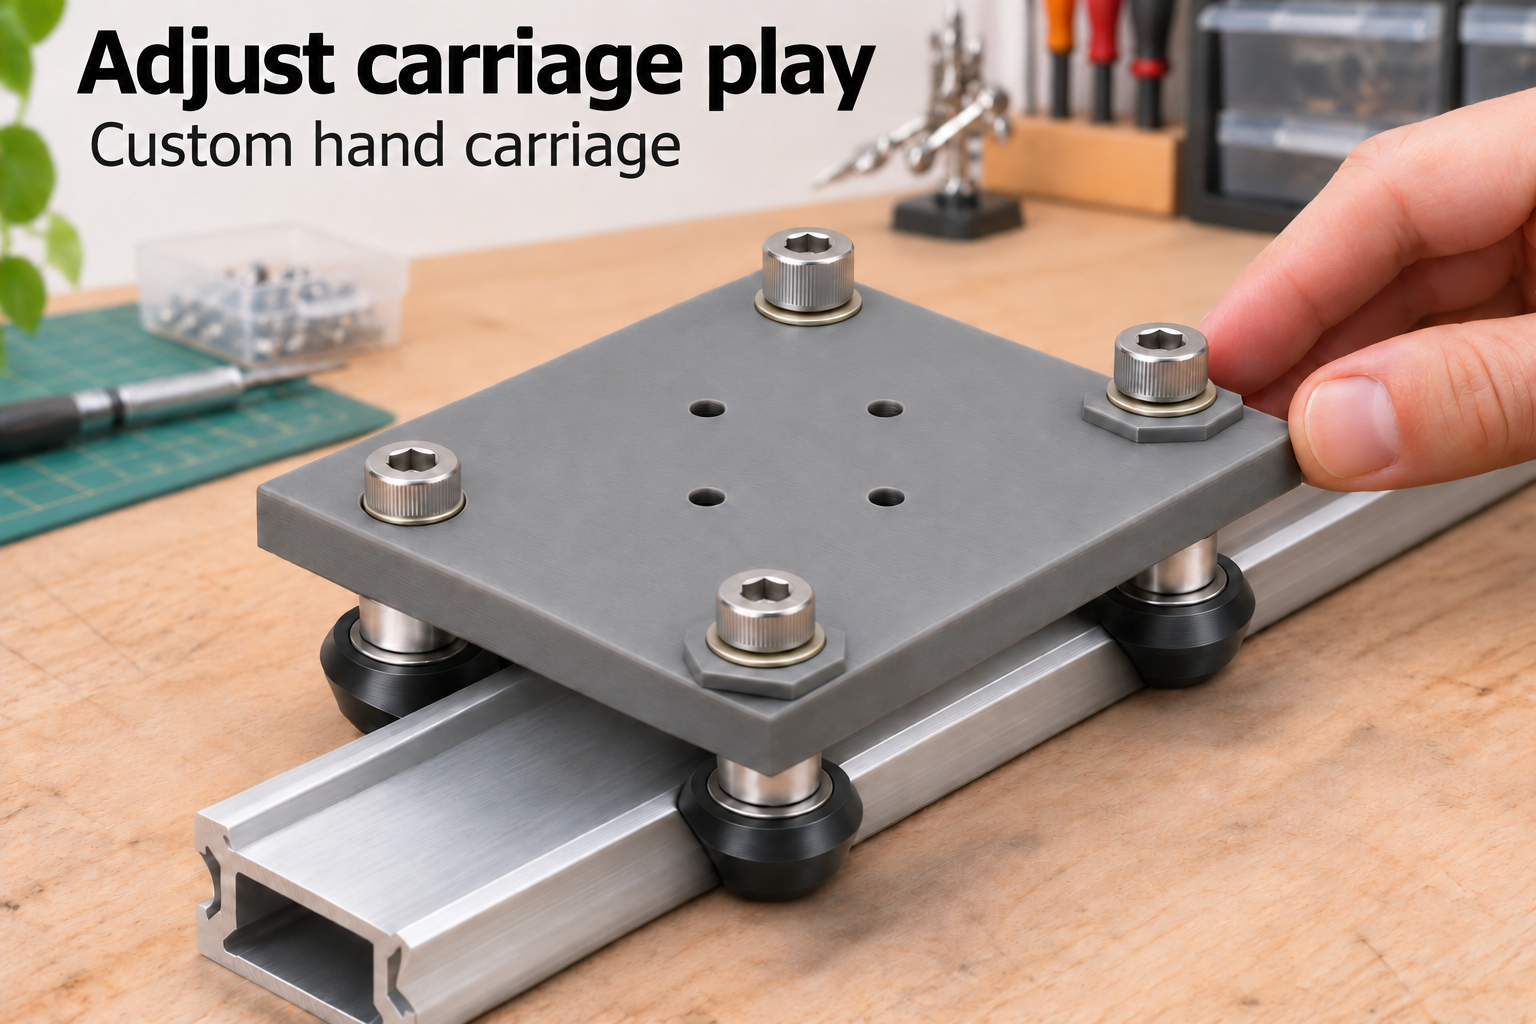
A small carriage that can be adjusted
A light craft fixture may need to slide along a short rail without excessive sideways movement. This model provides a rectangular carrier plate and two separate eccentric bushes. Wheels, bearings, axle bolts, spacers and the rail are additional components. Their geometry must work together; the plate does not establish compatibility with every aluminum extrusion.
Two wheel axles pass directly through the plate. The opposite pair pass through offset holes in the bushes. Turning these bushes while the fasteners are loosened changes wheel position relative to the rail. Four central holes on a square pattern provide an attachment for your own light accessory.
Measure the complete wheel and rail arrangement
Axle spacing can be set from 25 to 70 mm in X and 25 to 80 mm in Y. Plate thickness ranges from 4 to 10 mm and axle-hole diameter from 3.4 to 6.4 mm. Measure where the actual wheel surfaces contact the rail. Wheel diameter, groove shape and spacer length determine whether all four wheels engage at the same level.
Bush diameter is adjustable from 9 to 16 mm and eccentric offset from 0.4 to 1.5 mm. More offset requires enough material beside the axle bore; geometric checks in the design reject incompatible combinations. Insert each round bush neck into its plate socket, leaving the hexagonal shoulder accessible outside. The central mounting-hole pitch ranges from 12 to 35 mm.
Print, assemble and set the clearance
Print the plate and bushes separately, then check hole sizes and whether the bushes turn in their sockets. Remove burrs without arbitrarily enlarging the seats. Suitable metal washers and spacers distribute fastening loads and keep wheels clear of the plate. Select bolt length and retention so exposed threads cannot scrape along the rail.
Place the unloaded carriage on the guide, adjust both eccentric bushes gradually and secure the axles afterward. Check smooth motion throughout the travel: excessive preload cannot correct mismatched geometry. Add travel stops to the surrounding fixture. This application is for light horizontal hand movement, not powered machine axes or load-bearing structures. No tested load capacity or physical print validation is claimed.
The image is an AI application visualization, not a photograph of a physically tested print. Accessories shown are not included in the STL.
Next step