


Lightweight hobby covers ·
Join two lightweight cover panels with a printed four-leg push rivet
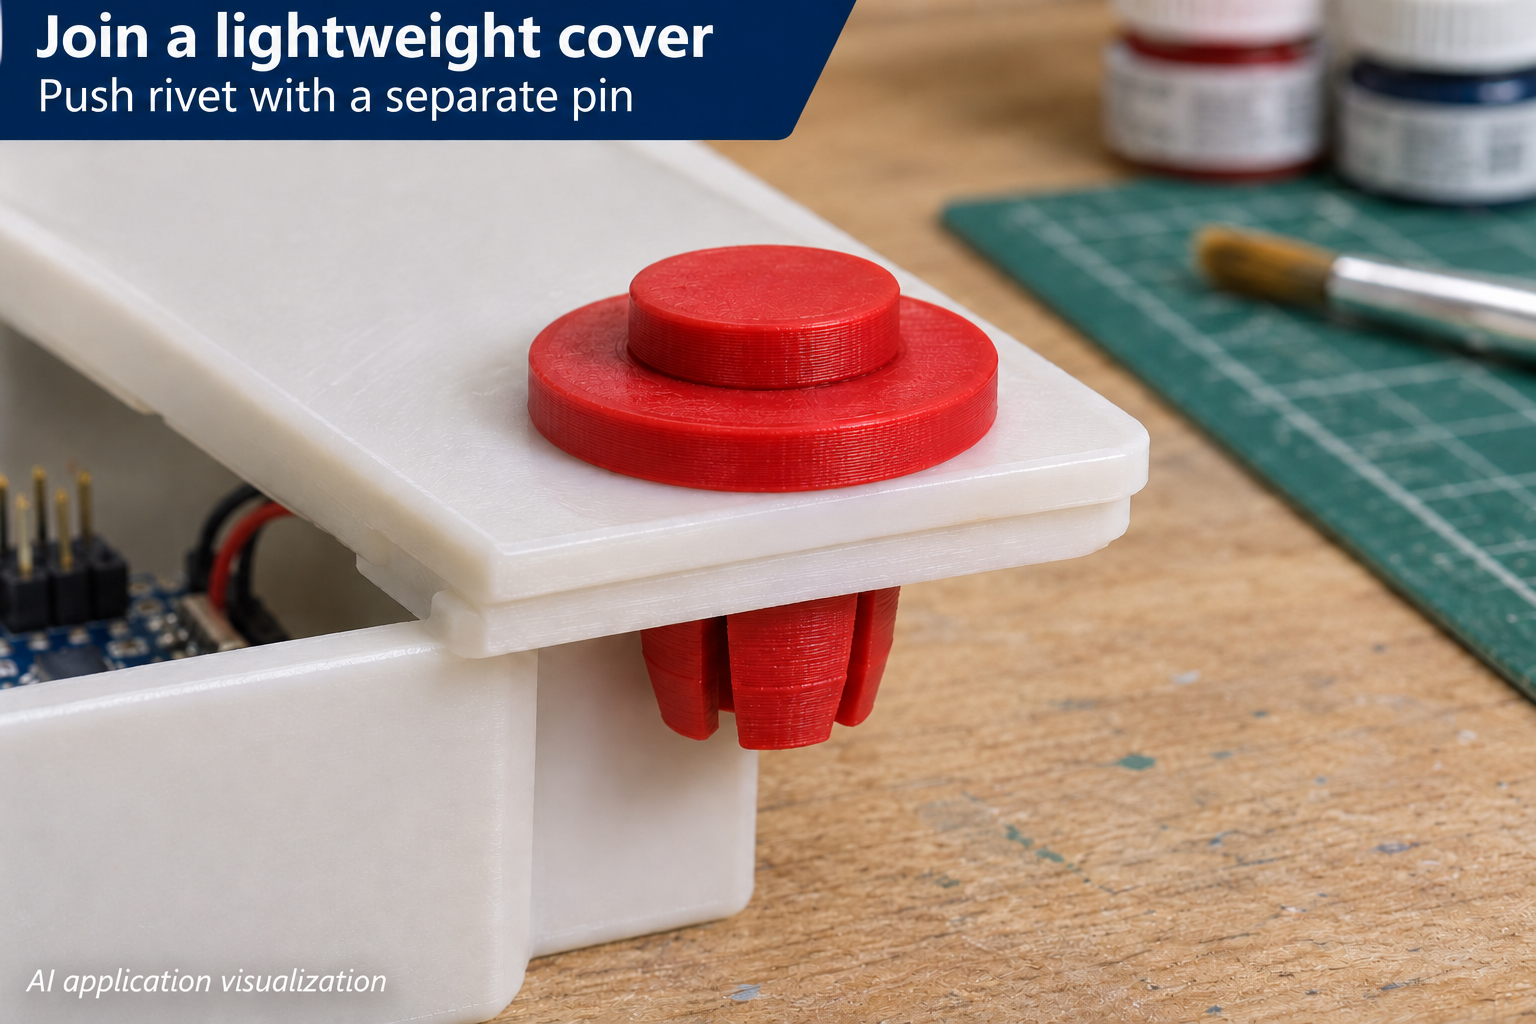
A slotted rivet body passes through aligned panel holes. A separate pin enters from the flange side and expands the legs behind the panel stack.
Adapt a trial fastener for a light cover
Two thin cover tabs on a hobby enclosure can be joined with a suitably fitted push rivet. This model contains a four-leg slotted body and a separate push pin. The broad flange rests on the front face, while the legs extend through the panels behind it.
Insert the pin from the flange side to spread the lower part of the legs. This is an adjustable experimental connector, not a tested vehicle or machine clip. Check fit and flexibility on your own print.
Measure the hole and full panel stack
Hole diameter adjusts from 6 to 12 mm, initially 8 mm. The straight shaft is modelled 0.3 mm smaller than that setting. This does not mean the complete rivet drops freely through the hole: the shaped bulge on its legs also affects insertion.
Panel-stack thickness is 2–8 mm, initially 4 mm. Measure every layer being joined, not just the top panel. Additional leg length behind the stack is 5–14 mm, initially 8 mm. Leave enough rear space and keep wires or components away from the expanding legs.
Match flange, slots and expansion
Flange diameter is 12–24 mm, initially 16 mm, and must exceed hole diameter by more than 4 mm. Flange thickness is fixed at 2.4 mm. The pin has a smaller head of its own that sits on the flange after insertion.
The leg-wall setting is 0.9–1.8 mm, initially 1.2 mm, and slot width is 0.8–1.6 mm, initially 1 mm. Expansion setting is 0.2–0.8 mm, initially 0.5 mm, affecting the bulge and internal profile. It is not a pull-out-force rating. Changes alter the required deformation and need practical checking.
Start with a trial print
Use the tough PETG specified for this model and avoid brittle PLA. Inspect the open slots, inner bore and pin after printing. Align the panel holes, insert the rivet body first and then press the pin in from the flange side.
Stop if the part cracks or needs excessive force; check fit and material instead of forcing it. Neither holding force nor repeated removal is guaranteed. Use only for lightweight covers without a safety function. The image is an AI application visualization; no physical test prints have been performed.
Next step