


Sewing and repairs ·
Print a four-hole replacement button to fit an existing buttonhole
Measure the buttonhole and an existing button before choosing diameter and thickness. Four sewing holes and a shallow thread recess suit adult clothing repairs.
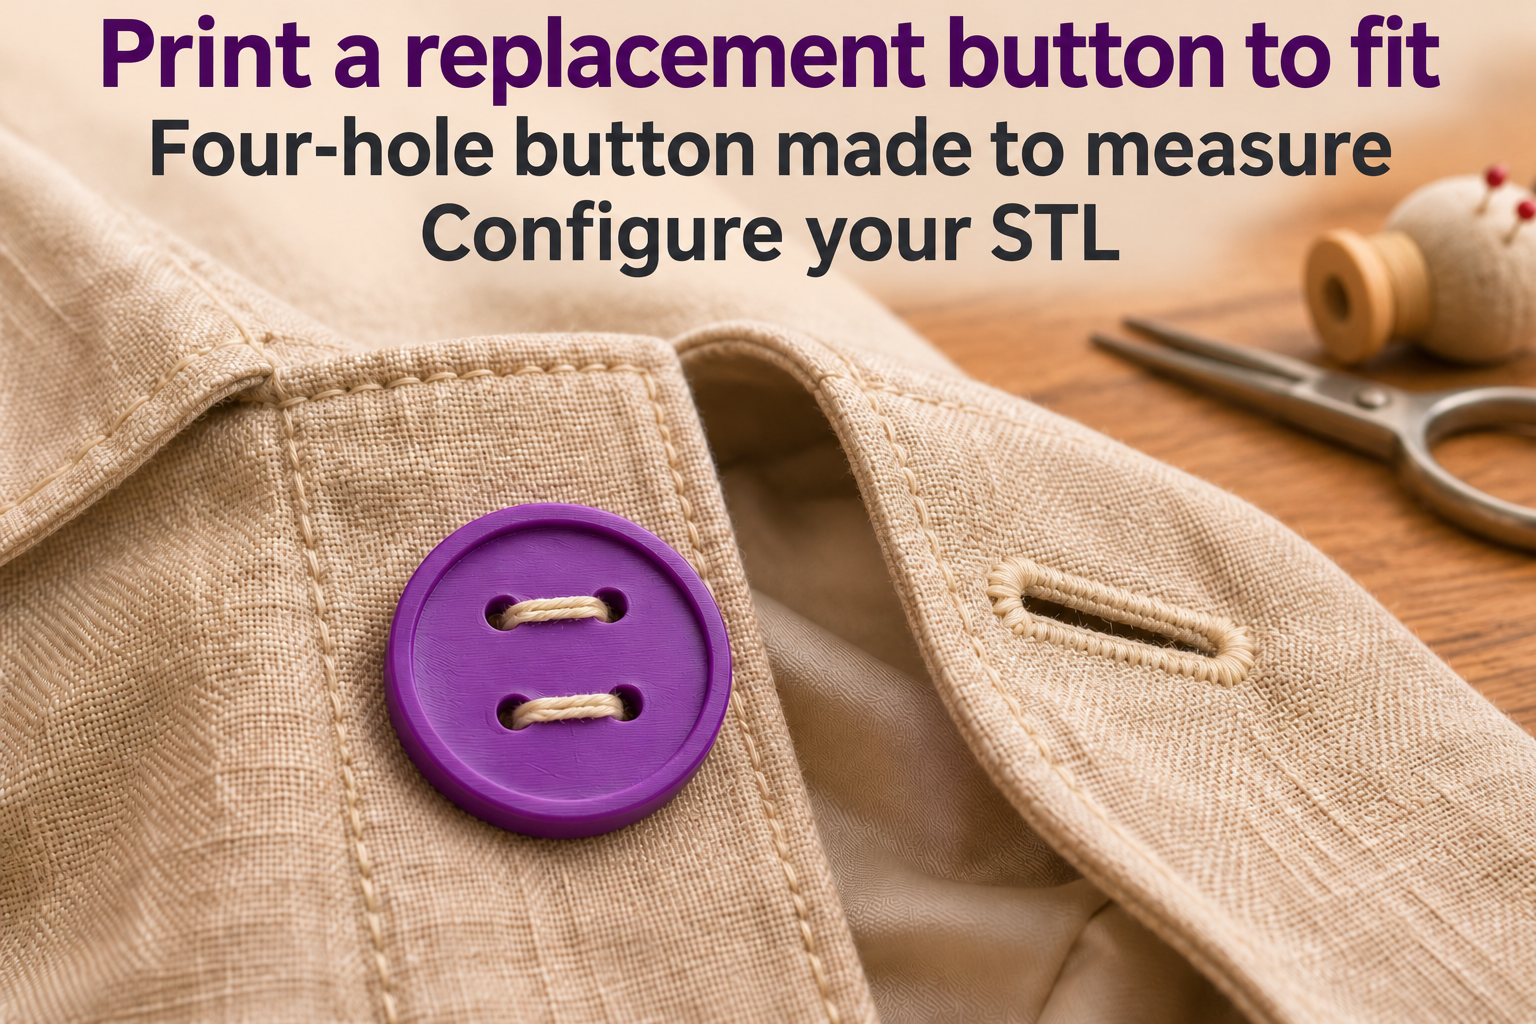
Replace a missing button with a measured fit
A fitted replacement can help when a button is missing from a handmade jacket or a lightweight bag flap. This model produces a round four-hole button with a shallow recess on top. Sew it on using separate thread. The intended applications are adult clothing and light flaps, not protective clothing.
Matching diameter alone is not enough. The button must pass through the existing buttonhole and stay in place when fastened. Compare a remaining button, the opening and the fabric thickness. Before final attachment, try the printed button on a scrap sample to check how easily it opens and closes.
Choose diameter, thickness and sewing holes
Diameter ranges from 12 to 36 mm, initially 22 mm. Overall thickness ranges from 2.4 to 5 mm and starts at 3 mm. The upper recess has a fixed depth of 0.6 mm and a diameter equal to button diameter minus 3 mm. A 3 mm button therefore has 2.4 mm of material below the recess.
The four holes form a square. Adjacent hole centres are spaced at 34 percent of button diameter: 7.48 mm for the initial 22 mm button. This spacing changes automatically with diameter. Hole diameter can be set from 1.5 to 3 mm, initially 2 mm. Check that your needle and planned thread passes fit through.
Smooth the print before sewing
Start with PETG, 0.2 mm layers and at least four walls. Place the flat underside on the bed with the recess facing up. Smooth all thread-contact surfaces and remove sharp edges around the holes so that print burrs do not abrade the stitching.
Attach with suitable thread and test fastening without force. The printed part has not been physically tested for washing or ironing resistance. Remove it before those treatments unless the actual material’s suitability has been established. The STL supplies the button geometry; fabric, thread and sewing tools are separate items.
The image is an AI application visualization, not a photograph of a physically tested print. Accessories shown are not included in the STL.
Next step