


Handcrafts and yarn guidance ·
Guide yarn through a fitted side eyelet on your finger
Choose a comfortably removable finger ring and suitable yarn opening. Thread the yarn end through the closed eyelet before working; tension stays under manual control.
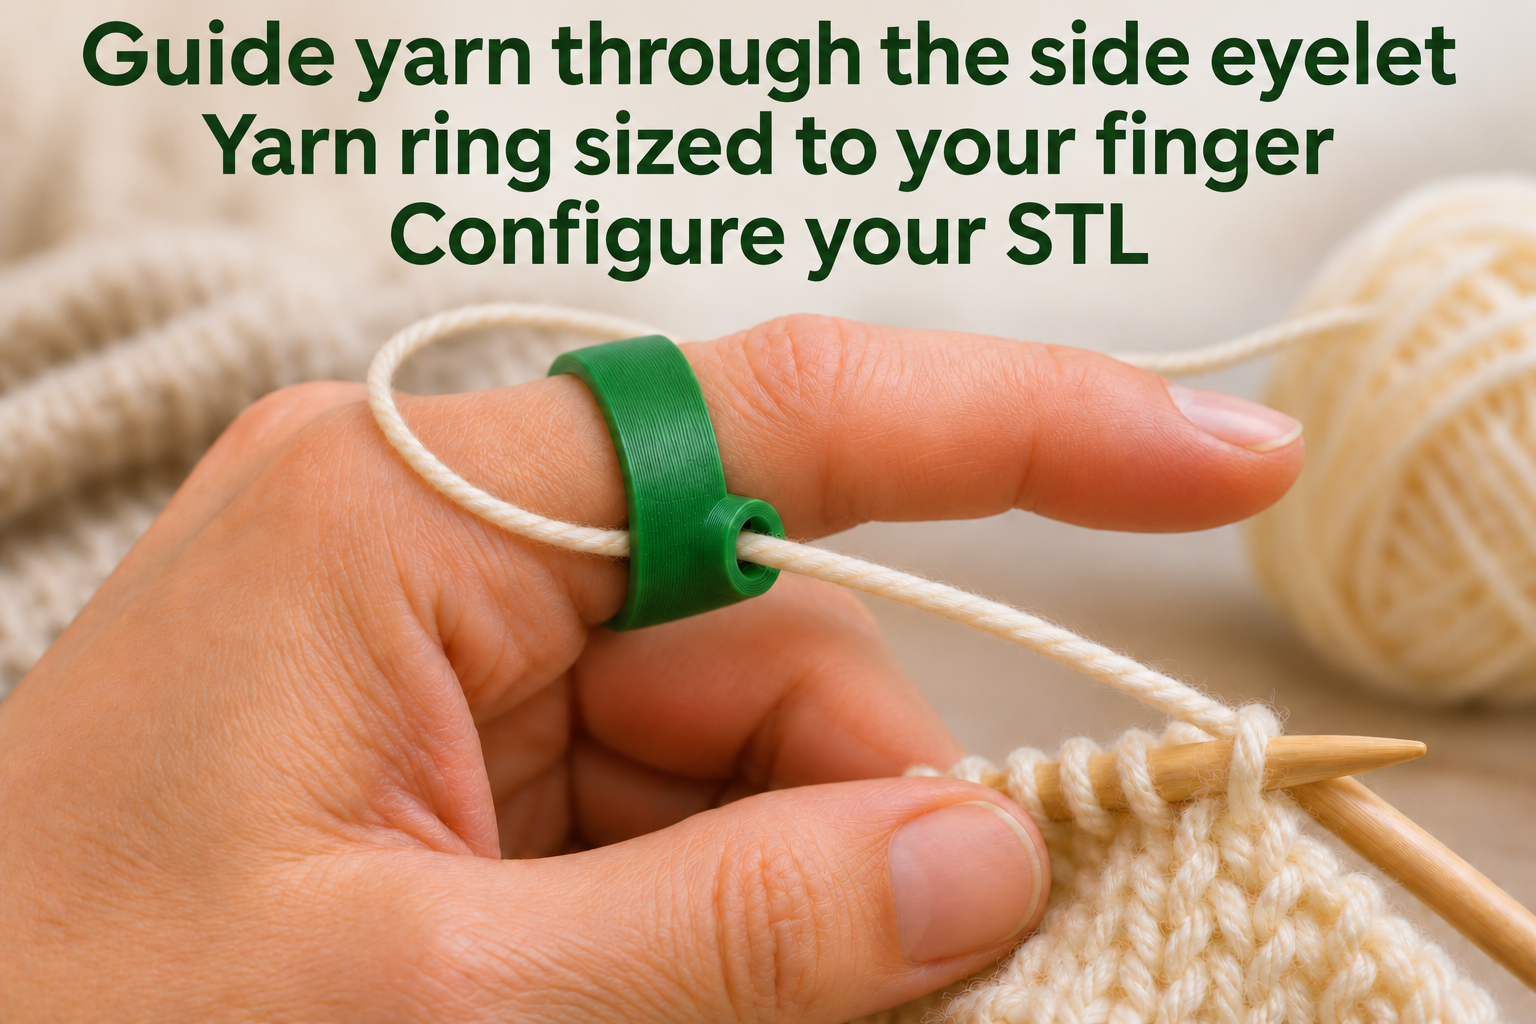
Give one strand a defined passage
During knitting or other handwork, a side eyelet can help define where a single strand passes your finger. This model combines a closed finger ring with a small closed eyelet on one side. Thread the yarn end through the eyelet before starting, then guide it toward the work.
The eyelet is not an open hook: an already tensioned strand cannot be clipped in sideways. There is no brake or adjustable tension mechanism. You still control yarn feed with your hand and normal working technique. Try the guide with a short piece of yarn first.
Set finger clearance and yarn clearance separately
Clear finger diameter ranges from 16 to 28 mm, initially 20 mm. Allow comfortable clearance and check that the ring can also slide easily over the joint when removed. It must not clamp your finger. Band width along the finger ranges from 5 to 10 mm and starts at 7 mm.
The clear eyelet opening ranges from 2 to 5 mm, initially 3 mm. Its bore runs parallel to the finger axis, and the eyelet has the same axial width as the main band. The ring wall is a fixed 2 mm thick. Consider yarn fluff and knots as well as strand thickness; a larger opening does not compensate for rough contact surfaces.
Smooth the contact surfaces and test the feed
Print flat on one ring edge so both openings face upward. Start with PETG, 0.2 mm layers and at least four walls. Carefully remove burrs from the inner ring and eyelet. Inspect the side connection for clean layer bonding and cracks.
Thread the yarn and check without pulling hard whether it catches or frays. Then briefly test the fit without a taut strand. The ring must remain easy to remove at any time; stop using it if it presses or your finger swells. The STL includes only the ring, not yarn or needles. Even yarn tension is not automatically guaranteed by the guide.
The image is an AI application visualization, not a photograph of a physically tested print. Accessories shown are not included in the STL.
Next step