


Embroidery and thread preparation ·
Print an untwisting weight for separating embroidery floss strands
Create a simple two-hole weight that hangs from your own soft loop while you separate embroidery floss. Adjust its diameter, thickness and hole spacing.
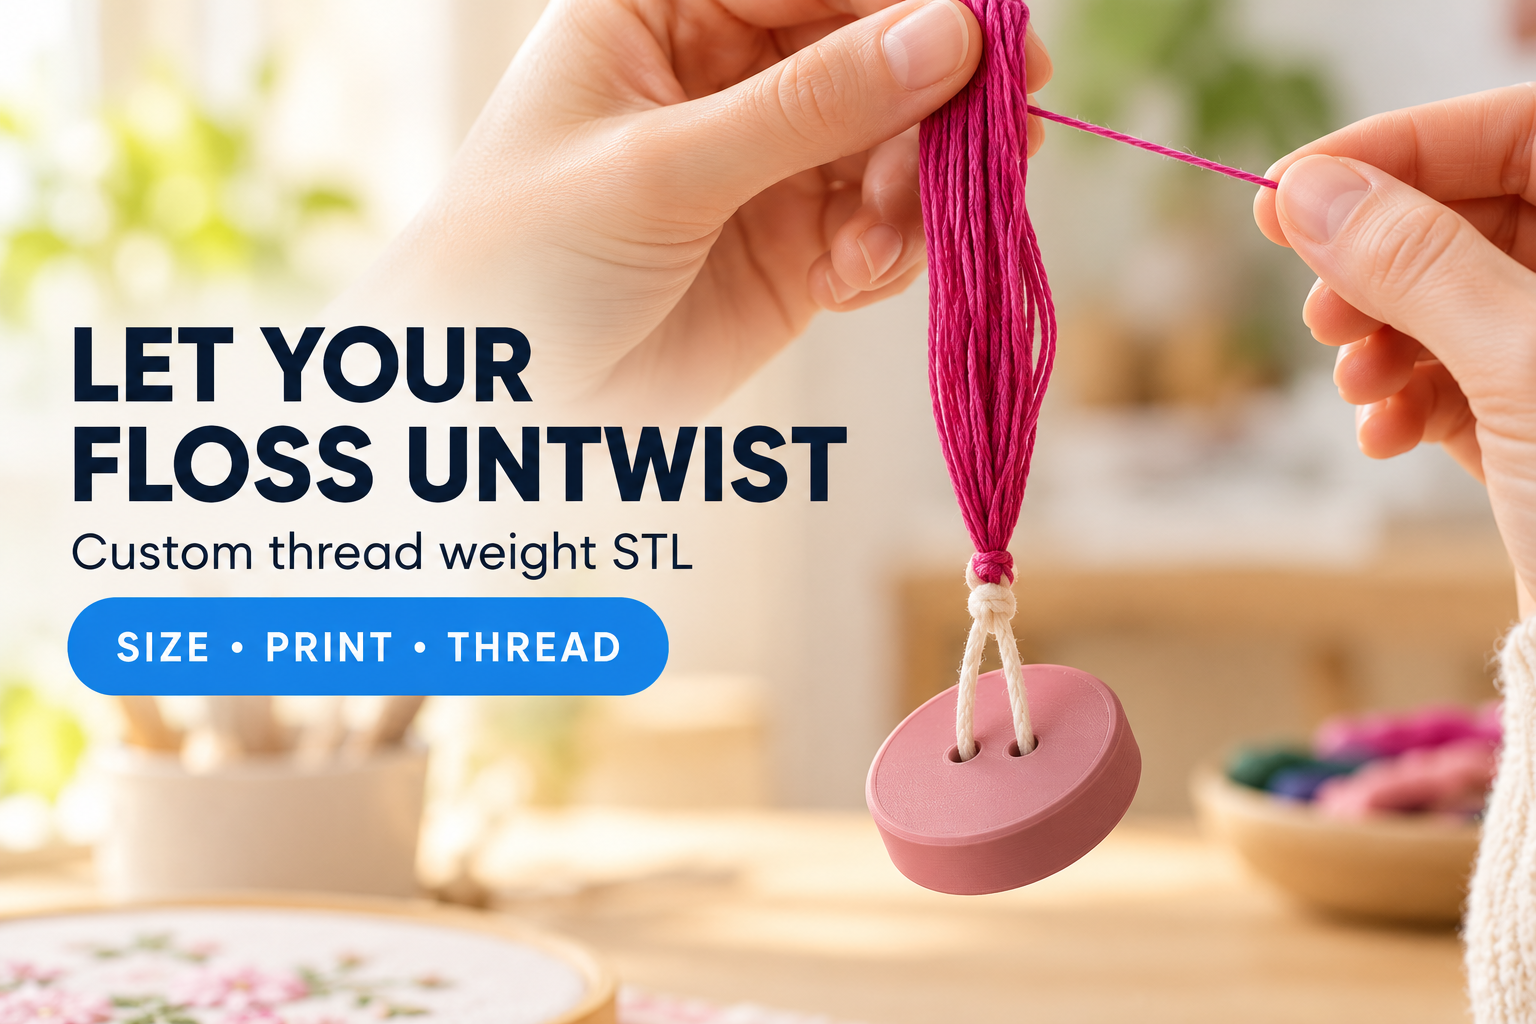
When you separate embroidery floss into individual strands, the remaining bundle can twist as you pull. This custom untwisting-weight STL creates a small body that hangs from the lower end on your own soft loop. With room to turn freely, it can help the bundle release twist while you draw a strand from the other end. The design is deliberately simple: a circular disc with two tie holes and a chamfered outside edge.
Choose the body size for your thread preparation
The diameter can be adjusted from 28 to 50 mm and the thickness from 6 to 16 mm. The default body is 36 mm across and 10 mm thick. These dimensions control the printed shape, but they do not specify a fixed weight in grams. Material, wall settings and infill all influence the finished mass.
Start with a size that is practical to handle and test it on spare thread. More mass is not automatically better for a delicate strand. If you change the diameter or thickness, check the resulting print and its behaviour with the floss you actually use rather than assuming one setting suits every thread.
Use both holes with a separate soft loop
The two through holes are each 3 mm in diameter. Their spacing is adjustable from 6 to 12 mm, with an 8 mm default. Supply your own soft loop and pass it through both holes, then attach it to the lower end of the floss bundle. No clip or swivel is included in the model.
Check the hole edges before threading. A rough rim or loose strand of printed plastic can catch the loop or thread. Smooth the contact surfaces carefully and make sure the attachment is secure without damaging the floss. The application image illustrates this loop connection and leaves the disc hanging clear of the work surface.
Print the disc flat
The product guidance specifies a flat print in PLA or PETG. Higher infill increases mass, but the actual result also depends on the material and other print settings. Inspect the holes and outer edge in your slicer, then remove burrs from the finished part. Weigh the print if you need to record its actual mass for a later repeat; the STL dimensions alone do not provide that value.
Separate strands with space below your hands
Hold the upper end of the bundle and draw out an individual strand gently while the attached body hangs freely beneath it. Leave enough clearance for the weight to turn without resting on the table or catching nearby items. If the thread snags or the weight pulls too strongly, stop and adjust the setup. Try the process on spare floss before using prepared lengths for a project.
Configure your embroidery floss untwisting weight and create its STL. Choose the body dimensions and hole spacing, print the part, and add your own loop to make a thread-preparation aid suited to your workspace.
Next step