


Fabric organizers and indoor storage ·
Close a lightweight fabric cover with an elastic loop and screw-mounted button
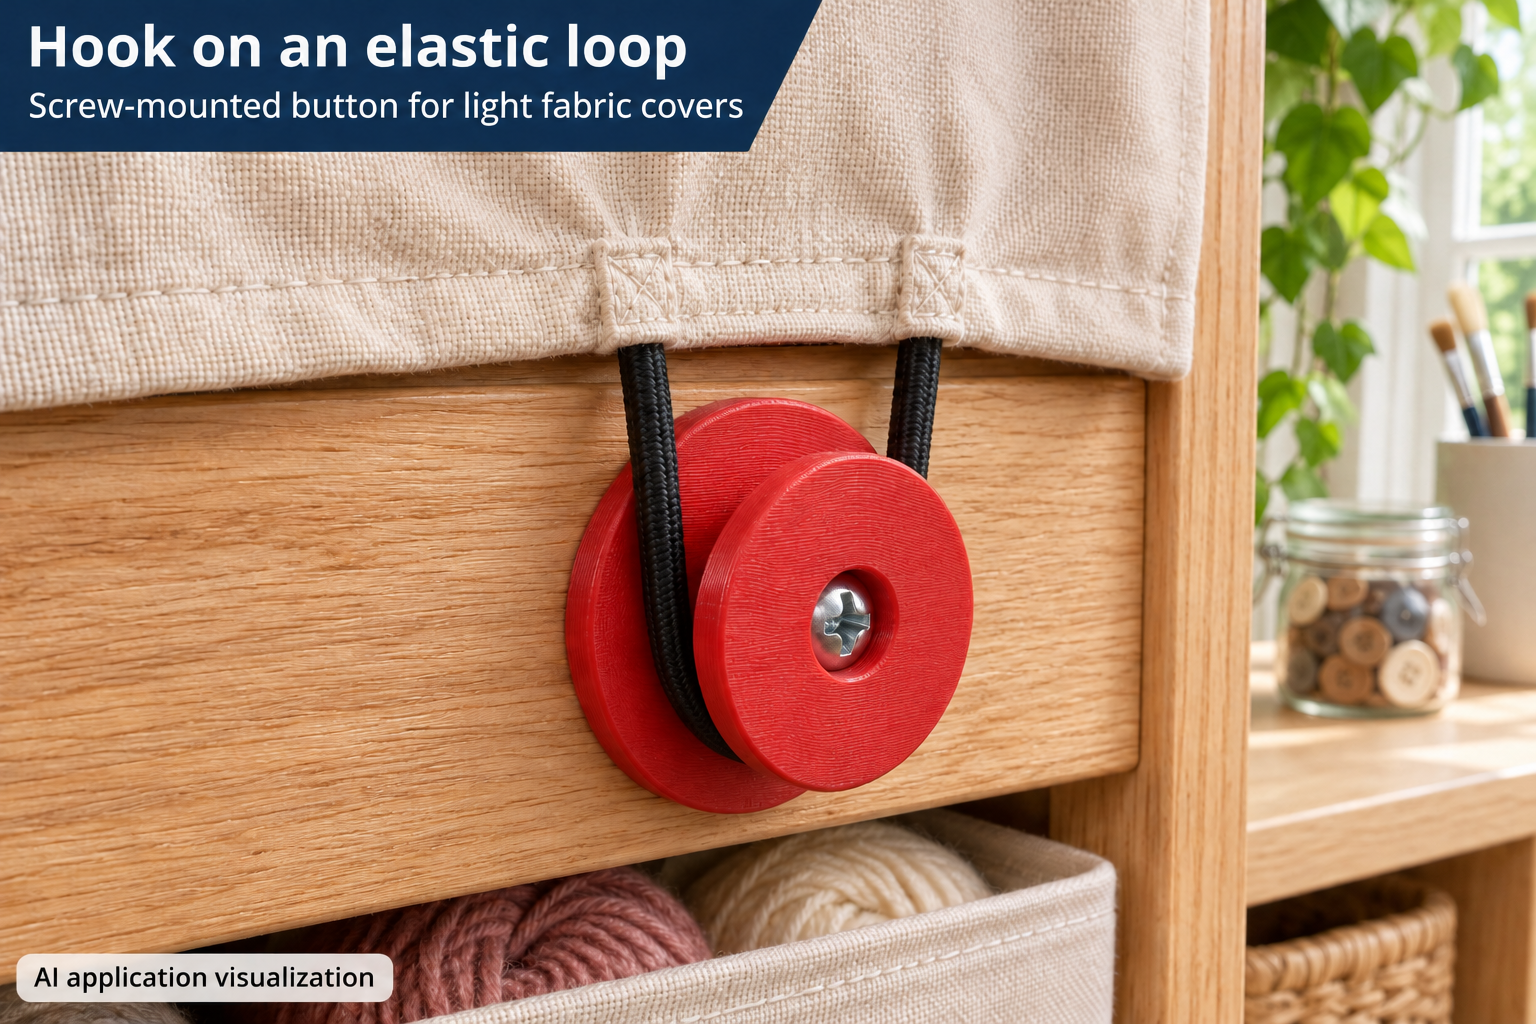
Stretch the loop over the button head so it settles around the narrower neck. A larger base disc spaces the loop away from the mounting surface.
Hook a fabric flap onto a fixed button
A lightweight cover on an indoor organizer can close with an elastic loop hooked onto a fixed button. The printed mushroom button sits on a rigid support with its base disc against the surface. Stretch the loop over the wider head and let it settle around the narrower neck.
In the illustrated setup, both ends of elastic cord are sewn into the fabric hem. Position button and loop so the cover stays closed with only mild tension. The printed part does not include the loop or its sewn attachment.
Match cord thickness and neck clearance
Cord diameter adjusts from 2 to 7 mm, initially 4 mm. Together with the cord allowance of 0.3–1 mm, it determines the free height between base and head. The default 4 mm cord and 0.5 mm allowance produce 4.5 mm of free neck height.
This allowance increases height, not neck diameter. Measure the actual cord and check that it sits in the gap without being pinched. The loop must stretch far enough to pass over the head; a stiff cord with too small an opening is unsuitable.
Choose head, neck and screw dimensions
Head diameter is 14–30 mm, neck diameter 7–18 mm and base diameter 18–36 mm. Defaults are 20, 10 and 24 mm. The head must exceed the neck diameter by more than 4 mm, and the base must be at least as large as the head.
The screw passage is 2.5–5 mm, initially 3.4 mm. Its round head pocket is always 3 mm wider than the passage and half the disc thickness deep. With a 3 mm disc, the default pocket is 6.4 mm wide and 1.5 mm deep. Check your actual screw head: this shallow pocket does not fit every head shape automatically.
Print, fasten and test with mild tension
Disc thickness adjusts from 2.4 to 4.5 mm. Print with the base on the bed and inspect the head overhang in the slicer. Choose a screw compatible with the passage, head pocket and mounting material. Neck diameter must exceed the screw passage by more than 4 mm.
Fasten the button flat and test the loop with low tension first. Continuous tension can deform printed plastic. Use only for lightweight indoor fabric covers and organizers, not tie-downs, vehicle fittings or load restraint. The image is an AI application visualization; no physical test prints have been performed.
Next step