


Crafts and diamond painting ·
Sort diamond painting drills in a tray sized for your supplies
Match tray size and ridge spacing to your craft drills. Low parallel ribs help organize a small batch, while the open spout provides a route back to the container.
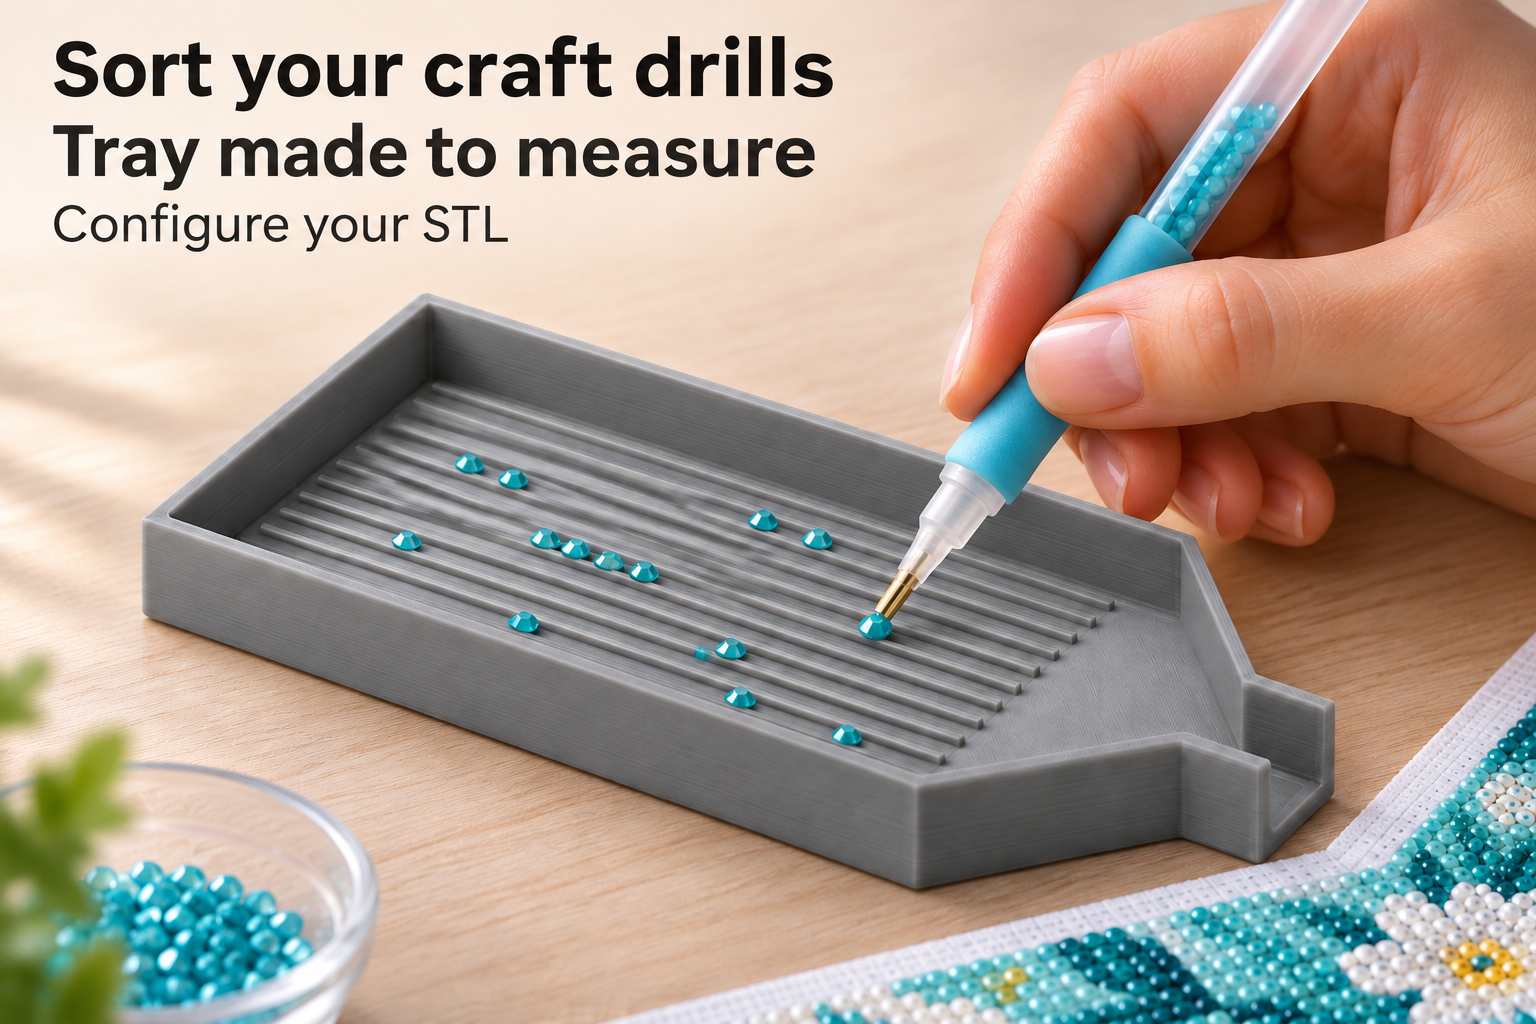
Keep a small working batch within reach
When placing diamond painting drills, a defined working tray makes individual pieces easier to reach than a scattered pile on the table. This model has a rectangular sorting area with low parallel ribs. A tapered end leads to an open pouring spout. Gentle small movements help distribute dry drills between the ribs before you pick them up with your own applicator.
Begin with a small quantity of one colour and keep the tray level. The spout has no stopper, so this is not a closed transport container. Drills, canvas and applicator are separate supplies.
Distinguish ridge pitch from clear channel width
Measure the width of the drills you actually use. The adjustable 3–6 mm spacing is the centre-to-centre ridge pitch. Each ridge is 1 mm wide, so clear channel width equals pitch minus 1 mm. The default 4 mm pitch leaves a 3 mm clear channel. Allow some clearance beyond drill width and test a small sample.
The rectangular section can be 70–145 mm long and 40–85 mm wide externally, starting at 100 × 60 mm. The spout adds another 30 mm to overall length. The 2 mm walls reduce the usable internal area, so include them when checking how much working room you need.
Tune the print to your working method
Ridge height ranges from 0.6 to 1.6 mm, wall height above the 2 mm floor from 8 to 15 mm, and open spout width from 8 to 18 mm. Initial values are 1, 10 and 12 mm. Taller ridges are not automatically better: your applicator still needs comfortable access to the drills.
Start with PETG, 0.2 mm layers and four perimeters, placing the flat underside on the build plate. Remove strings and burrs from channels and spout. Test whether a small batch aligns and pours back in a controlled way. Hold the spout close above the receiving container and tilt slowly. The finished print needs checking with your particular drill shape rather than assuming all drills behave alike.
The image is an AI application visualization, not a photograph of a physically tested print. Accessories shown are not included in the STL.
Next step