


Jewelry and beadwork ·
Move loose bead knots into place with a fitted slotted pusher
Size the slot for the thread and loose knot. The small fork receives a single strand and gently guides the knot toward the preceding bead.
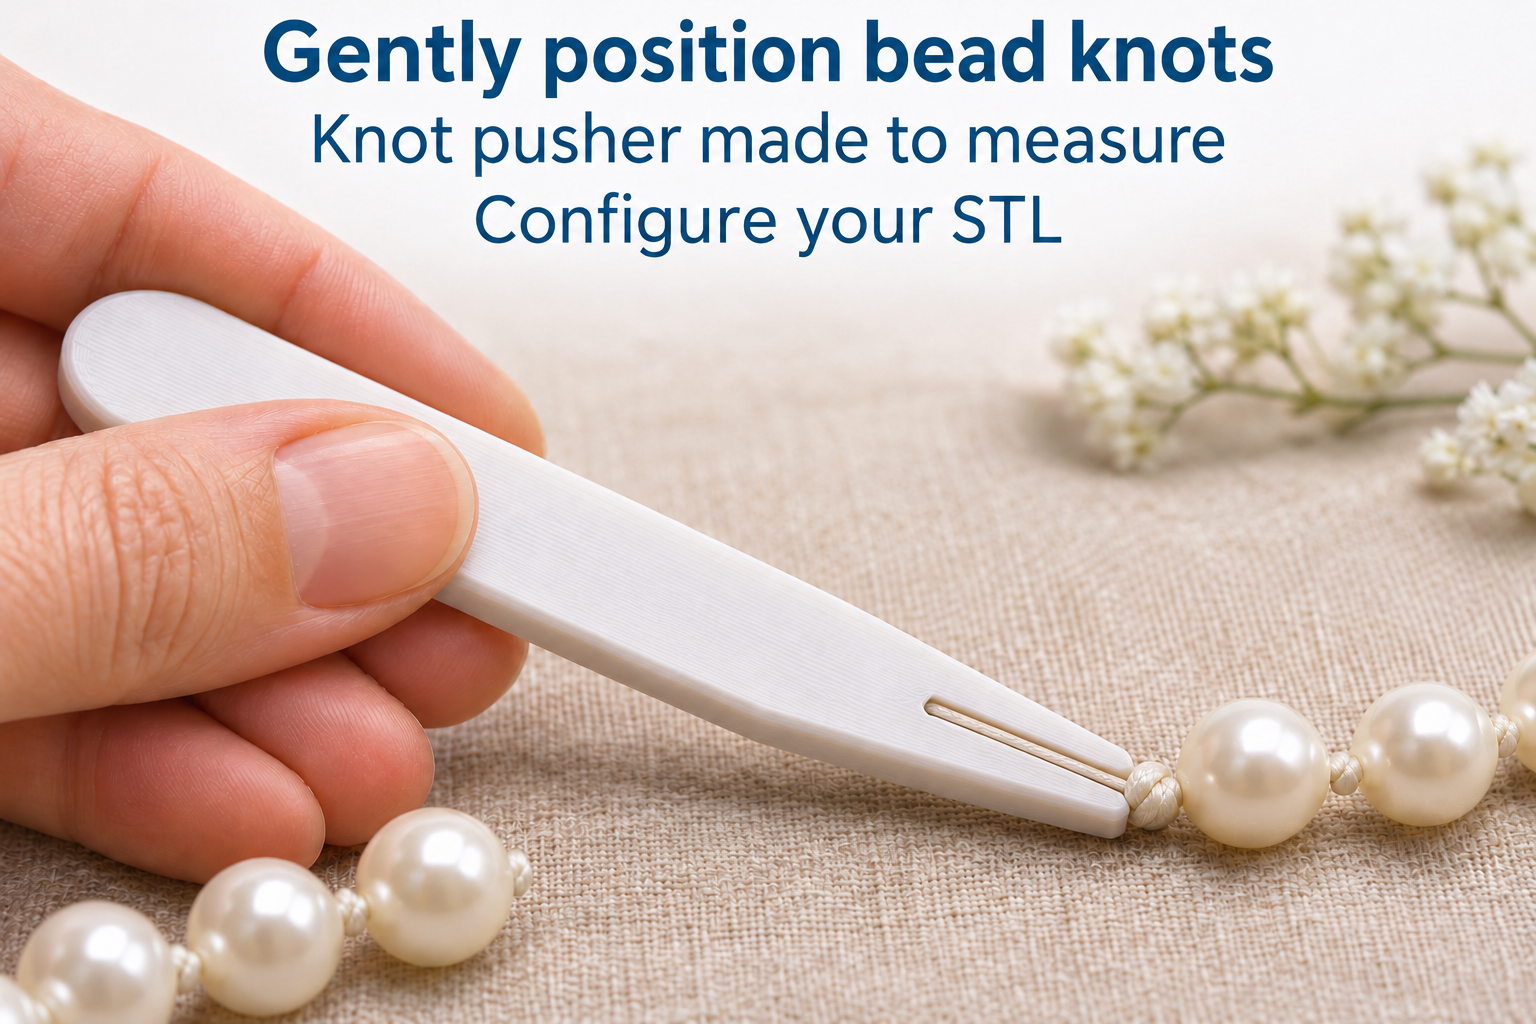
Position a knot while it is still loose
In a knotted bead strand, the next knot should sit close to the preceding bead. This flat slotted fork helps gently move a knot that has not yet been tightened. Place the single strand into the slot through the open flared entry. The two nose tips sit behind the larger knot and guide it toward the bead.
The tool does not form knots automatically. If needed, shape the knot with your own awl before transferring it onto the fork. Avoid forceful pulling and do not lever the tool against a bead. A fully tightened knot cannot reliably be moved afterward with this pusher.
Choose a slot between strand and knot sizes
Open slot width ranges from 0.4 to 1.5 mm, initially 0.7 mm. It must be wider than the single strand so the thread is not pinched, but narrower than the loose knot. A slot that is too wide lets the knot pass through; one that is too narrow can damage the thread.
Nose width ranges from 4 to 10 mm, initially 6 mm. Choose it around bead size and the access you need. Grip length ranges from 40 to 90 mm, initially 60 mm. That setting describes the handle area rather than total tool length: the forked head extends farther forward. The body has a fixed thickness of 3 mm.
Finish every thread-contact edge
Print flat in PETG with 0.2 mm layers and at least four walls. Check in the slicer that the narrow slot remains open. Remove burrs from the slot and flared entrance without damaging the two tips. Fine strands can catch on rough layer edges.
Test spare material first, especially fine silk. Run the thread through the fork without pulling hard and inspect it for abrasion. Then gently move a loose practice knot toward a test bead and check its position before tightening. Beads, thread and any separate awl are not included with the printed part.
The image is an AI application visualization, not a photograph of a physically tested print. Accessories shown are not included in the STL.
Next step