


Model making and workspace ·
Keep an enclosed airbrush needle tube from rolling across your desk
Give a closed needle-storage tube a dedicated resting place. Match the semicircular groove to the tube’s outside diameter and keep the needle fully enclosed.
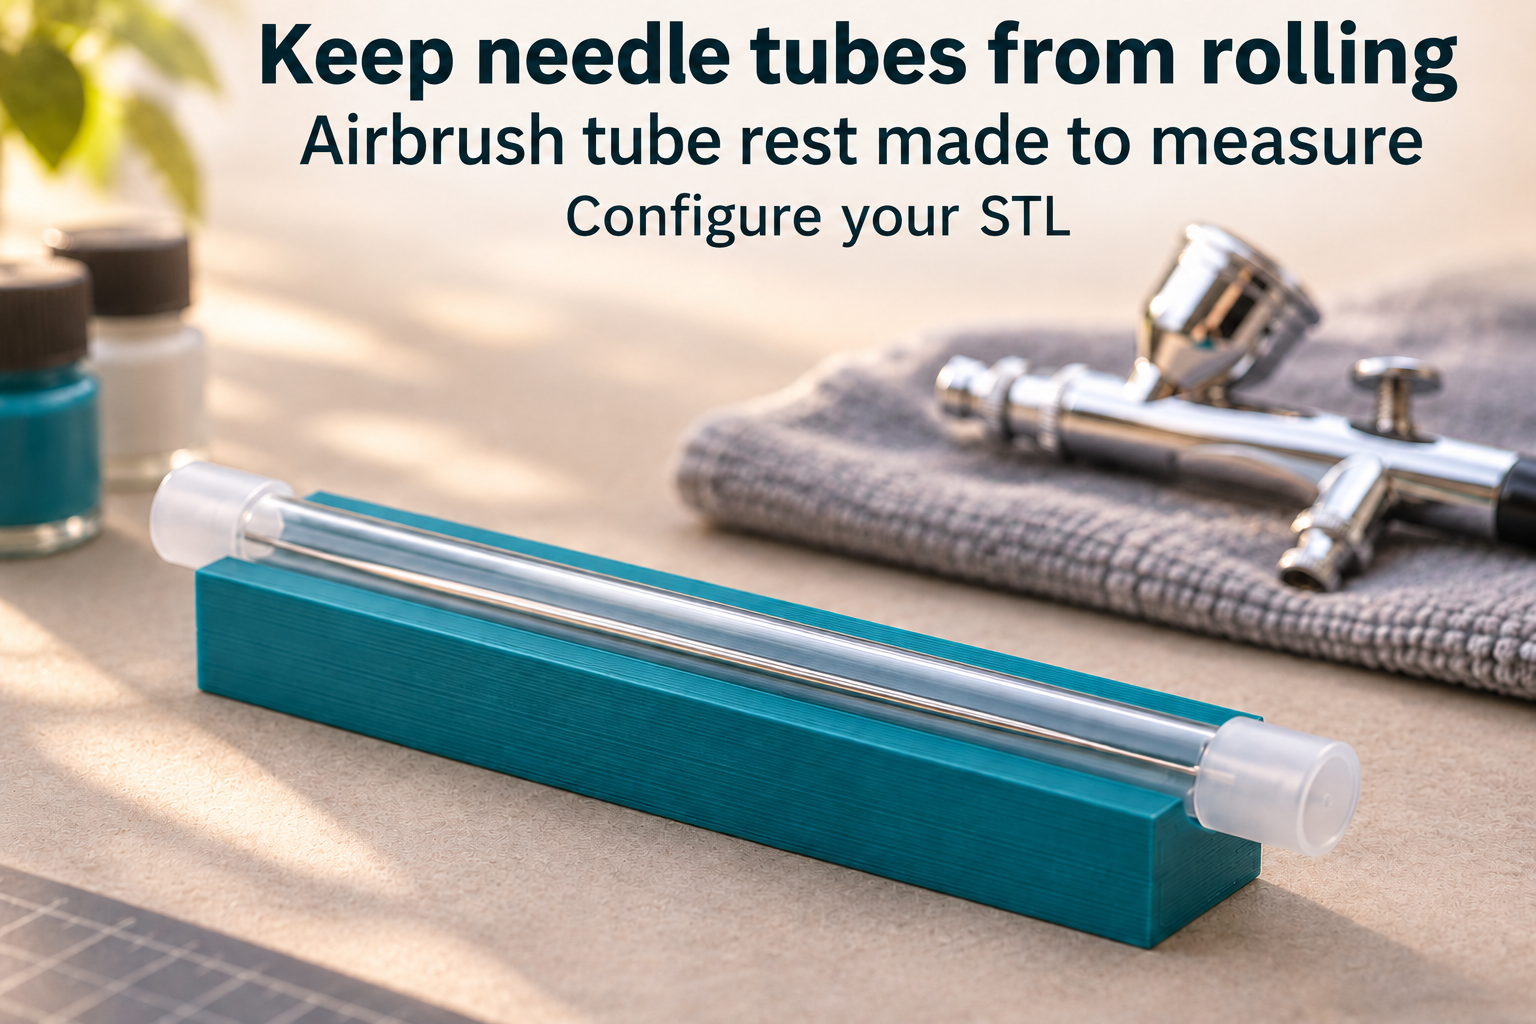
Give the separate storage tube a stable place
A round protective tube can roll across a smooth hobby desk. This printed rest provides a long semicircular cradle for it. Lay the closed tube along the groove while organizing your workspace. The needle remains fully inside its separate protective tube, keeping its delicate tip away from the printed surface.
The model is a rectangular block with one open longitudinal groove. It has no end stops, clamp or transport latch. A tube can still slide lengthwise on a sloping surface. Use the rest on a level stationary desk; it does not replace the protective storage case.
Size the groove from the tube rather than the needle
Measure the outside diameter of the straight tube body. The bore-with-clearance setting controls the semicircular groove diameter, not needle thickness. It ranges from 3 to 55 mm and starts at 5 mm. Allow a little clearance and check that the tube rests without rocking.
Length ranges from 20 to 150 mm, initially 70 mm. Width and height start at 12 and 8 mm, with ranges of 10–100 and 8–60 mm. Width must exceed groove diameter plus 4 mm. Height must exceed half the groove diameter plus 2 mm. Larger end caps may sit beyond the ends of the rest so that the straight tube body makes contact.
Print flat and check the contact
Start with PETG, 0.2 mm layers and four walls, placing the flat underside on the print bed. Remove burrs from the groove and check that the base sits flat. A short fit sample helps match the clearance to your printer and actual tube.
Try the empty closed tube first. Check whether it rocks or rests on its caps instead of the groove, and adjust length or diameter if necessary. This is not a cleaning bath; resistance to airbrush cleaning fluids has not been established. The protective tube, needle and airbrush are separate items, not part of the STL file.
The image is an AI application visualization, not a photograph of a physically tested print. Accessories shown are not included in the STL.
Next step