


Garden and plants ·
Fit an air-layering box around an attached branch
Two removable box halves surround suitable rooting medium on an existing branch. Set the internal chamber and stem openings to match the available space.
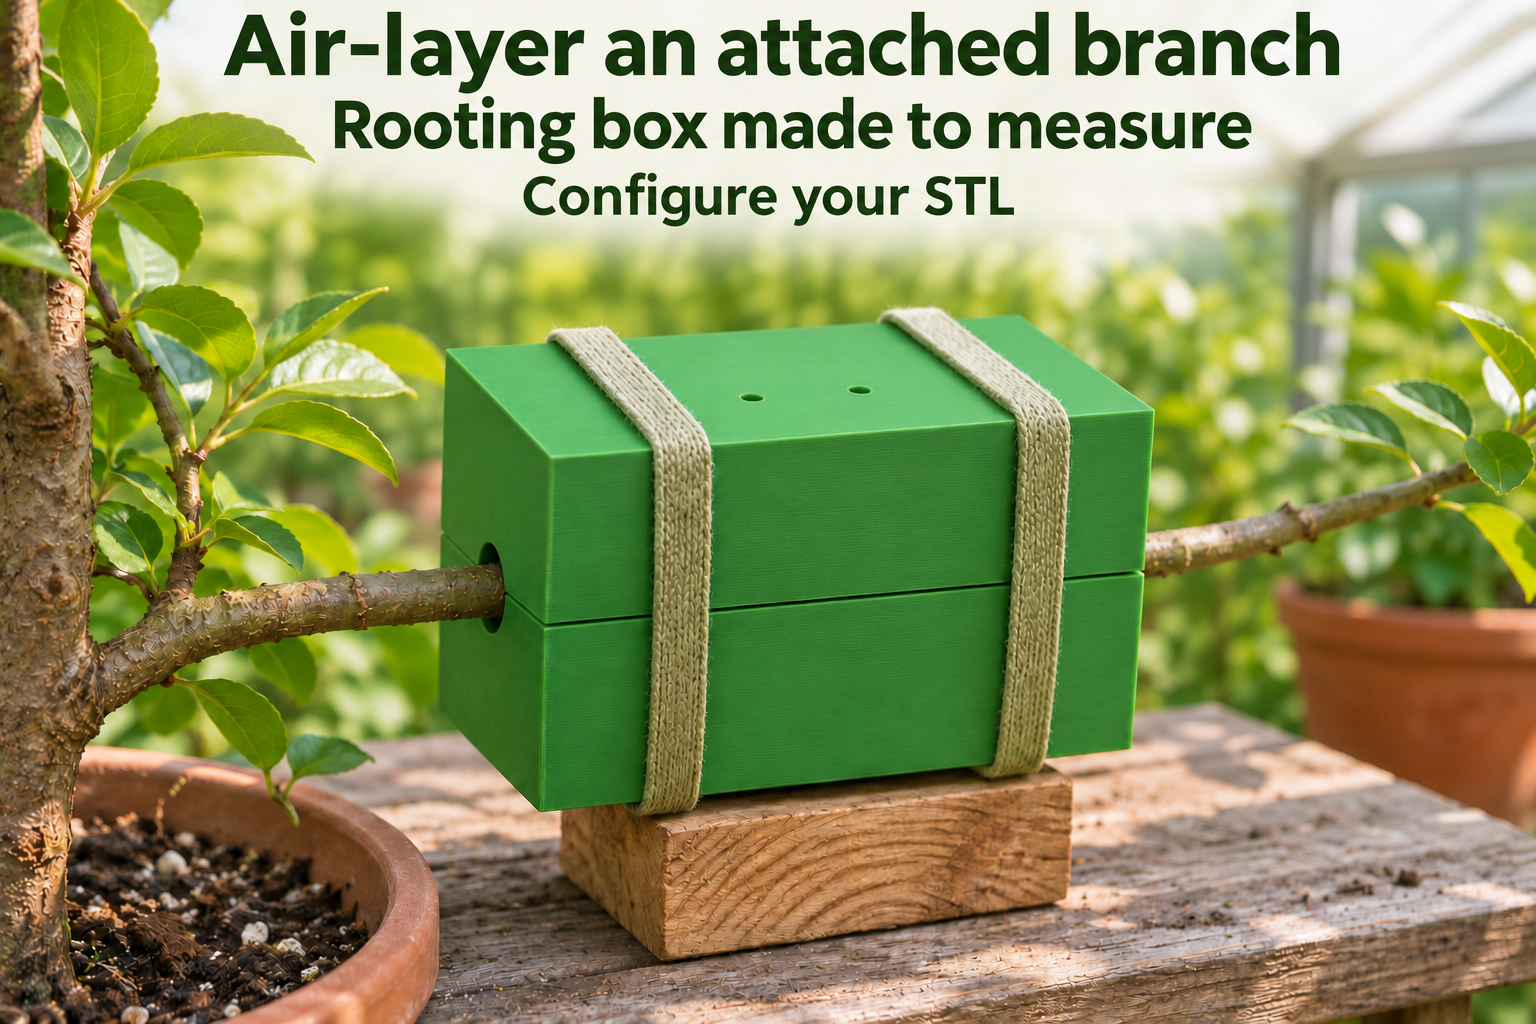
Place a chamber around the attached branch
During air layering, the branch initially remains attached to its parent plant. These two box halves can be placed from the sides around the chosen area, enclosing moist moss or another suitable rooting medium. The STL contains both identical halves side by side, so you do not need to slide a closed container over the branch tip.
The open faces meet during assembly. Matching semicircular notches form a round passage in each end wall. This is a housing for the application, not an automatic propagation system: plant suitability, preparation and care remain separate considerations. The box alone does not guarantee root formation.
Choose stem clearance and chamber size separately
Measure the branch at both intended exit points. Passage diameter ranges from 4 to 18 mm, initially 8 mm. It must not pinch the bark or restrict growth. Allow for print tolerance and trial-fit the empty halves before securing them.
Internal chamber width ranges from 30 to 70 mm, initially 50 mm. Internal length is 40–100 mm, initially 60 mm. Assembled internal height equals chamber width. Walls and bases are 2.5 mm thick. External width and height therefore each equal internal width plus 5 mm; external length equals internal length plus 5 mm. Check that this overall envelope fits around the branch and nearby growth.
Print, support and check the assembly
Print each half on its closed base with the opening upward. Start with PETG, 0.2 mm layers and at least four walls. Remove sharp edges from the stem notches. Each half has two 2 mm drainage holes; keep the lower holes clear in particular.
Add suitable moist medium and join the halves using separate soft bands around the chamber. There is no hinge or snap latch. Support the weight independently instead of hanging it from the branch. Check moisture, drainage and branch growth regularly; the chamber is not watertight. Bands, growing medium and independent support are additional items.
The image is an AI application visualization, not a photograph of a physically tested print. Accessories shown are not included in the STL.
Next step