


Enclosures & electronics STL guides ·
Two-row spring probe holder for test fixtures STL: Create a Custom-Size 3D Model
Create a custom-size two-row spring probe holder for test fixtures STL for your own 3D printer. Check the model controls, measure the fit and buy the generated digital file.
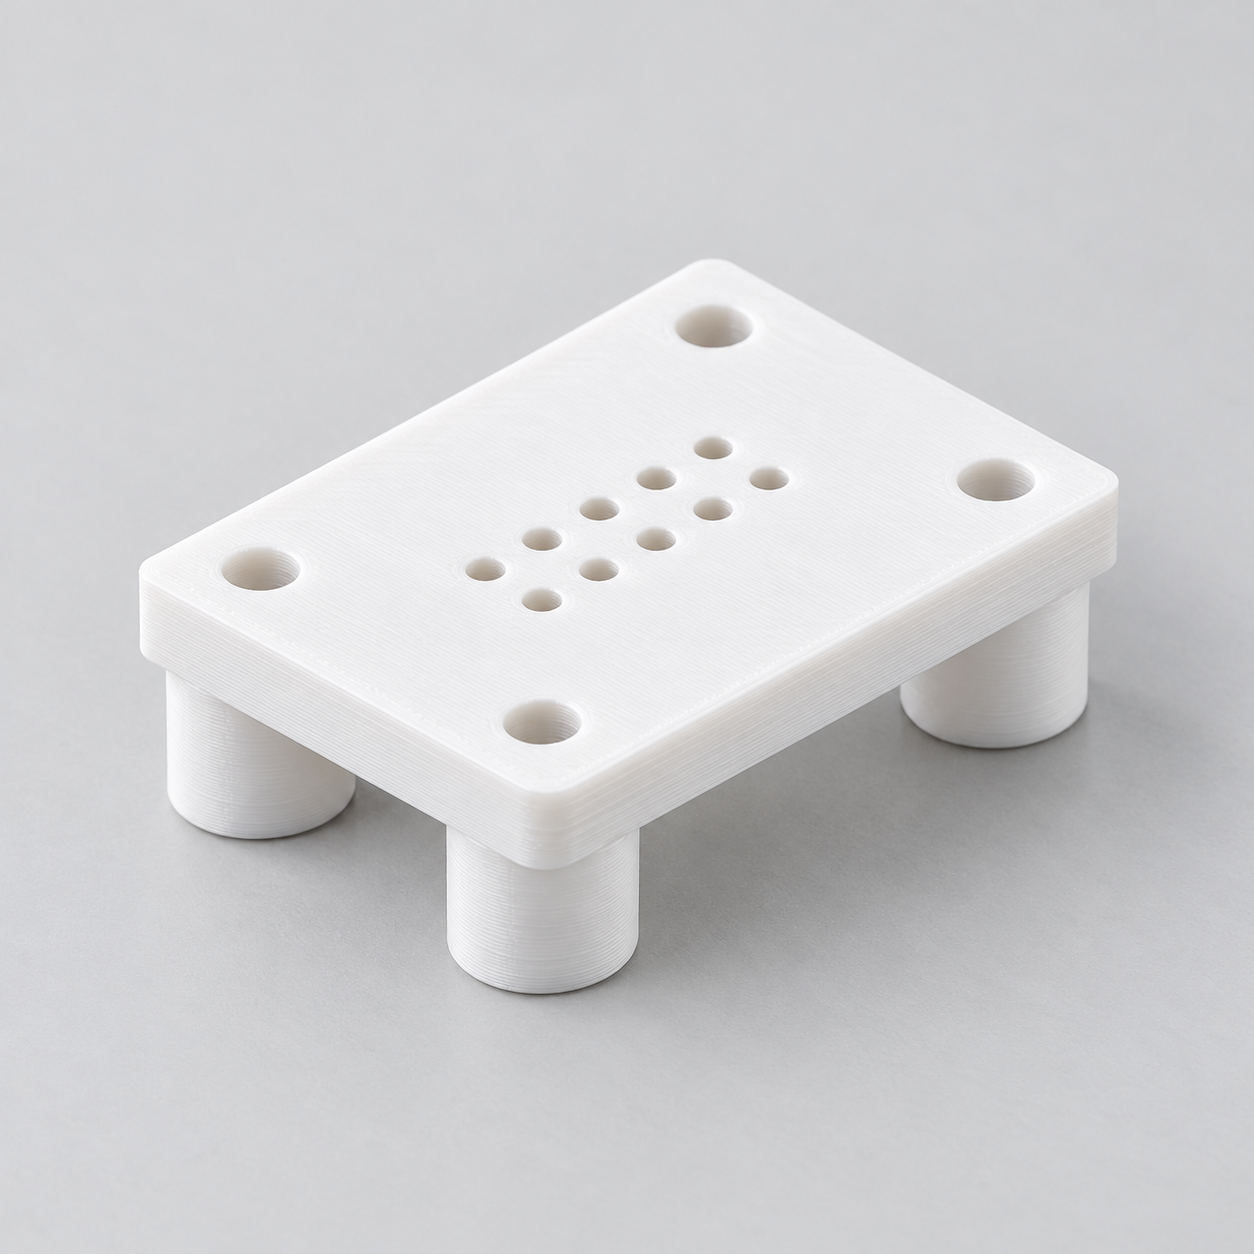
Align ten spring contact probes in two rows for a small electrical test fixture. Each row has five contacts at your selected pitch; row spacing equals that pitch. Defaults are 2.54 mm pitch, 1.1 mm sleeve bores and 8 mm overall height. The bores pass through a 3 mm top plate, leaving wiring space beneath. Four corner feet with 2.4 mm through holes accept M2 mounting hardware for your fixture. Size the bores from your actual contact sleeves and secure the sleeves separately if needed. Print with the top face on the bed and check the dimensions of small holes.
With the Two-row spring probe holder for test fixtures template, you can turn those measurements into a custom-size STL. Review controls such as contact pitch, contact sleeve bore, height to holder top, check your model in the preview and choose the digital file. You buy the generated STL and print it on your own 3D printer, using your preferred filament and slicer settings.
Measurements for your two-row spring probe holder for test fixtures STL
The product page exposes the following useful geometry controls. Work from your measured parts and check the displayed units and the preview before entering final values.
| Model control | What to check |
|---|---|
| Contact pitch | Use a consistent reference point on adjacent repeated features. |
| Contact sleeve bore | Measure the mating shaft or fastener and decide what type of fit the opening needs. |
| Height to holder top | Measure from the relevant seating surface and check the available vertical clearance. |
Separate the object fit from the mounting interface
Write down the size of the object being supported and the measurements of the mounting surface as two separate groups. Check access for insertion, removal and any fasteners in the preview. Hole diameter, hole spacing and clearance behind the part solve different problems.
Configure the model, buy the STL and print locally
- Open the two-row spring probe holder for test fixtures product page and compare the model preview with your application.
- Enter the relevant measurements. Use the units displayed beside each input; convert inch measurements before using a millimetre field.
- Review the complete geometry and keep a record of your parameter values. Check small openings, mating features and remaining wall thickness.
- Choose the digital STL purchase option and review the current price and order details before payment.
- After receiving the STL, open it in your slicer, confirm the imported dimensions and inspect the layer preview before printing.
Configure my two-row spring probe holder for test fixtures STL
Check a first print before making more
A CAD dimension and a printed dimension can differ. Print a fit sample or one prototype before making a batch, and check the features that contact other parts. Choose print orientation, supports and material for the actual geometry and application. There is no universal clearance or print profile that guarantees the fit on every machine.
Before you choose your STL
Why configure the model instead of scaling a download?
Uniform scaling changes all dimensions together. Here you can work with the available controls, including contact pitch, contact sleeve bore, height to holder top, and check the result before purchase. Keep your input values for later revisions: the downloaded STL contains the final mesh, rather than the original parametric editing history.
What do I buy?
Select the digital STL option for the file you will print yourself. Review the current price and selected configuration before paying. Ordering a finished print is a separate option.
Make the next print fit your project
Have your measurements ready? Open the two-row spring probe holder for test fixtures template, adjust the model and inspect the preview. When the geometry matches what you need, choose your STL and take it to your own printer.
Next step