

Parametric STL models ·
Custom Pipe STL: Set the Diameter, Bore and Length for Your 3D Printer
Create a straight hollow tube STL with your own outside diameter, inside diameter and length. Measure the fit, generate the model and buy the file to print yourself.
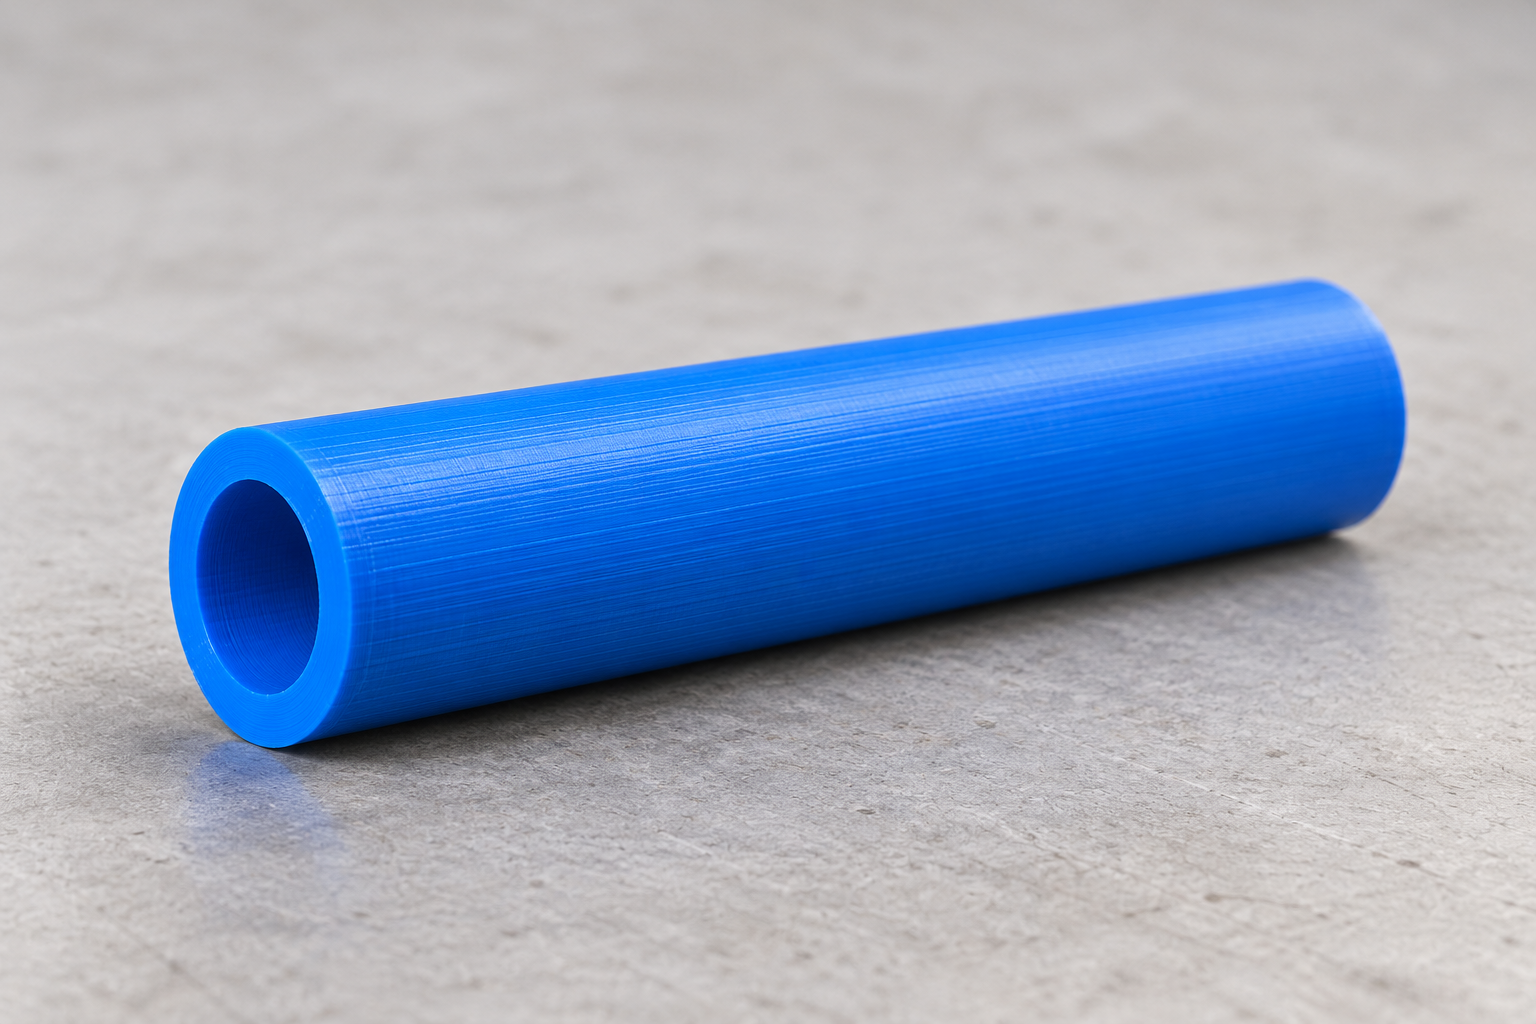
A hollow tube is simple until the STL you download has a 20 mm bore and you need a different opening without changing its outside diameter. Making the entire file larger changes the length and both diameters together. A custom pipe STL lets you set those three measurements separately before printing.
The BuildYour3D pipe template creates a straight hollow 3D model from outside diameter, inside diameter and length. Choose the digital STL option when you want to manufacture the part on your own printer. You configure an existing shape online, review it and buy the generated file.

When a custom tube STL is useful
A non-standard hollow sleeve, a short guide tube for a model assembly or a fit-check spacer can all start with the same basic geometry. The key question is which surface needs to fit. A sleeve that slides over a shaft is controlled by its bore; a tube that goes into a socket is controlled by its outside diameter. Sometimes both matter at once.
This model is a plain straight tube. If you need a bend, mounting flange, thread, retention barb or a change of diameter along its length, choose a template that includes that feature. Increasing the diameter of a plain pipe will not create a reducer or a threaded connection.
Measure the outside diameter, inside diameter and length
| Input | Measurement to take | Common mistake |
|---|---|---|
| Outside diameter | The external size of the tube, including the fit into any receiving opening. | Using a nominal plumbing size as if it were a measured outside diameter. |
| Inside diameter | The clear bore, or the size of a shaft or tube that must pass through it. | Copying the mating part size without considering the required clearance. |
| Length | The required axial length between the two ends. | Measuring the overall assembly instead of the space occupied by this part. |
Use calipers for mating diameters and record the units. The product page presents the three dimensions in millimetres. If you measured in inches, convert the values before entering a millimetre field; one inch is 25.4 mm.
For a circular tube, nominal radial wall thickness is (outside diameter minus inside diameter) divided by two. A 30 mm outside diameter and a 26 mm bore therefore describe a 2 mm wall. That is a dimensional example, not a recommendation for every load, material or nozzle. The outside diameter must be larger than the bore to leave a wall.
Why a parametric tube is better than scaling a near match
Suppose the length is already right but the bore needs to change. Uniform scaling also changes the correct length and outside diameter. A parametric pipe model lets you change the bore while keeping the other requested dimensions. This is particularly useful for sleeve and spacer prototypes, where the inside and outside faces meet different components.
The exported STL contains the final mesh, rather than the original parametric controls. Save a note of the three input values so you can recreate or revise your size later.
Create and buy the STL for your own printer
- Open the pipe product page and start its configurator.
- Enter your outside diameter, inside diameter and length in the displayed units.
- Inspect the preview and check that the bore is open and the remaining wall matches your intended geometry.
- Select the STL purchase route and review the current price before paying. The file is supplied after payment.
- Import the STL into your slicer, confirm its dimensions and inspect the layer preview before printing.
Print a short fit sample before a long sleeve
If the tube must slide onto another part, a short test ring with the same diameters can reveal a fit problem with much less material than a full-length print. This is a separate test model you configure; the product page does not promise an automatic test-ring feature.
Check both the opening and the outside surface. A fit that is too tight may need a dimension adjustment even if the displayed STL dimensions are correct, because printed results depend on the machine, material and slicing profile. Compare upright and sideways orientations in your slicer: the bore, supports and contact surfaces will be affected differently.
A digital pipe shape is not a certified pressure fitting. Use appropriately rated components for gas, mains water, compressed air and other applications where a leak or fracture would be hazardous.
Questions about custom pipe STL files
Can I make a hollow cylinder in an unusual diameter?
The template exposes inside diameter, outside diameter and length. Enter the size you need and check the configurator's accepted values and preview before purchase.
Can I print the STL on a different brand of 3D printer?
The file is intended for use through a slicer. Check your printer's build volume and material capabilities, and verify the imported scale. The STL itself does not include a printer-specific print profile.
Am I buying a digital file or a delivered tube?
Select the STL option for the digital model. A finished 3D-printed part is a separate order choice. For this workflow, you buy the custom file and print it yourself.
Next step