


Crafts & design STL guides ·
Fabric pleating fork with rounded tines STL: Create a Custom-Size 3D Model
Create a custom-size fabric pleating fork with rounded tines STL for your own 3D printer. Check the model controls, measure the fit and buy the generated digital file.
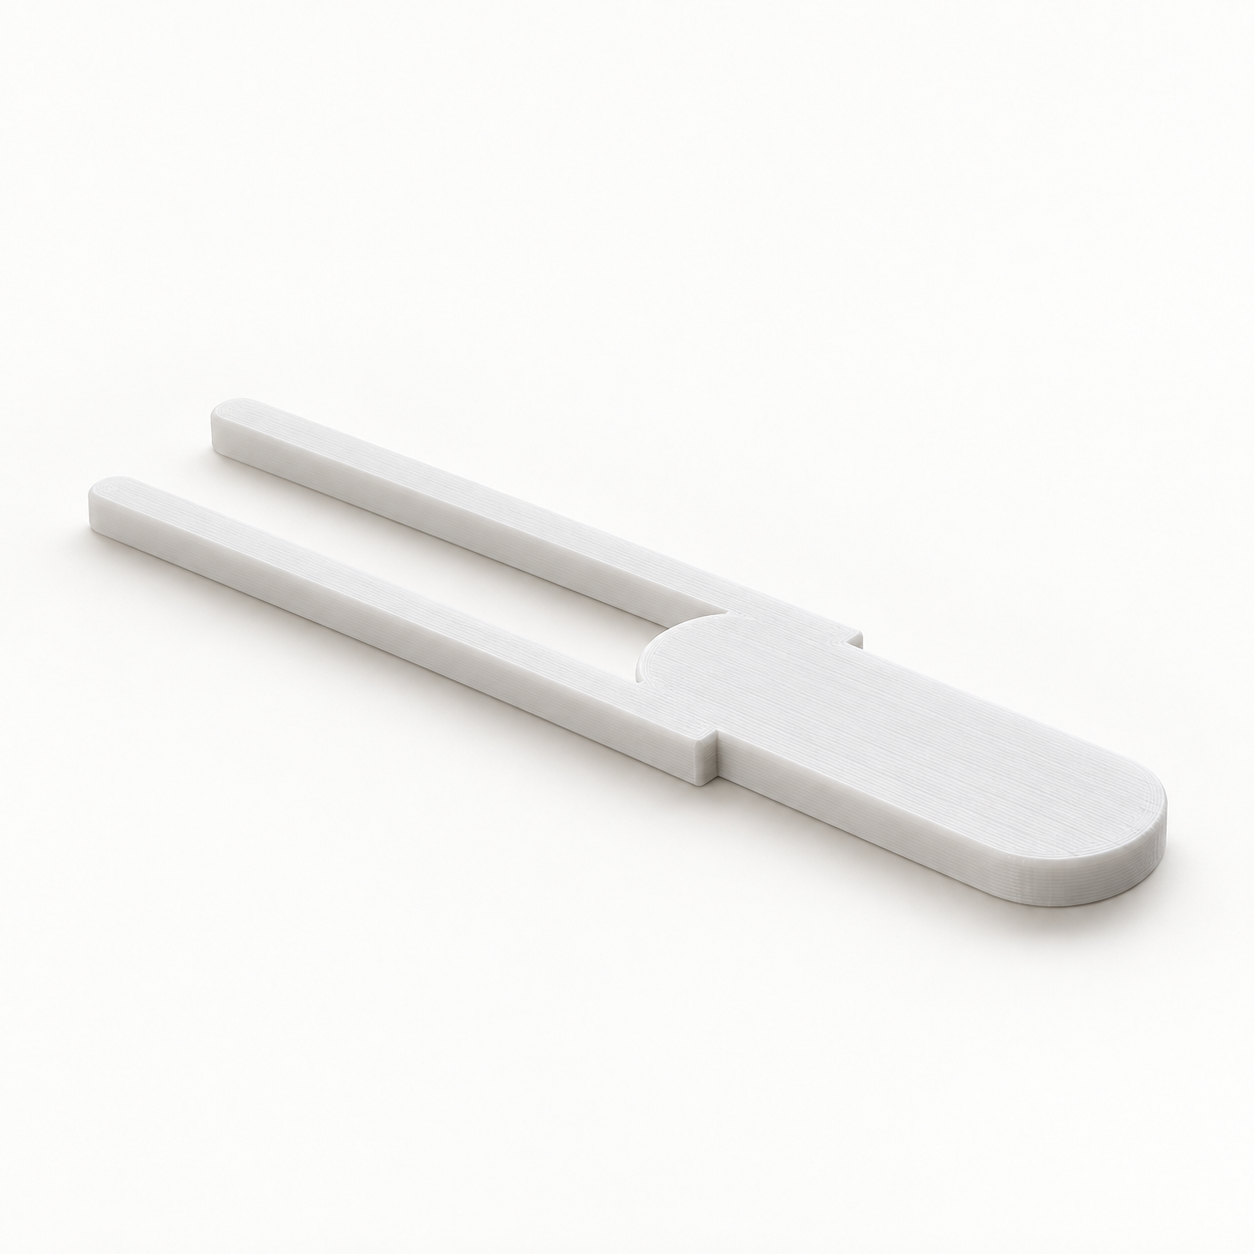
A flat hand tool with two parallel, blunt rounded tines. Feed a section of fabric between the tines and turn the fork to form repeatable pleats. Useful for preparing small decorative and sewing projects; finished pleat depth also depends on fabric thickness and turning angle. Tine spacing means the clear gap. Try it on scrap fabric and record the useful setting before making a series. Smooth both tines and the inner curve carefully. Use away from the sewing machine, remove before stitching and never iron over it. It is not a presser foot or machine attachment.
With the Fabric pleating fork with rounded tines template, you can turn those measurements into a custom-size STL. Review controls such as clear tine gap, tine length to crosspiece, tool thickness, check your model in the preview and choose the digital file. You buy the generated STL and print it on your own 3D printer, using your preferred filament and slicer settings.
Measurements for your fabric pleating fork with rounded tines STL
The product page exposes the following useful geometry controls. Work from your measured parts and check the displayed units and the preview before entering final values.
| Model control | What to check |
|---|---|
| Clear tine gap | Check this feature against the matching component and confirm its effect in the 3D preview. |
| Tine length to crosspiece | Check both endpoints of the named feature, including its working reach or engagement. |
| Tool thickness | Measure between the two relevant faces and check fit in any receiving slot. |
Confirm the working geometry before buying the file
Compare the pictured shape with the actual task, not only the product name. Mark which faces touch other objects, which parts need to move and which pieces are supplied separately. The model controls change an existing design; they do not automatically add a feature that the template does not include. Check the complete motion or assembly space in the preview before choosing your final dimensions.
Configure the model, buy the STL and print locally
- Open the fabric pleating fork with rounded tines product page and compare the model preview with your application.
- Enter the relevant measurements. Use the units displayed beside each input; convert inch measurements before using a millimetre field.
- Review the complete geometry and keep a record of your parameter values. Check small openings, mating features and remaining wall thickness.
- Choose the digital STL purchase option and review the current price and order details before payment.
- After receiving the STL, open it in your slicer, confirm the imported dimensions and inspect the layer preview before printing.
Configure my fabric pleating fork with rounded tines STL
Check a first print before making more
A CAD dimension and a printed dimension can differ. Print a fit sample or one prototype before making a batch, and check the features that contact other parts. Choose print orientation, supports and material for the actual geometry and application. There is no universal clearance or print profile that guarantees the fit on every machine.
Before you choose your STL
Why configure the model instead of scaling a download?
Uniform scaling changes all dimensions together. Here you can work with the available controls, including clear tine gap, tine length to crosspiece, tool thickness, and check the result before purchase. Keep your input values for later revisions: the downloaded STL contains the final mesh, rather than the original parametric editing history.
What do I buy?
Select the digital STL option for the file you will print yourself. Review the current price and selected configuration before paying. Ordering a finished print is a separate option.
Make the next print fit your project
Have your measurements ready? Open the fabric pleating fork with rounded tines template, adjust the model and inspect the preview. When the geometry matches what you need, choose your STL and take it to your own printer.
Next step