


Storage & Organization ·
Custom Drawer Organizer: How to Measure Your Drawer and Configure the Compartments
Standard drawer inserts often leave gaps or provide the wrong compartment layout. Learn how to measure the internal width, depth and available height of a drawer, choose a practical fit clearance and configure a made-to-measure drawer organizer online.
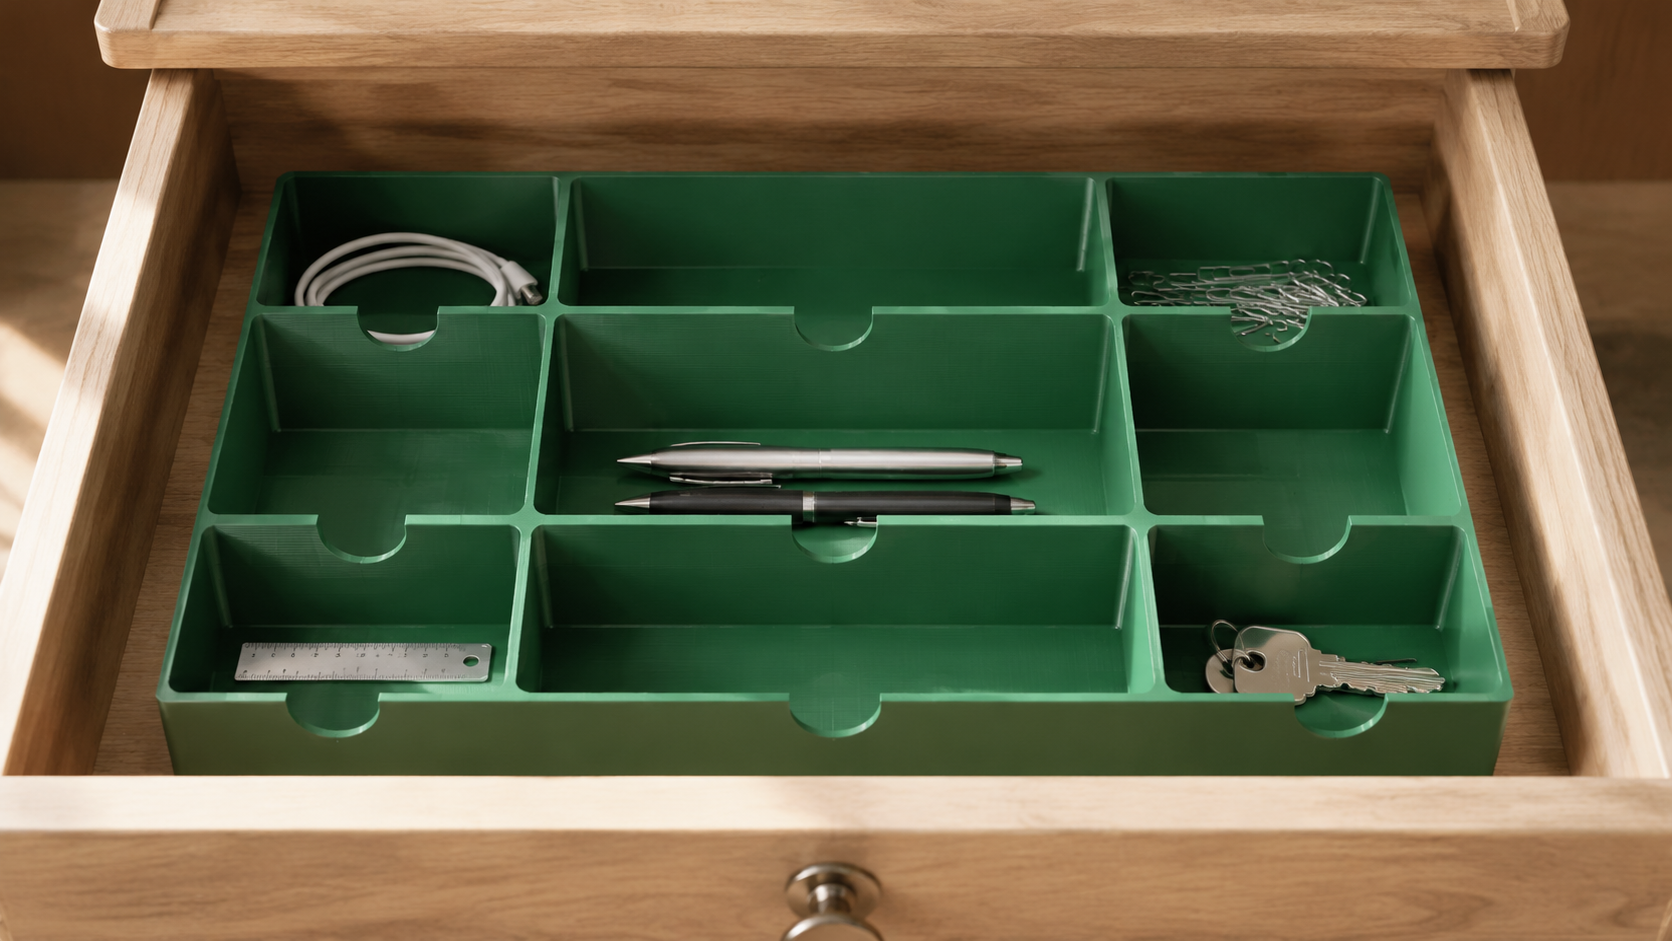
A drawer organizer designed around your space
Off-the-shelf organizers are often too short, too narrow or divided into compartments that do not match the items you need to store. A custom drawer organizer lets you set the width, depth, height and compartment layout around the actual internal dimensions of your drawer.
Why choose a custom drawer insert?
A kitchen drawer needs a different layout from a workshop, office or craft drawer. Cutlery and pens benefit from long compartments, while screws, keys, cables, cosmetics and electronic parts are easier to sort into smaller sections. A made-to-measure drawer insert can use the available area more efficiently than a generic tray.
- Width and depth can be matched to the drawer's internal dimensions.
- The organizer height can be adjusted to the available vertical space.
- Rows and columns can have equal or different relative sizes.
- Finger notches make small or flat objects easier to pick up.
- Fit clearance helps prevent the insert from becoming stuck.
- The configured model can be downloaded as an STL or ordered as a 3D print.
How to measure a drawer for an organizer
Measure the usable space inside the drawer rather than the cabinet front or the outside of the drawer box. Internal dimensions determine whether the finished insert will fit.
- Measure the internal width: Measure between the left and right inner walls. Check near both the front and back because some drawers are not perfectly square.
- Measure the internal depth: Measure from the inside of the front wall to the inside of the back wall.
- Check the usable height: Measure from the drawer base to the lowest obstruction above it. The drawer must still close when the organizer and its contents are inside.
- Look for obstructions: Screw heads, fittings, curved corners and protruding handle screws can reduce the usable space.
- Use the smallest reliable measurement: If repeated measurements differ, the smallest value is usually the safer basis for the design.
Measurement tip
Use calipers for small drawers and a rigid ruler or reliable tape measure for larger dimensions. Measure every direction at least twice. A difference of only one millimetre can affect the fit of a made-to-measure 3D print.
What is fit clearance?
The fit-clearance value is deducted from the drawer width and depth. It creates a small gap between the organizer and the drawer walls. Without clearance, an insert designed at the exact nominal size may bind because of measurement error, manufacturing tolerances or slightly uneven drawer walls.
A small total clearance of roughly 1 to 2 mm per direction can be a cautious starting point, but the correct value depends on the accuracy of the measurements, the drawer, the material and the manufacturing process. If the fit is uncertain, allowing slightly more clearance is safer than producing an insert that is too large.
How the row and column layouts work
Compartments are created by combining a column layout with a row layout. The numbers represent relative proportions rather than measurements in millimetres.
| Setting | Result | Possible use |
|---|---|---|
| [1] | one continuous section | large objects |
| [1,1] | two equal sections | cables and chargers |
| [1,1,1] | three equal sections | pens, tools or cutlery |
| [1,2,1] | narrow, double-width, narrow | a large central compartment with side sections |
| [2,1,1] | one wide and two narrow sections | objects of different sizes |
For example, choosing [1,2,1] for the columns and [1,1,1] for the rows creates three rows and three columns. The centre column is twice the relative width of either outer column.
Choosing the organizer height
The right organizer height depends on the contents and the available space. A shallow insert makes pens, keys and cutlery easy to reach. Taller walls can be useful when screws, craft supplies or larger small parts need to remain separated.
Leave enough room above the organizer. Loose objects must not collide with the cabinet structure or the drawer above when the drawer is closed. Very tall, narrow compartments can also be harder to clean or reach with your fingers.
Divider thickness and base thickness
Thicker walls will generally make the organizer more robust, but they also consume more usable compartment space. Thin dividers maximise storage area but may be more flexible depending on the size, material and print settings. The same trade-off applies to the base: a thicker base may improve rigidity while increasing material use, weight and printing time.
A large workshop organizer may require different settings from a small desk-drawer insert. Always inspect the generated model in the 3D preview before downloading or ordering it.
Corner radius and finger notches
The corner-radius parameter rounds the outside corners of the organizer. A value of 0 creates square corners. A radius may help when the drawer itself has slightly rounded internal corners or when a softer appearance is preferred.
The finger-notch parameter creates semicircular cut-outs along the compartment walls. These notches make flat and small items easier to pick up. Setting the value to 0 disables them. Larger notches improve access but reduce the wall height at the cut-out.
Example: a custom organizer for an office drawer
Imagine a drawer with a usable internal width of 400 mm, an internal depth of 300 mm and enough room for a 45 mm-high insert. The goal is to create long spaces for pens, a wider area for cables and smaller compartments for paper clips, USB drives and keys.
| Parameter | Example |
|---|---|
| Drawer width | 400 mm |
| Drawer depth | 300 mm |
| Organizer height | 45 mm |
| Column layout | [1,2,1] |
| Row layout | [1,1,1] |
| Fit clearance | based on the measurements and desired fit |
| Finger notches | enabled |
These values are an illustration rather than a universal recommendation. Measure your own drawer and the objects you plan to store before generating the model.
Where can a custom drawer organizer be used?
- Kitchen: cutlery, utensils and small kitchen accessories
- Office: pens, paper clips, USB drives, charging cables and keys
- Workshop: screws, drill bits, measuring tools and small hand tools
- Bathroom: cosmetics, grooming accessories and care products
- Craft room: sewing supplies, model-making parts and electronics
- Jewellery storage: watches, rings and accessories
Download the STL or order a 3D print
Once the parameters are entered, inspect the shape in the 3D preview. If you own a 3D printer, you can use the configured model as an STL file. Alternatively, the drawer organizer can be ordered as a finished 3D print.
Before production, check the outer dimensions, clearance, compartment sizes and total height carefully. For a very large drawer, also confirm that the model fits within the build volume of the intended 3D printer.
Custom drawer organizer FAQ
Which drawer measurements do I need?
You need the smallest usable internal width, internal depth and maximum available organizer height.
Why should I add fit clearance?
Clearance compensates for small measurement, manufacturing and shape variations and reduces the risk of the organizer becoming stuck.
What does [1,2,1] mean?
It creates three relative sections. The middle section is twice as large as either of the two outside sections.
Can I create compartments of different sizes?
Yes. The available row and column layouts can be combined to create equal or unequal compartment areas.
Can I disable the finger notches?
Yes. Setting the finger-notch value to 0 removes the notches.
Is the organizer only suitable for kitchen drawers?
No. It can be configured for office, workshop, bathroom, craft, electronics or jewellery storage.
Can I download the drawer organizer as an STL?
Yes. The configured 3D model can be downloaded for printing or ordered as a finished 3D print.
Conclusion
A custom drawer organizer can use the available space more effectively than an undersized standard insert. Accurate internal measurements, appropriate fit clearance and a compartment layout based on the actual contents are the keys to a useful design. The online configurator lets you adjust width, depth, height, rows, columns, wall thicknesses, corner radius and finger notches without designing the model from scratch in CAD.
Configure your made-to-measure drawer organizer
Enter your drawer's internal dimensions, choose the compartment layout and inspect your custom insert in the interactive 3D preview.
Nächster Schritt