Profile nach Maß 3D drucken lassen – L-, U-, T-, Z- & Rechteckprofile online konfigurieren
Du brauchst ein Custom profile (z. B. Schiene, Rahmen, Halterung, Gestell)? Hier kannst du ohne CAD den Profiltyp wählen, Maße & Wandstärke setzen, eine STL erzeugen und dein Profil in Profiqualität 3D have printed.
Get started quickly (in 2 minutes)
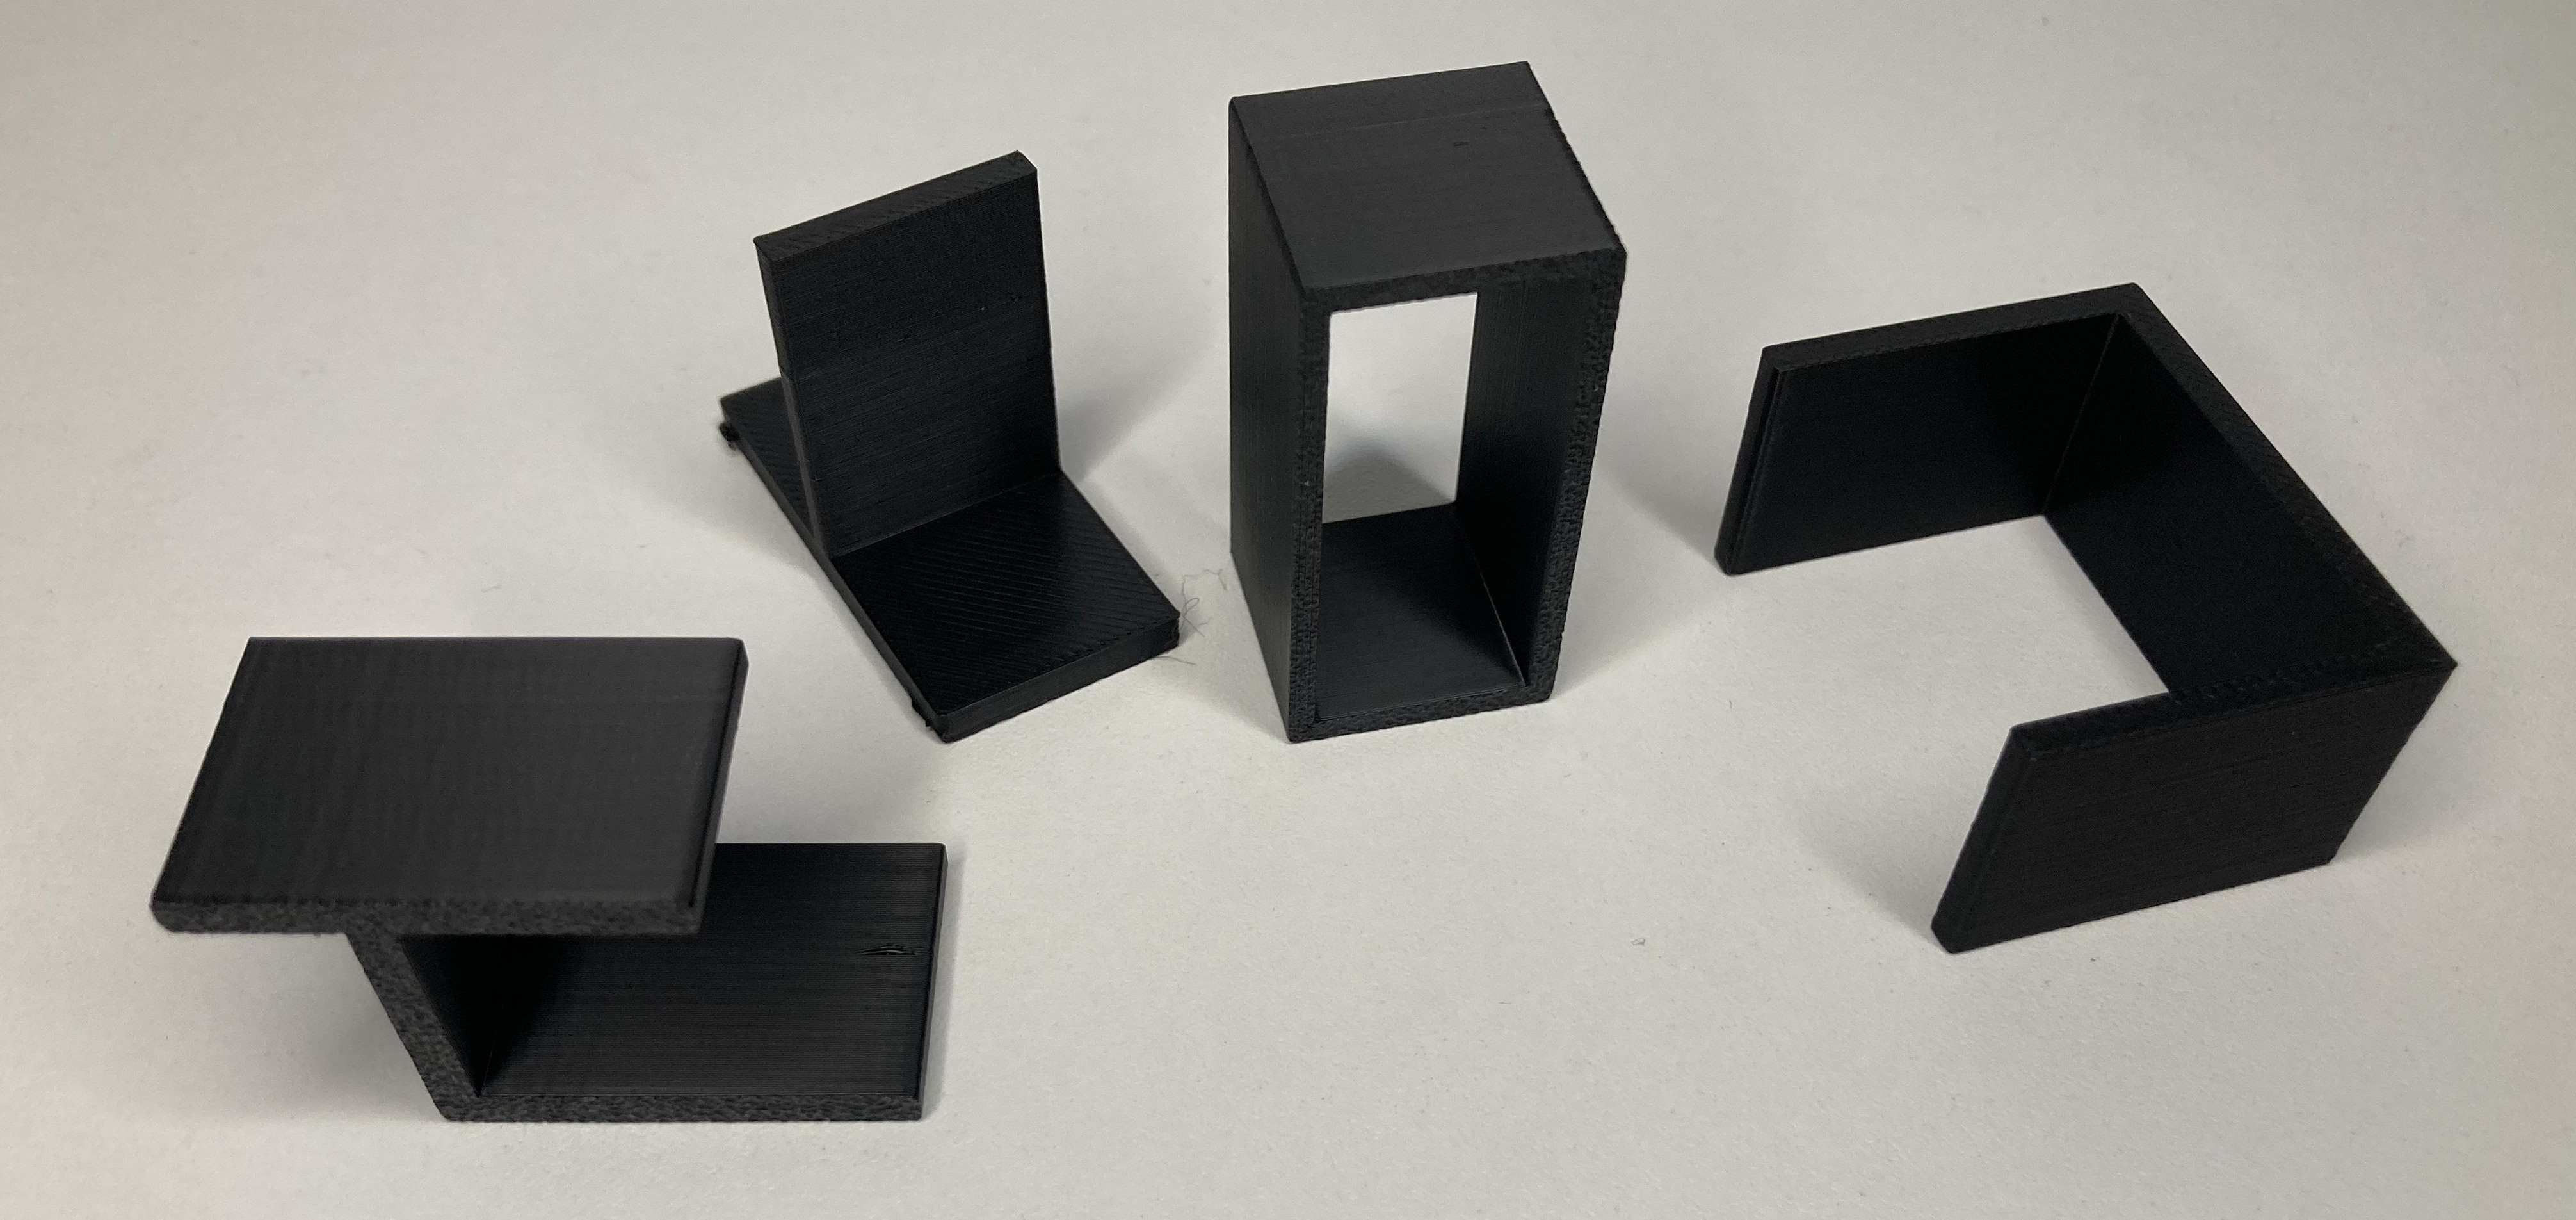
- Select profile type (Rectangle / L / T / U / Z)
- Set dimensions + wall thickness
- preview prüfen
- Configure & have printed
Tipp: Für belastete Profile ist PETG oft die beste Allroand-Wahl; für Outdoor ASA.
Einsatzfälle: wofür Profile printed werden
- Frames & Racks für prototypes, DIY, fixtures.
- Rails & guides (U-/T-Profiles) for body/mechanics.
- brackets, Aufnahmen with definierter Steifigkeit.
- Lightweight construction yourch Hohlprofile with optimaler Wandstärke.
- small batch/Sondermaß without Werkzeugkosten.
Profiltypen: wann Rechteck, L, T, U or Z?
- Rectangular hollow profile: very stiff with low weight - good for frames/racks.
- L-Profile: angle/Abschluss, Verstärkung von Kanten, simplee Träger.
- T-Profile: Guides/carrier rails, if a bar is to carry centrally.
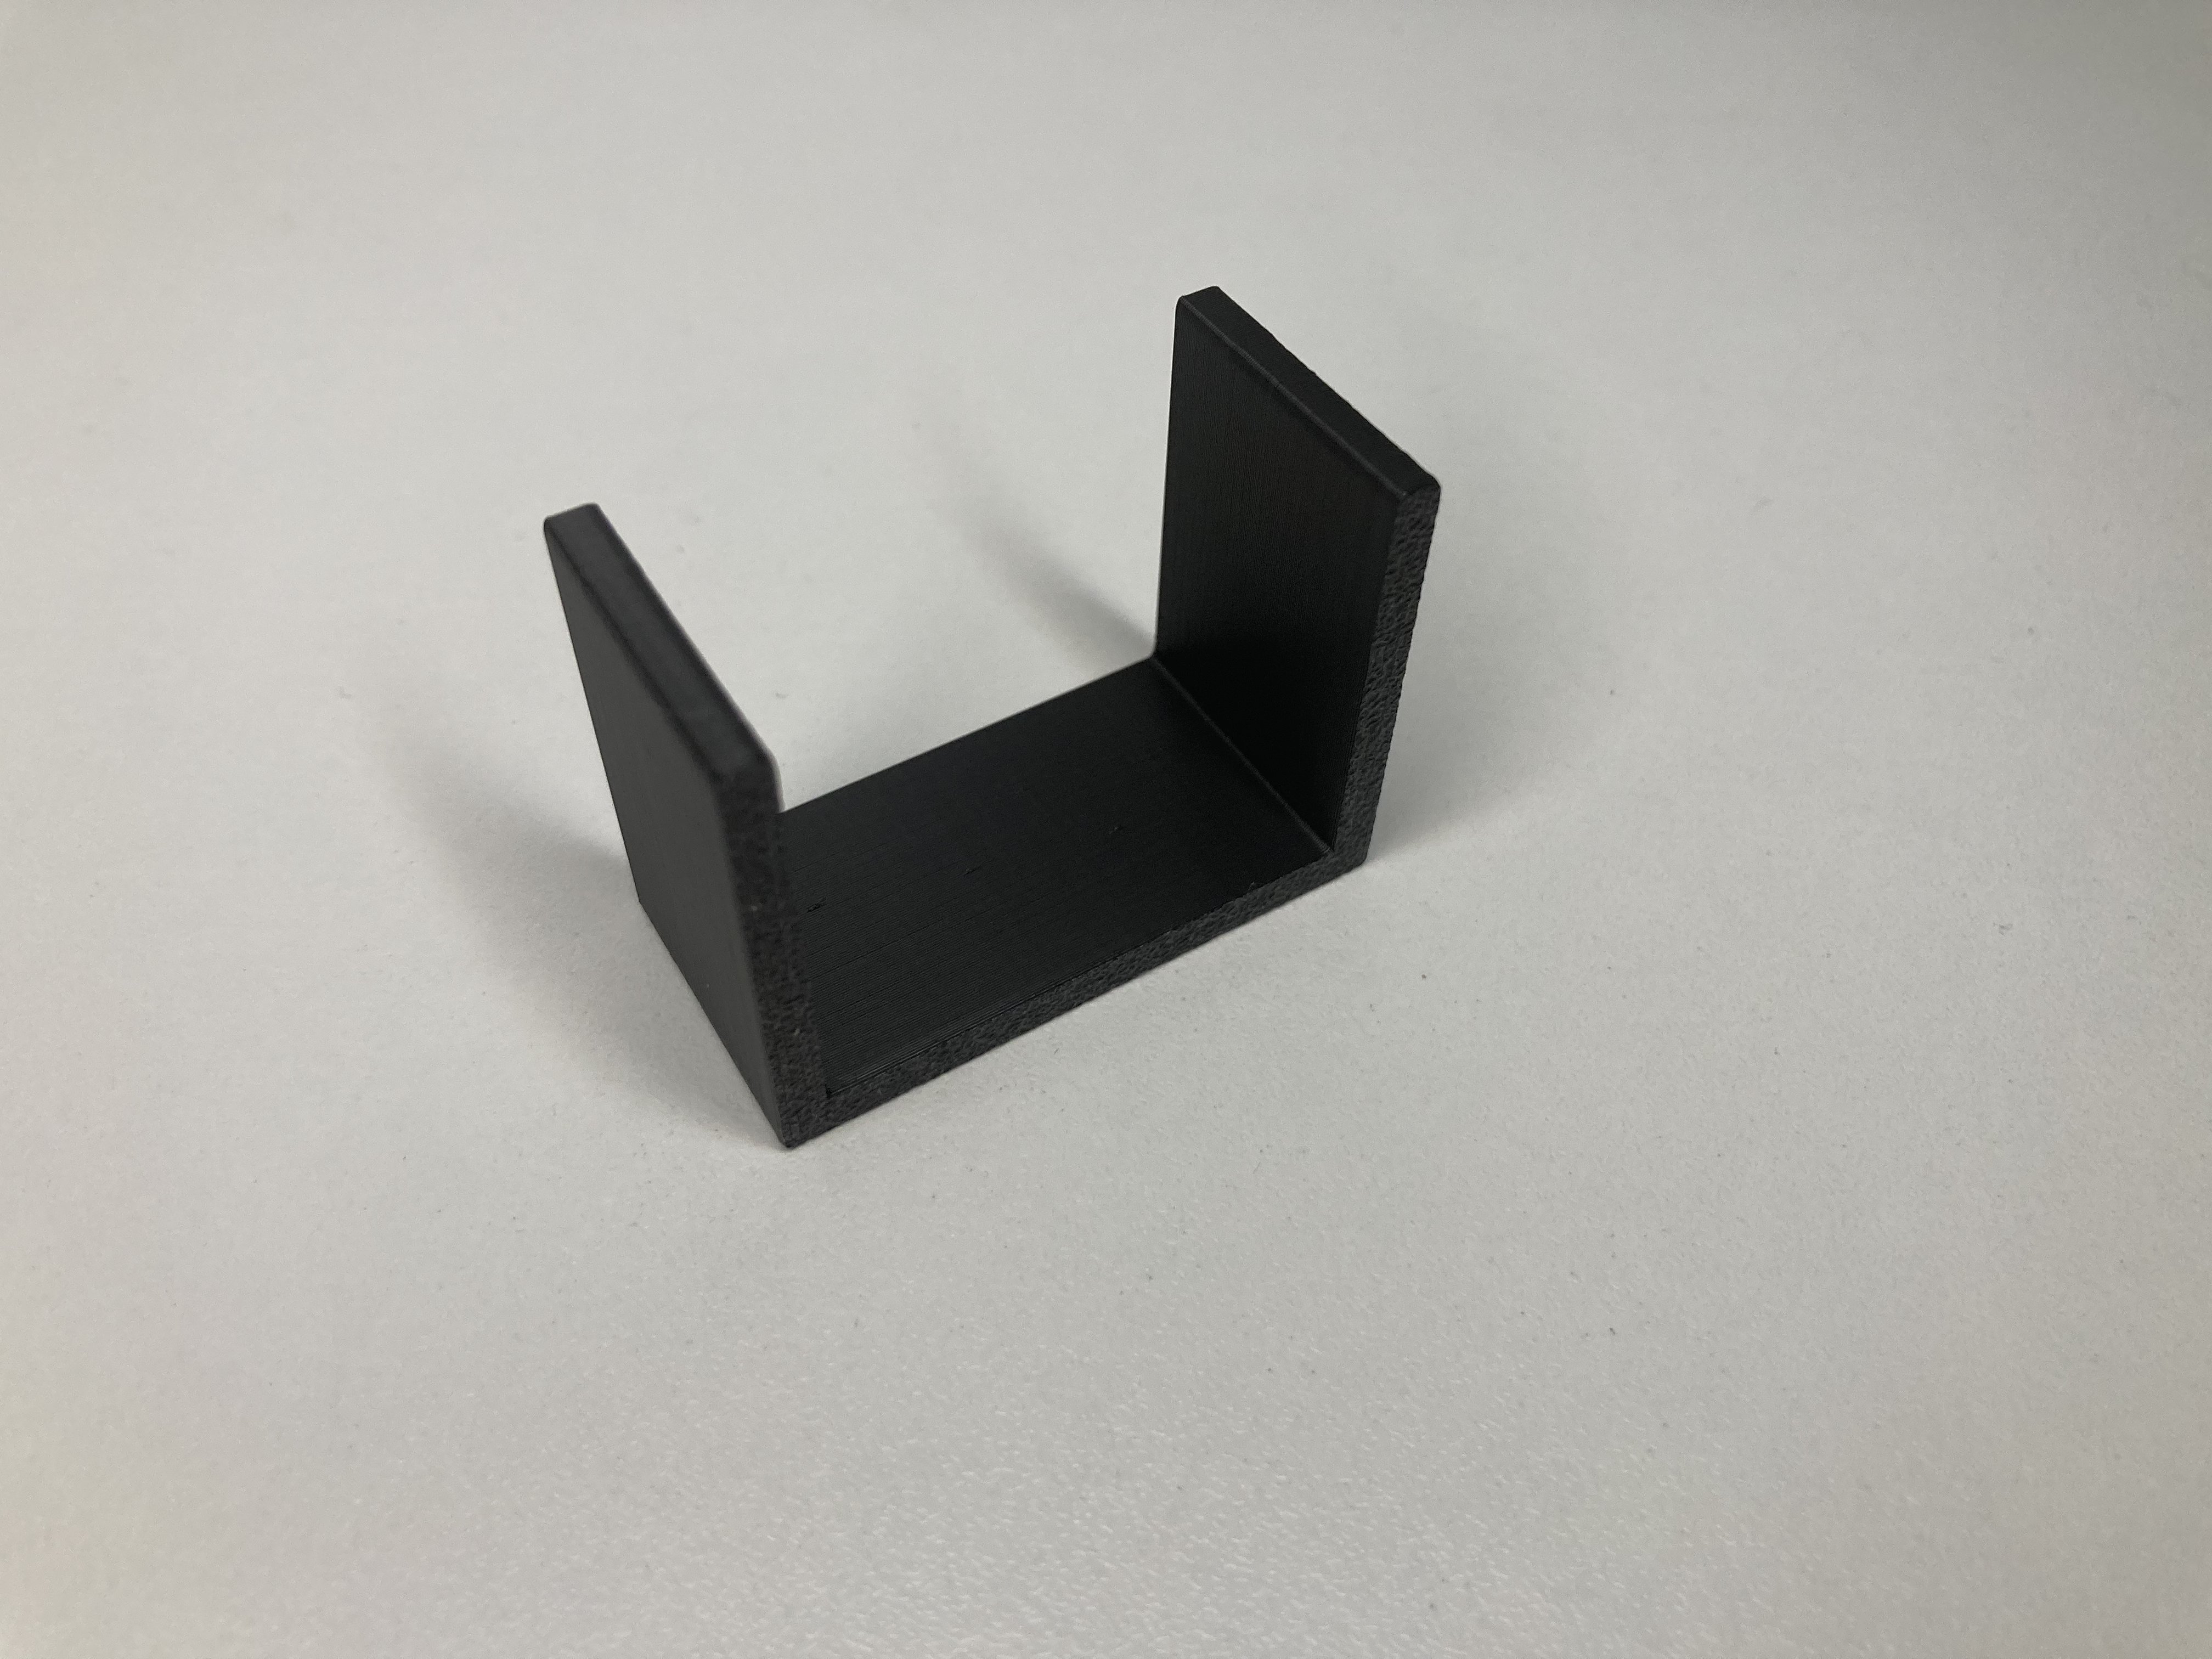
- U-Profile: Channel/rail/cover, ideal for sliding on/inserting.
- Z-Profile: offset supports, stiffening, edge offset.
Wenn du unsicher bist: Starte mit einem Rechteck-Hohlprofil (steif/leicht) oder U-Profil (Schiene) und adapt wall thickness and material to the load.
Richtwerte: Wandstärke, Perimeter & infill
| partgröße (Seitenmaß) | Wall thickness | Perimeter | Note |
|---|---|---|---|
| Small (≤ 30 mm) | 1.6-2.0 mm | 3–4 | Geringes Gewicht, gute printbarkeit |
| Medium (30-80 mm) | 2.0-2.4 mm | 4 | Guter Mix aus Steifigkeit & material |
| Large (≥ 80 mm) | 2.4-3.2 mm | 4–5 | Stable, note warpage/anisotropy |
Hohlprofile so designen, dass Bridges kurz bleiben und die Öffnung nach oben zeigt. Kleine Chamfers/radii reduzieren Kerbwirkung und verbessern die Optik.
What influences the price of profile printing?
Frequent purchase intention is "Have profile printed / profile made to measure". The price usually depends on:
coststreiber
- printzeit (length, details, layer height)
- materialmenge (Wandstärke, infill)
- support-Aufwand (Alignment!)
- Quantity (single part vs. series)
So sparst you oft directly
- Öffnung nach top (less support)
- Select the appropriate wall thickness (not "too solid")
- Standardmoyous für Funktionsprofile
- For very long: segment & connect
Profile parametrisch generate (OpenSCAD-Snippets)
Wenn du lieber selbst eine STL generierst, kannst du Profile auch parametrisch erzeugen.
Wichtig: Achte darauf, dass Innenausschnitte nur entstehen, wenn width/Höhe > 2× Wandstärke.
1) Rectangular hollow profile
Parameter: length, widthX, widthY, wall.
Innenausschnitt nur, wenn widthX > 2*wall and widthY > 2*wall.
// Rechteckiges Hohlprofil
length = 100; widthX = 40; widthY = 20; wall = 2;
difference() {
  cube([widthX, widthY, length]);
  if ((widthX > 2*wall) && (widthY > 2*wall)) {
    translate([wall, wall, 0])
      cube([widthX - 2*wall, widthY - 2*wall, length]);
  }
}
2) L-Profile
Parameter: length, armX, armY, thickness.
Ideal als Winkel/Träger oder Abschlussprofil.
// L-Profil
length=100; armX=40; armY=30; thickness=3;
union() {
  cube([armX, thickness, length]);       // Horizontaler Schenkel
  cube([thickness, armY, length]);       // Vertikaler Schenkel
}
3) T-Profile
Parameter: length, topWidth, height, thickness.
Gut für Führungen und Tragschienen.
// T-Profil
length=100; topWidth=40; height=30; thickness=3;
union() {
  cube([topWidth, thickness, length]); // Querstrebe
  translate([topWidth/2 - thickness/2, thickness, 0])
    cube([thickness, height - thickness, length]); // Mittelsteg
}
4) U-profile (channel)
Parameter: length, outerWidth, height, wall, base.
Als Schiene/Abdeckung beliebt.
// U-Profil (Kanal)
length=100; outerWidth=40; height=30; wall=3; base=3;
union() {
  cube([outerWidth, base, length]);            // Boden
  cube([wall, height, length]);                // linke Seite
  translate([outerWidth - wall, 0, 0])
    cube([wall, height, length]);              // rechte Seite
}
5) Z-Profile
Parameter: length, width, height, offset, thickness.
Für versetzte Auflager und leichte Versteifungen.
// Z-Profil
length=100; width=30; height=20; offset=10; thickness=3;
union() {
  cube([width, thickness, length]);                 // Untere Fläche
  translate([offset, height, 0])
    cube([width, thickness, length]);               // Obere Fläche
  translate([offset, thickness, 0])
    cube([thickness, height, length]);              // Steg
}
printtipps: Ausrichtung, material, Finish
- Alignment: Hohlprofil with Öffnung nach top; L/T/U/Z so drehen, dass Brücken kurz sind.
- material: PLA (inner, prototypisch), PETG (zäher), ASA (UV/Outdoor).
- Settings: Layer 0,16–0,24 mm; 3–5 Perimeter; Infill 15–30 % je nach Last.
- Finish: Leicht entgraten; Kanten ggf. with smaller Fase/radius modellieren.
Configure profile now
Choose a profile type, set dimensions, check the preview – we print and deliver. Wenn du Sondermaße oder Serie brauchst: kurz anfragen.
FAQ
Which Wandstärke ist sinnvoll?
Für FDM bewährt: 1,6–2,4 mm (3–4 Perimeter) bei kleinen/mittleren Profilen. Für belastete oder große Profile 2,4–3,2 mm (4–5 Perimeter).
How do I align profiles when printing?
Hohlprofile mit Öffnung nach oben, damit wenig Support nötig ist. L/T/U/Z so drehen, dass Brücken kurz bleiben und große Flächen stabil auf dem Bett liegen.
Whichs material eignet sich am besten?
PLA für innen/Prototypen, PETG für zähe Funktionsteile, ASA für UV/Outdoor. Bei Wärme/Last lieber PETG oder ASA statt PLA.
Can I Schraublöcher or Schlitze integrieren?
Ja. Du kannst Features in der Vorlage ergänzen (z. B. OpenSCAD/CAD). Bohrungen am besten leicht übermaßig anlegen (FDM-Toleranz).